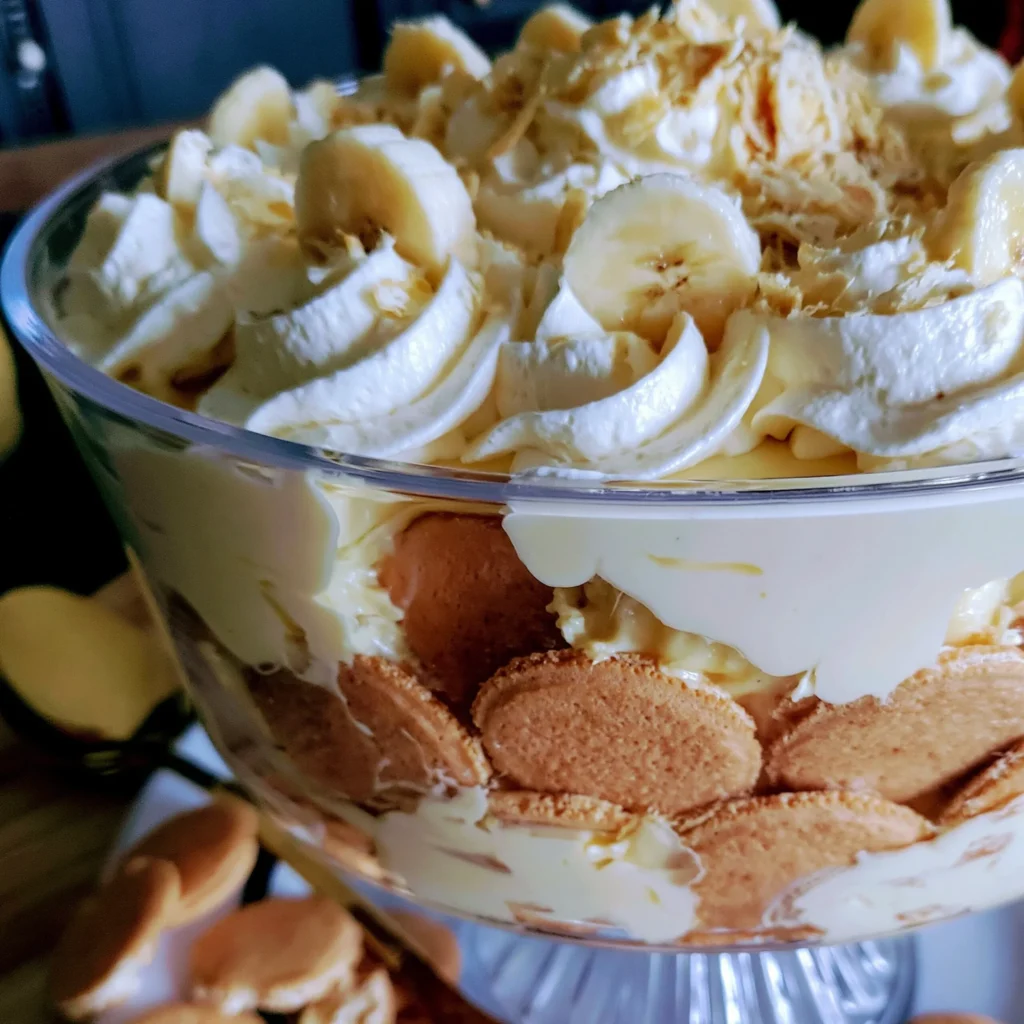
Welcome to the delightful world of homemade desserts! Today, I’m excited to share my Homemade Classic Banana Pudding with Nilla Wafers Easy Recipe. This timeless dessert combines creamy pudding, fresh bananas, and crunchy vanilla wafers for a treat that’s adored by both kids and adults alike. The layers of flavors and textures come together beautifully, creating a dish that’s perfect for any occasion, from family gatherings to casual weeknight dinners. So, grab your apron and let’s dive into this delicious recipe that will surely become a staple in your dessert repertoire!
Why You’ll Love This Recipe
This Homemade Classic Banana Pudding is not just a dessert; it’s a comforting hug in a dish. Here are a few reasons why this recipe will win your heart:
- Easy to Make: With straightforward steps, this recipe is perfect for both novice cooks and seasoned chefs. You don’t need any advanced baking skills to whip up this delightful pudding.
- Minimal Ingredients: This recipe calls for simple ingredients that are easy to find in your kitchen. You’ll be surprised by how few items you need to create such a delicious dessert!
- Versatile Dessert: Whether you’re hosting a party or just craving something sweet, this banana pudding is adaptable. You can serve it in cups, bowls, or even as a layer in a trifle for a stunning presentation.
- Family Favorite: Banana pudding is a classic dessert that brings back memories for many. It’s a dish that families have enjoyed for generations, making it a wonderful way to create new memories with your loved ones.
- Great for Any Occasion: Whether it’s a holiday gathering, birthday party, or just a casual get-together, this dish is sure to impress your guests.
Why You Should Try This Recipe
Still on the fence about making this Homemade Classic Banana Pudding with Nilla Wafers Easy Recipe? Here are some compelling reasons to give it a try:
- Delicious Layers: The combination of creamy pudding, ripe bananas, and crunchy wafer cookies creates a symphony of flavors and textures that will tantalize your taste buds. Each bite is a delightful explosion of sweetness and creaminess.
- Customizable: You can easily customize this recipe to suit your tastes. Want to add a hint of cocoa? Sprinkle some chocolate chips between the layers. Prefer a nutty flavor? Toss in some chopped walnuts or pecans. The possibilities are endless!
- Make Ahead: This pudding can be made a day in advance, allowing the flavors to meld beautifully. It’s a perfect make-ahead dessert for busy hosts who want to spend more time with their guests.
- Kid-Friendly: This dessert is a hit with kids. Its sweet flavor and fun presentation make it a favorite among children, making it an ideal choice for family gatherings.
- Healthier Dessert Options: You can make this pudding with low-fat milk and sugar substitutes to enjoy a lighter version without sacrificing flavor. It’s a great way to indulge while being mindful of your health.
Ingredients and Utensils Needed
Let’s gather everything we need for our Homemade Classic Banana Pudding with Nilla Wafers Easy Recipe. Below is a detailed list of ingredients and recommended utensils for this delightful dessert.
Ingredients:
- 1 cup granulated sugar
- 1/3 cup all-purpose flour
- 1/4 teaspoon salt
- 2 3/4 cups whole milk
- 3 large eggs
- 1 teaspoon vanilla extract
- 4 ripe bananas, sliced
- 1 box Nilla Wafers
- Whipped cream (for topping)
Recommended Utensils:
- Medium saucepan
- Whisk
- Mixing bowls
- Measuring cups and spoons
- 9×13 inch baking dish
- Plastic wrap
- Spatula
Having the right tools can make the process smoother and more enjoyable. Ensure you have everything ready before you start for a seamless cooking experience.
Detailed Recipe Steps
Now that we have all our ingredients and utensils ready, let’s get into the step-by-step process of making this delicious banana pudding.
- Prepare the Pudding Base: In a medium saucepan, whisk together the sugar, flour, and salt until well combined. This helps to evenly distribute the dry ingredients, preventing lumps in your pudding.
- Add the Milk: Gradually add the whole milk while whisking continuously. This ensures a smooth mixture without any lumps. Cook over medium heat, stirring constantly until the mixture thickens and begins to bubble. This usually takes about 10-15 minutes. Be patient and keep stirring to prevent burning.
- Temper the Eggs: In a separate bowl, beat the eggs. To avoid scrambling the eggs, slowly add a small amount of the hot pudding mixture to the eggs while whisking constantly. This process, known as tempering, gradually warms the eggs. Once combined, pour the egg mixture back into the saucepan.
- Cook Further: Continue cooking for an additional 2 minutes, stirring constantly. The pudding should be thick and creamy at this point. Remove from heat and stir in the vanilla extract, which gives the pudding its delicious flavor.
- Layer the Ingredients: In a 9×13 inch dish, layer half of the Nilla Wafers at the bottom. Follow this with half of the banana slices and half of the pudding mixture. Repeat the layers with the remaining ingredients until you have used everything up.
- Chill: Cover the dish with plastic wrap to prevent a skin from forming on the pudding. Refrigerate for at least 4 hours or until set. This chilling time allows the flavors to meld and the pudding to firm up.
- Serve: Before serving, top the pudding with whipped cream. You can also add extra banana slices or crushed Nilla Wafers on top for garnish. Enjoy your delicious homemade banana pudding!
**Pro Tips:**
- Make sure your bananas are ripe but not overripe for the best flavor and texture.
- For a richer pudding, substitute half of the whole milk with heavy cream.
- If you want to add a layer of flavor, consider using a splash of rum or bourbon in the pudding.
Tips and Variations
Now that you’ve made your pudding, here are some tips and variations to make your Homemade Classic Banana Pudding with Nilla Wafers Easy Recipe even more delightful!
Alternative Ingredients:
- Gluten-Free Option: Substitute all-purpose flour with a gluten-free flour blend to make this pudding gluten-free. Make sure the Nilla Wafers are also gluten-free.
- Vegan Version: Replace the milk with almond or coconut milk and use a vegan egg substitute like flaxseed meal or a commercial egg replacer. Use a vegan whipped cream to top it off.
- Flavor Variations: Add a tablespoon of peanut butter or Nutella to the pudding for a delicious twist. You can also fold in some chocolate chips for added sweetness.
Avoid Common Mistakes:
- Ensure to whisk constantly while cooking the pudding to prevent it from sticking to the bottom of the saucepan.
- Do not rush the chilling process; letting the pudding set properly will enhance the flavor and texture.
- Always use ripe bananas for the best taste. Overripe bananas can turn mushy and may not hold their shape.
Nutritional Values and Benefits
Let’s take a look at the nutritional values of this homemade banana pudding. A typical serving of this dessert contains:
- Calories: Approximately 250-300 calories per serving.
- Protein: About 5 grams
- Fat: Roughly 10-15 grams
- Carbohydrates: Around 40-45 grams
This banana pudding not only satisfies your sweet tooth but also provides some health benefits:
- Bananas: Rich in potassium and vitamin C, bananas are great for heart health and digestion.
- Milk: A good source of calcium, which is essential for bone health.
- Whipped Cream: You can opt for a lighter whipped topping to reduce calories while still enjoying creaminess.
Frequently Asked Questions
What is the best way to store homemade banana pudding?
Can I make banana pudding without eggs?
How long does homemade banana pudding need to chill?
Can I use other fruits in banana pudding?
How can I make my banana pudding thicker?
Conclusion
In conclusion, this Homemade Classic Banana Pudding with Nilla Wafers Easy Recipe is a delightful treat that’s sure to please anyone who takes a bite. With its creamy layers, fresh bananas, and a hint of nostalgia, it’s a dessert that’s always in style. So why not give it a try? I’d love to hear your thoughts and any variations you create! Don’t forget to share this recipe with friends and family. For more delicious recipes, check out my Creamy Ham and Potato Soup or Ultimate Overnight French Toast Bake for treats you will love!
If you enjoyed this recipe, please share it on Pinterest! You can find more inspiration on my Pinterest page.
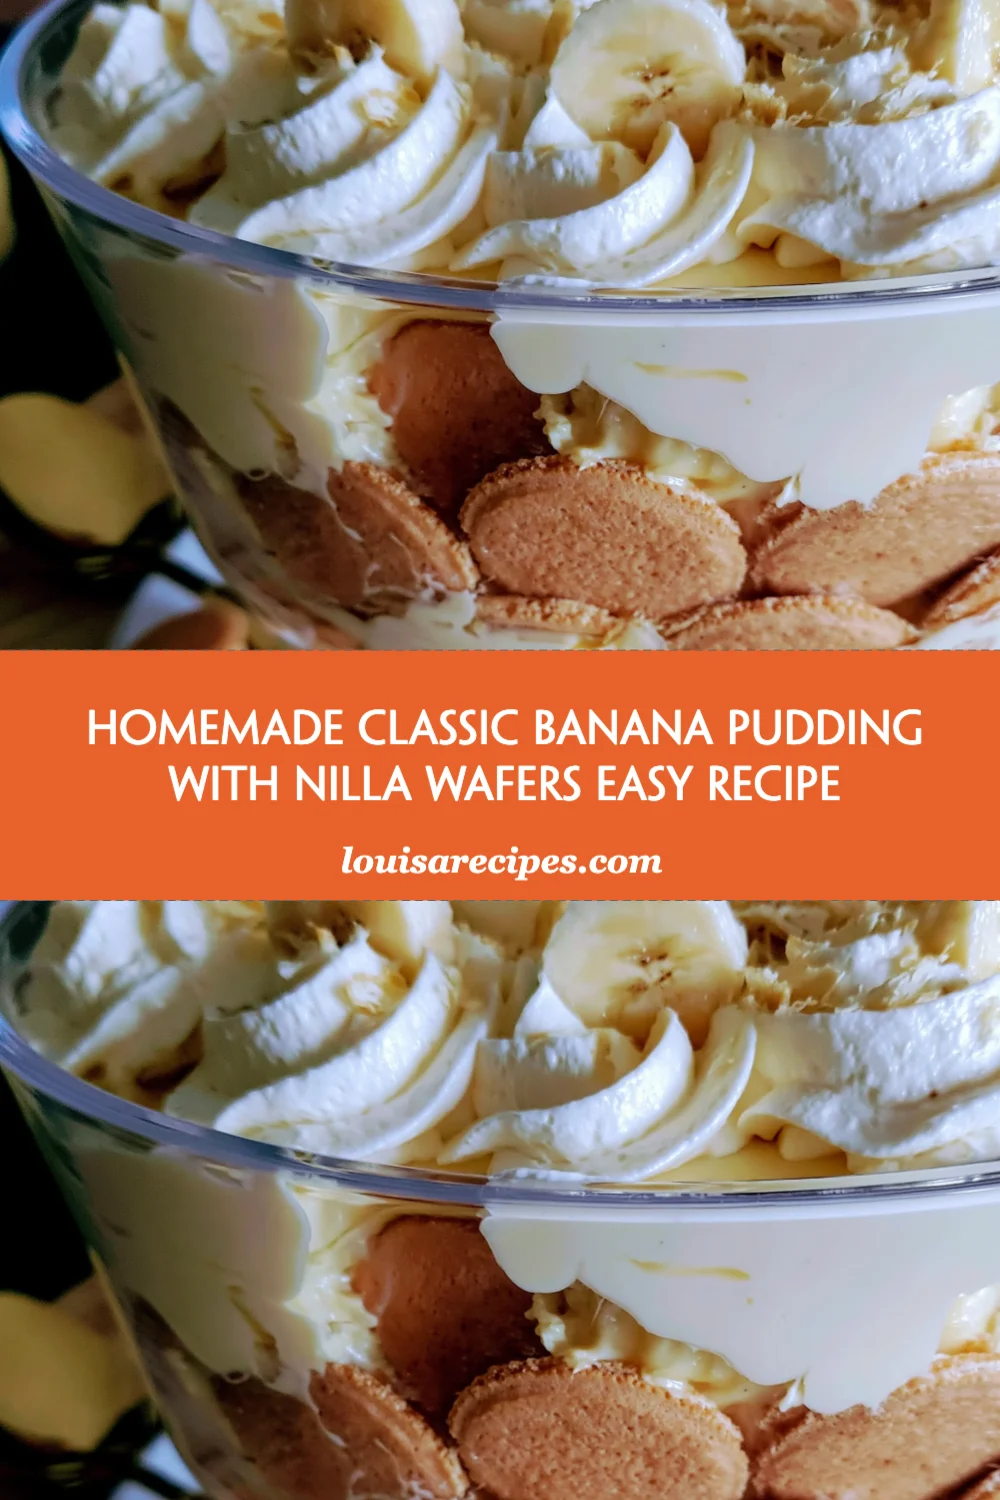
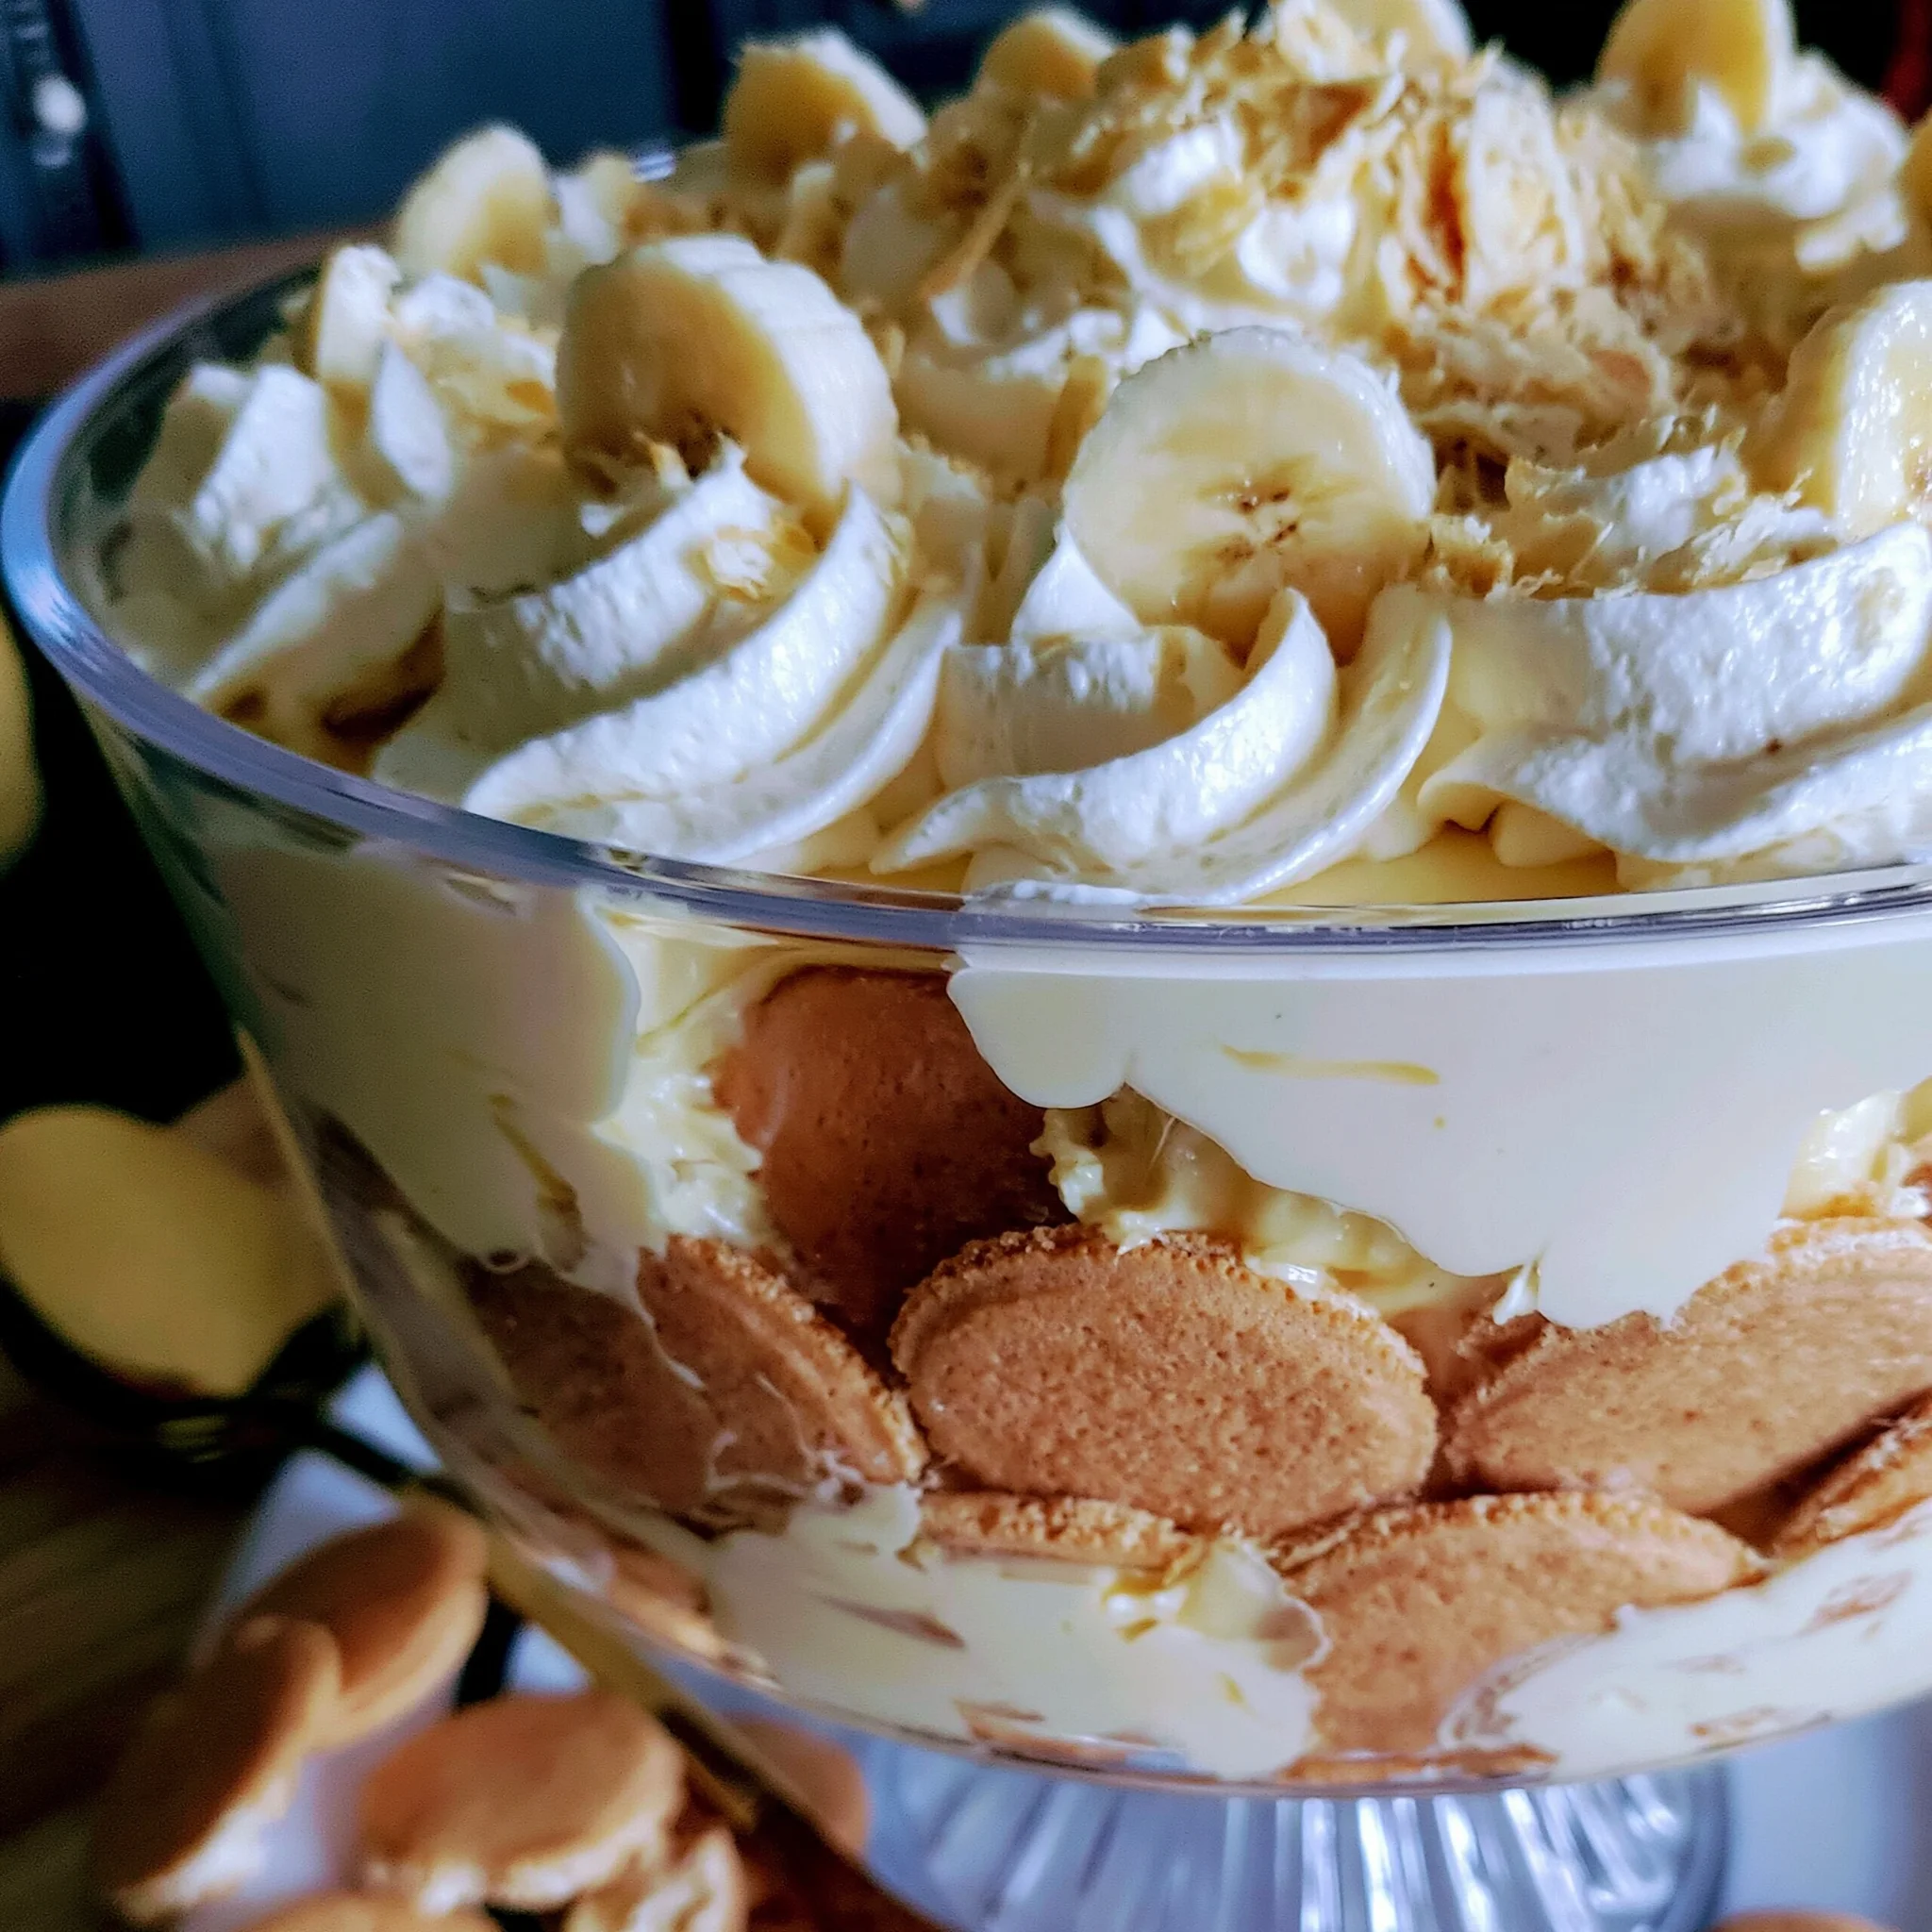
Homemade Classic Banana Pudding with Nilla Wafers Easy Recipe
Ingredients
Equipment
Method
- Step 1: In a medium saucepan, whisk together the sugar, flour, and salt until well combined.
- Step 2: Gradually add the whole milk while whisking continuously. Cook over medium heat, stirring constantly until the mixture thickens and begins to bubble, about 10-15 minutes.
- Step 3: In a separate bowl, beat the eggs. Slowly add a small amount of the hot pudding mixture to the eggs while whisking constantly. Pour the egg mixture back into the saucepan.
- Step 4: Continue cooking for an additional 2 minutes, stirring constantly. Remove from heat and stir in the vanilla extract.
- Step 5: In a 9x13 inch dish, layer half of the Nilla Wafers at the bottom, followed by half of the banana slices and half of the pudding mixture. Repeat the layers with the remaining ingredients.
- Step 6: Cover the dish with plastic wrap and refrigerate for at least 4 hours or until set.
- Step 7: Before serving, top with whipped cream and enjoy!