Canning cranberry juice is a delightful way to enjoy the tart, refreshing flavor of cranberries all year round. Whether you’re looking to preserve the harvest from your backyard or simply want to enjoy the vibrant taste of cranberries during the off-season, this homemade cranberry juice is the perfect solution. Canning not only extends the shelf life of your juice but also allows you to control the ingredients, ensuring a delicious, all-natural product without preservatives. In this article, we will guide you through the entire process of canning cranberry juice, from selecting the best cranberries to the final sealing of your jars. So grab your canning supplies, and let’s get started!
Why You’ll Love This Recipe
This recipe for canning cranberry juice is not just about preservation; it’s an experience that brings the essence of fall into your home. Here’s why you’ll love it:
- Fresh and Flavorful: Using fresh cranberries ensures that your juice is bursting with flavor. The process of canning locks in the freshness, so you can enjoy the vibrant taste long after the season has passed.
- Health Benefits: Cranberries are packed with antioxidants and vitamins, particularly vitamin C and fiber. By canning your juice, you retain these beneficial properties, making it a healthy beverage choice.
- Customizable: This recipe allows you to adjust the sweetness and acidity to your liking. You can add sugar or bottled lemon juice according to your taste preferences, making each batch unique.
- Perfect for Gifts: Canned cranberry juice makes a wonderful homemade gift. Share your delicious, homemade juice with friends and family during the holidays or special occasions.
- Cost-Effective: Making your own cranberry juice is often more economical than purchasing store-bought options, especially if you can source cranberries in bulk or grow them yourself.
Why You Should Try This Recipe
Many people are intimidated by the canning process, but this recipe simplifies it, making it accessible for home cooks of all levels. Here’s why you should give it a try:
- Easy to Follow: The step-by-step instructions are straightforward, ensuring that even beginners can successfully can cranberry juice without any prior experience.
- Safe Preservation: Canning is a safe way to preserve food when done correctly. This recipe follows recommended guidelines to ensure your juice is safe to consume for months to come.
- Reduce Food Waste: If you find yourself with an abundance of cranberries, canning is a great way to prevent waste and make the most of your harvest.
- Enjoy Year-Round: Canning allows you to enjoy the taste of cranberries far beyond their typical season, making it a delightful addition to your pantry.
- Family Tradition: Canning can be a fun and rewarding family activity. Involving loved ones in the process can create lasting memories and traditions.
Ingredients and Utensils Needed
Before diving into the canning process, it’s essential to gather all the necessary ingredients and tools. Below is a detailed list to ensure your success.
Ingredients
- Fresh Cranberries: 4 cups (approximately 1 pound) of fresh cranberries. Make sure to select firm, plump berries without any blemishes.
- Water: 16 cups (4 quarts) of water to create your juice mixture.
- Sugar (Optional): 1-2 cups of sugar to taste. Adjust according to your sweetness preference.
- Bottled Lemon Juice (Optional): 1/4 cup for acidity adjustment. This ensures the safety of your canned juice.
Utensils
Here are the essential items you will need for canning cranberry juice:
- Large Pot: For boiling cranberries and water.
- Fine Mesh Sieve or Cheesecloth: For straining the juice from the boiled mixture.
- Large Bowl or Pot: To collect the strained juice.
- Sterilizing Canning Jars: You’ll need several pint or quart-sized jars with matching lids and rings.
- Jar Lifter: For safely removing the hot jars from the boiling water bath.
- Canning Funnel: Helps pour the juice into jars while minimizing spills.
- Clean Cloth: For wiping the rims of jars before sealing.
- Boiling Water Bath Canner: If you have one, this can make the process easier and safer.
Detailed Recipe Steps
Now that you have all your ingredients and tools ready, let’s walk through the detailed steps of canning cranberry juice.
Step 1: Rinse the Cranberries
Begin by rinsing your fresh cranberries thoroughly under cold water. This step is crucial to remove any debris or impurities. Make sure to sort through the berries and discard any that are soft, squished, or have any blemishes. Rinsing will also help to enhance the flavor of your juice.
Step 2: Combine Cranberries and Water
In a large pot, combine 1 part cranberries with 4 parts water. For this recipe, you’ll use 4 cups of cranberries and 16 cups of water. Bring this mixture to a boil over medium heat. Stir occasionally to prevent sticking and allow the cranberries to release their natural juices.
Step 3: Boil and Simmer
Once the mixture reaches a rolling boil, reduce the heat and let it simmer for 10-15 minutes. This simmering process is essential as it allows the cranberries to burst open and release their vibrant juices into the water. You’ll notice the mixture turning a beautiful shade of red as it cooks.
Step 4: Strain the Mixture
After simmering, remove the pot from heat. Use a fine mesh sieve or cheesecloth to strain the mixture into a large bowl or another pot. Press down on the solids to extract as much juice as possible. This step is crucial for getting a clear and flavorful juice.
Step 5: Sweeten and Adjust Acidity
If you prefer a sweeter juice, now is the time to add sugar to taste. Start with 1 cup and adjust according to your preference. Mix until the sugar is fully dissolved. For added acidity, you may also incorporate bottled lemon juice if desired. This will help preserve the color and flavor of your juice.
Step 6: Sterilize Your Jars
While your juice cools slightly, prepare your canning jars. Sterilize them by boiling them in water for 10 minutes. This step is essential for preventing any bacteria from spoiling your juice. Keep the jars warm until you’re ready to fill them.
Step 7: Fill the Jars
Using a canning funnel, pour the cranberry juice into the prepared jars, leaving about ½ inch of headspace at the top. This space is necessary for the juices to expand during the canning process.
Step 8: Seal the Jars
Wipe the rims of the jars with a clean cloth to remove any residue. This ensures a proper seal. Place sterilized lids and rings on the jars, securing them tightly but not overly so, as the jars need to vent during processing.
Step 9: Process in a Boiling Water Bath
In a large pot or canner, bring water to a boil. Carefully place the jars in the boiling water bath, ensuring that the water covers the jars by at least an inch. Process the jars for 10-15 minutes. This step is crucial for ensuring the safety and longevity of your canned juice.
Step 10: Cool the Jars
After processing, carefully remove the jars from the water bath using a jar lifter. Place them on a clean towel or cooling rack and allow them to cool completely. You should hear a satisfying pop as the lids seal.
Step 11: Check the Seals
Once the jars have cooled, check the seals by pressing the center of each lid. If it does not pop back, your jar is sealed properly. If any jars haven’t sealed, store them in the refrigerator and use them within a few weeks.
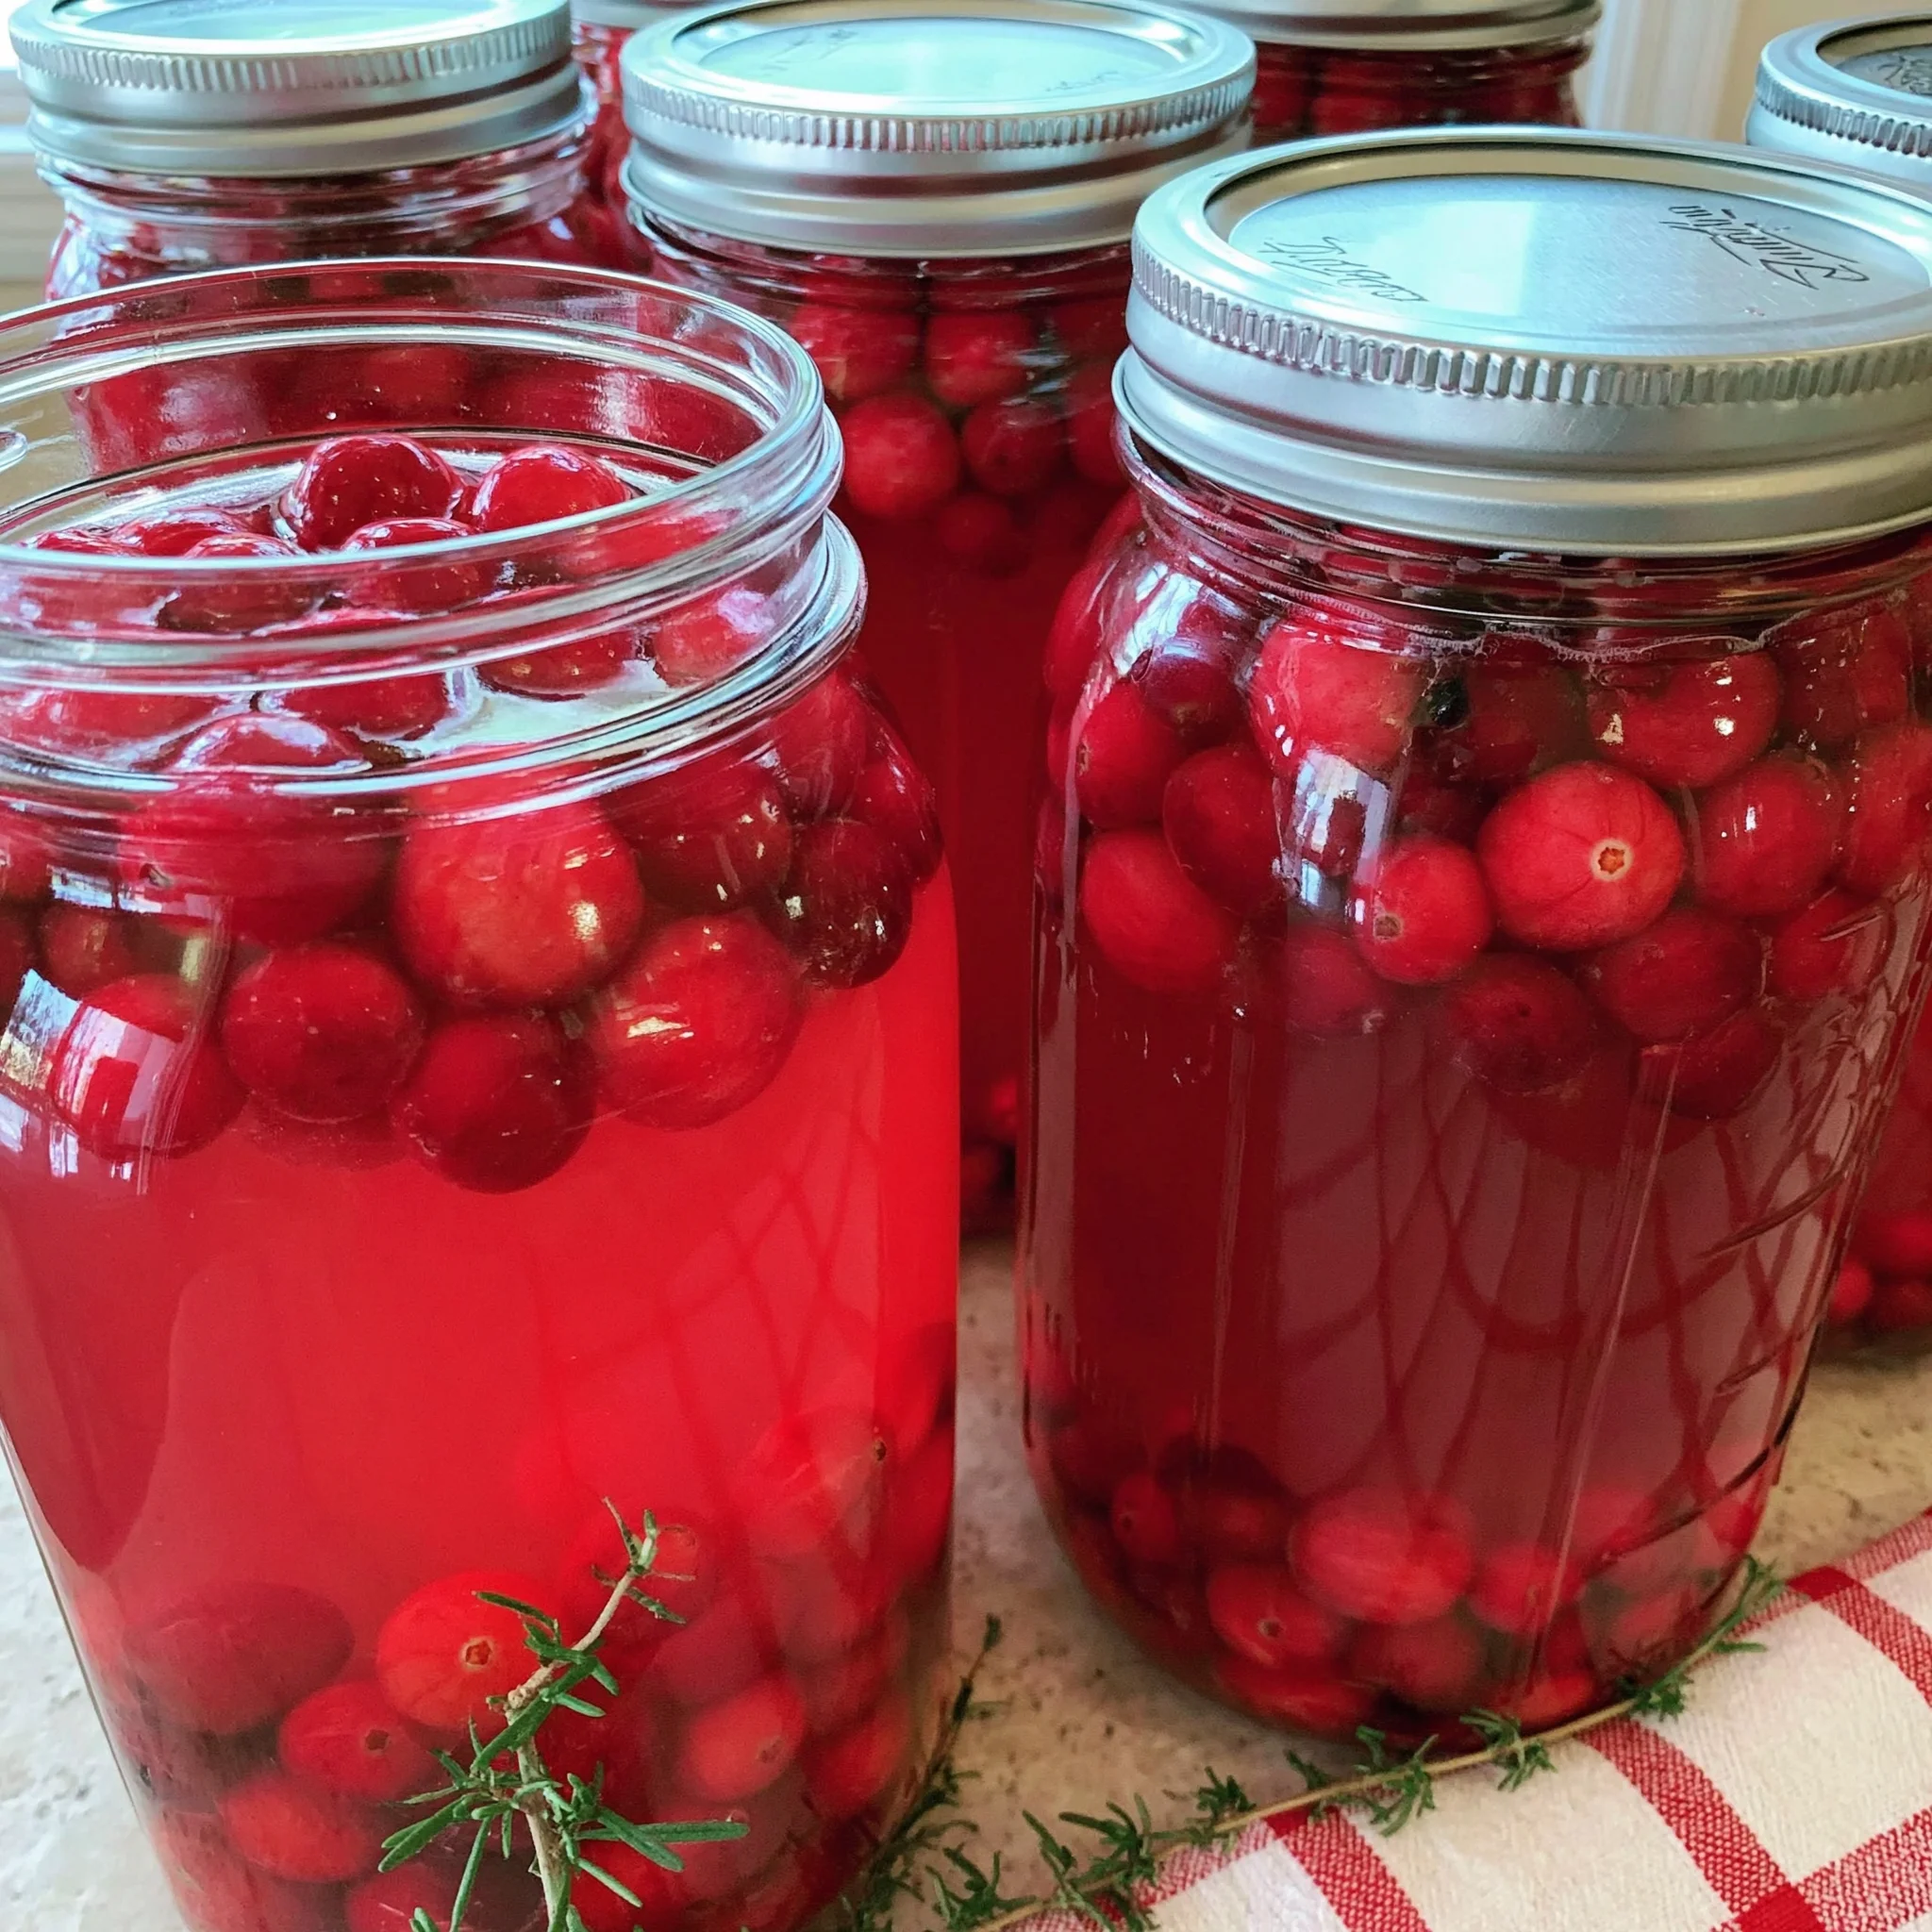
Step 12: Label and Store
Label your jars with the date and store them in a cool, dark place. Properly sealed jars of cranberry juice can last for up to a year, allowing you to enjoy the taste of fresh cranberries even during the off-season.
Tips and Variations
As with any recipe, there are always ways to customize your canning process. Here are some tips and variations to enhance your experience:
- Alternative Sweeteners: Instead of sugar, consider using honey or agave syrup for a healthier sweetening option. Adjust the amount based on your preference.
- Infused Flavors: For a twist, try adding spices such as cinnamon or cloves during the simmering process for a spiced cranberry juice.
- Mix with Other Juices: Combine cranberry juice with other fruit juices, such as apple or orange, for a unique flavor blend.
- Vegan Option: This recipe is naturally vegan as it does not include any animal products.
- Common Mistakes to Avoid: Always ensure your jars are sterilized properly and never skip the boiling water bath, as this step is vital for food safety.
Nutritional Values and Benefits
Cranberry juice is not just a tasty beverage; it’s also packed with numerous health benefits. Here’s a breakdown of the nutritional values per cup (8 oz) of homemade cranberry juice:
- Calories: Approximately 116 calories
- Protein: 0.2 grams
- Fat: 0.1 grams
- Carbohydrates: 31 grams
- Fiber: 0.5 grams
Cranberries are rich in antioxidants, particularly proanthocyanidins, which are known to support urinary tract health. They also contain vitamin C, which boosts the immune system and helps in collagen production for skin health. Furthermore, cranberry juice can aid in digestion and may even reduce the risk of certain infections.
Frequently Asked Questions
Frequently Asked Questions
1. How long does canned cranberry juice last?
Properly sealed jars of canned cranberry juice can last for up to a year when stored in a cool, dark place. Always check for seals before consumption.
2. Can I use frozen cranberries for canning juice?
Yes, you can use frozen cranberries as an alternative. Just ensure they are thawed and drained before using them in the recipe.
3. How can I adjust the sweetness of my cranberry juice?
You can adjust the sweetness by adding more or less sugar or by using alternative sweeteners like honey or agave syrup to your taste.
4. Is it necessary to add lemon juice?
Adding lemon juice is optional but recommended to ensure proper acidity for safe canning. It helps preserve the flavor and color of the juice.
5. Can I can cranberry juice without a water bath?
It is not recommended to can cranberry juice without a boiling water bath, as this method ensures that any bacteria are eliminated and seals the jars properly.
Conclusion
Canning cranberry juice is a rewarding and delicious way to enjoy the tart flavor of cranberries throughout the year. With simple ingredients and easy-to-follow steps, you can create your own homemade juice that not only tastes great but is also packed with health benefits. We hope you feel inspired to try this recipe and share your creations with friends and family. For more delicious recipes, check out Creamy Deviled Eggs Pasta Salad or Easy Pickled Banana Peppers for treats you will love! Happy canning!
For more tips and ideas, feel free to visit our Pinterest page for inspiration!
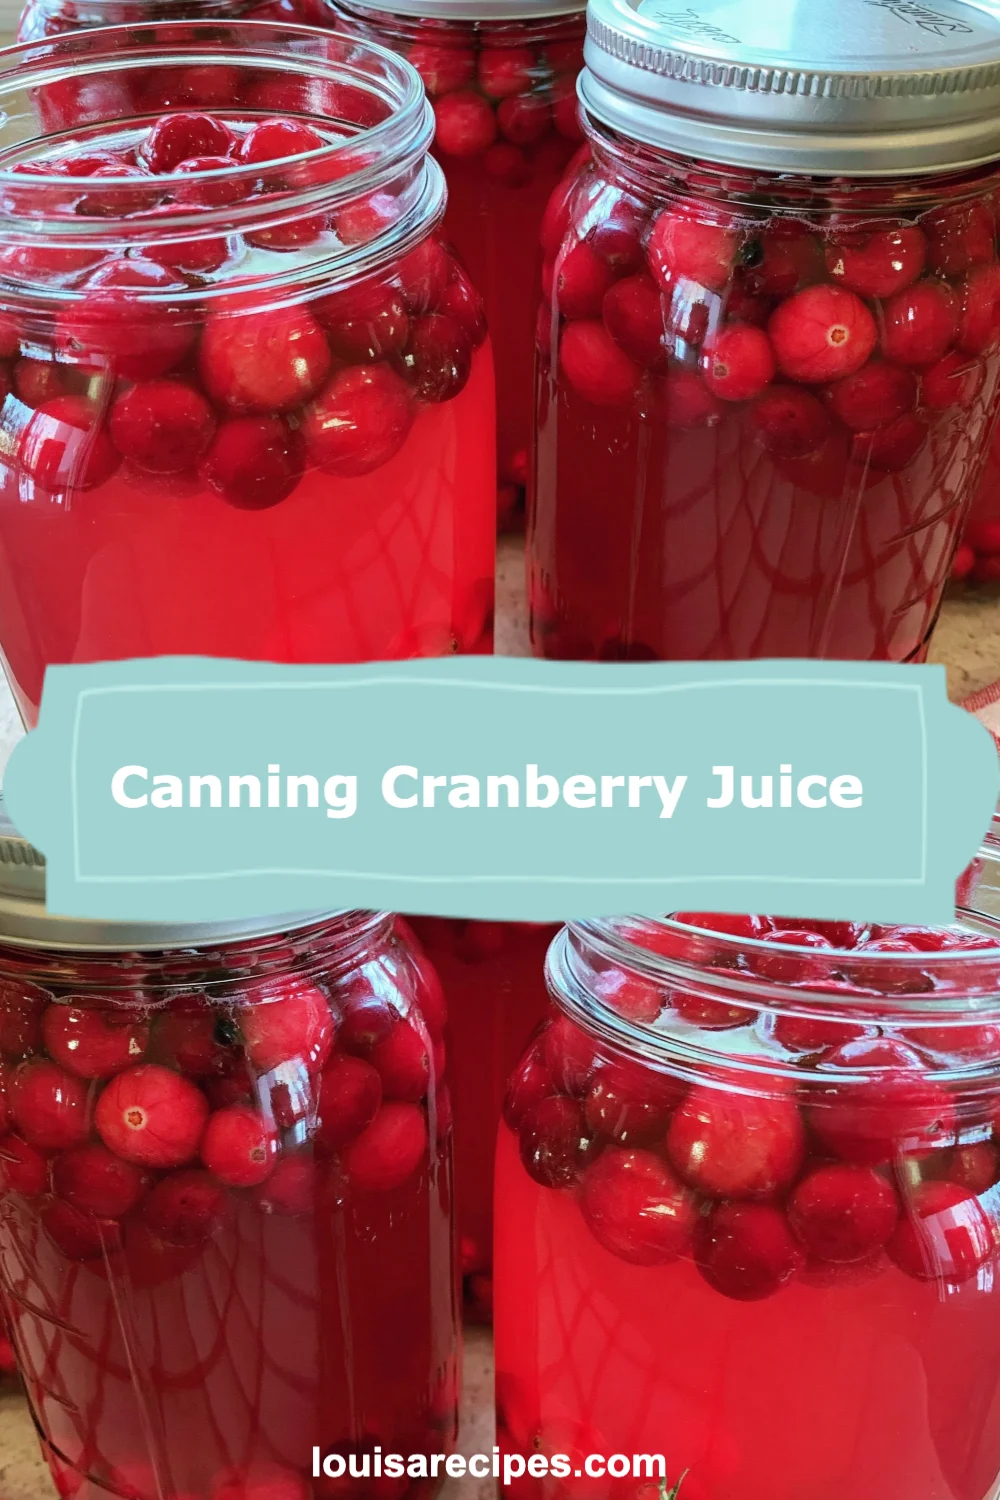
Canning Cranberry Juice
Ingredients
Equipment
Method
- Step 1: Rinse your fresh cranberries thoroughly under cold water. Sort through the berries and discard any that are soft, squished, or have any blemishes.
- Step 2: In a large pot, combine 1 part cranberries with 4 parts water. Bring this mixture to a boil over medium heat.
- Step 3: Once the mixture reaches a rolling boil, reduce the heat and let it simmer for 10-15 minutes.
- Step 4: Use a fine mesh sieve or cheesecloth to strain the mixture into a large bowl or another pot.
- Step 5: If you prefer a sweeter juice, add sugar to taste and mix until dissolved. Incorporate bottled lemon juice if desired.
- Step 6: Sterilize your jars by boiling them in water for 10 minutes.
- Step 7: Using a canning funnel, pour the cranberry juice into the prepared jars, leaving about ½ inch of headspace.
- Step 8: Wipe the rims of the jars with a clean cloth and place sterilized lids and rings on the jars.
- Step 9: Process the jars in a boiling water bath for 10-15 minutes.
- Step 10: Carefully remove the jars from the water bath and allow them to cool completely.
- Step 11: Check the seals by pressing the center of each lid. If it does not pop back, your jar is sealed properly.
- Step 12: Label your jars with the date and store them in a cool, dark place.