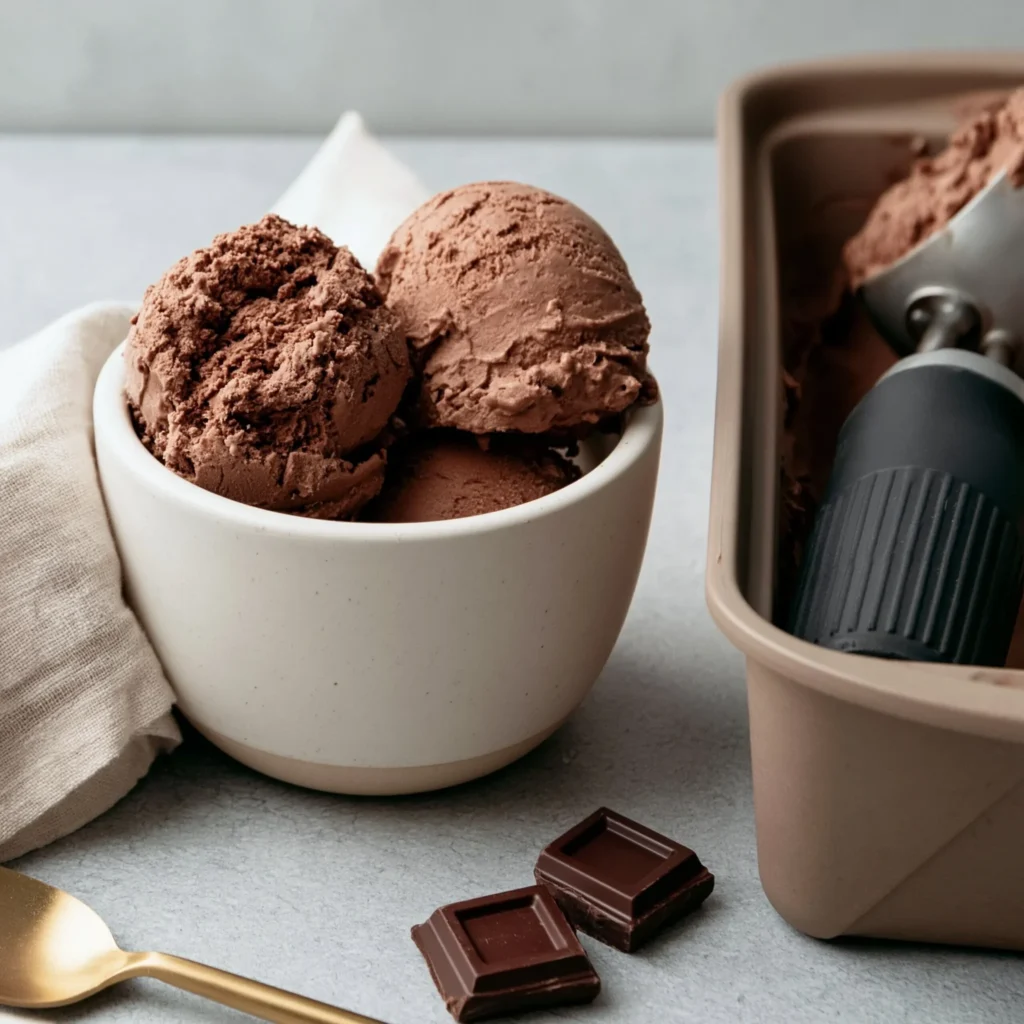
Chocolate Ice Cream is a timeless treat that brings joy to people of all ages. Whether you’re celebrating a special occasion or simply indulging on a warm afternoon, nothing beats the creamy, rich flavor of homemade chocolate ice cream. This recipe is not just a dessert; it’s an experience. As you whip up this delightful treat in your kitchen, the intoxicating aroma of chocolate will fill the air, making it impossible to resist. With just a handful of ingredients, you can create a luscious dessert that rivals any store-bought version. In this article, we’ll explore why you’ll love this recipe, the ingredients needed, step-by-step instructions, and even some tips and variations to make it your own. So, let’s dive into the delicious world of chocolate ice cream!
Why You’ll Love This Recipe
There are countless reasons to adore this Chocolate Ice Cream recipe. First and foremost, it’s incredibly simple. With just a few basic ingredients—heavy cream, whole milk, sugar, cocoa powder, and vanilla extract—you can create a dessert that’s rich, creamy, and utterly satisfying. The addition of semi-sweet chocolate chips is optional, but they add a delightful texture and extra chocolatey goodness that chocolate lovers will appreciate.
Another fantastic aspect of this recipe is its versatility. Want to make it vegan? Substitute the cream and milk with coconut cream and almond milk. Looking for a lower-sugar option? You can easily use sugar substitutes or even ripe bananas to sweeten your mixture naturally. This flexibility means that you can cater to different dietary preferences without sacrificing flavor.
Moreover, making your own ice cream allows you to control the quality of ingredients. You can use organic dairy products and high-quality cocoa powder, ensuring that every scoop is not only delicious but also made with wholesome ingredients. You’ll feel good serving it to your family and friends, knowing exactly what’s in it.
Finally, nothing beats the satisfaction of making your own ice cream from scratch. The process can be a fun family activity, especially for kids who love to help out in the kitchen. Watching the mixture transform into creamy ice cream is a delight, making it all the more rewarding when you finally get to enjoy a bowl of your own homemade chocolate ice cream. This recipe is bound to become a staple in your dessert repertoire!
Why You Should Try This Recipe
Trying your hand at homemade Chocolate Ice Cream is a decision you won’t regret. The first reason to try this recipe is the unbeatable taste. The combination of heavy cream, whole milk, and cocoa powder creates a rich, velvety texture that store-bought ice creams often lack. You’ll find that the flavor is more intense, and the creaminess is unparalleled. Each spoonful melts in your mouth, delivering pure chocolate bliss.
Another compelling reason to make this ice cream is the sheer fun of it. The process of churning ice cream is not only enjoyable, but it also allows you to customize the flavor to your liking. Want to add a hint of espresso for a mocha twist? Go for it! Prefer mint chocolate chip? Simply incorporate some mint extract and green food coloring. The possibilities are endless, and experimenting can lead to delightful surprises.
In addition, homemade chocolate ice cream is a fantastic option for gatherings and parties. Imagine serving your guests a scoop of your own creation rather than the usual store-bought options. You’ll be the star of the party, and your guests will appreciate the personal touch. Plus, it’s a great conversation starter—everyone will want to know how you made it!
Moreover, making ice cream at home can be a cost-effective alternative to buying premium brands. While the initial investment in an ice cream maker might seem daunting, the savings over time are significant, especially if you frequently indulge in ice cream. You’ll also have the added benefit of making larger batches for family gatherings or summer parties, ensuring that there’s always enough to go around.
Finally, making Chocolate Ice Cream from scratch is a perfect way to create lasting memories with family and friends. The process encourages teamwork, laughter, and creativity in the kitchen. It’s an opportunity to bond over a shared love of dessert and to create something special together. So, gather your loved ones, roll up your sleeves, and get ready to make some delicious chocolate ice cream!
Ingredients and Utensils Needed
Ingredients
- 2 cups heavy cream
- 1 cup whole milk
- 3/4 cup granulated sugar
- 1/2 cup unsweetened cocoa powder
- 1 teaspoon vanilla extract
- 1/2 cup semi-sweet chocolate chips (optional)
Let’s break down the ingredients:
- Heavy Cream: This is the base of your ice cream, giving it that rich and creamy texture. Look for a high-fat content for the best results.
- Whole Milk: Adds creaminess and balances the richness of the heavy cream.
- Granulated Sugar: Sweetens the mixture, ensuring a delightful treat.
- Unsweetened Cocoa Powder: The star ingredient! Make sure to use a good quality cocoa powder for intense chocolate flavor.
- Vanilla Extract: Enhances the overall flavor profile, adding depth to your chocolate ice cream.
- Semi-Sweet Chocolate Chips: Optional, but highly recommended for an extra chocolatey experience. They provide a delightful texture contrast.
Recommended Utensils
- Ice Cream Maker: Essential for churning the mixture into a creamy, smooth consistency. If you don’t have one, consider investing in a quality machine.
- Mixing Bowls: A medium bowl for mixing the ingredients and a larger bowl for chilling the mixture.
- Whisk: For blending the ingredients evenly.
- Spatula: To scrape down the sides of your mixing bowl and ensure everything is well combined.
- Airtight Container: For storing your ice cream once it’s churned and frozen. Choose a container that’s large enough to hold the entire batch.
With these ingredients and utensils at your disposal, you’re well-equipped to make the most delicious Chocolate Ice Cream. Now, let’s move on to the detailed recipe steps!
Detailed Recipe Steps
Follow these steps carefully to ensure the perfect Chocolate Ice Cream:
- Combine the Ingredients: In a medium bowl, whisk together the heavy cream, whole milk, granulated sugar, cocoa powder, and vanilla extract until the mixture is smooth. Make sure the sugar dissolves completely; this is crucial for a creamy texture.
- Incorporate Chocolate Chips: If you’re using semi-sweet chocolate chips, stir them in now. This step is optional, but they add a wonderful texture and enhance the chocolate flavor.
- Chill the Mixture: Cover the bowl and place it in the refrigerator for about 1-2 hours. Chilling the mixture helps it churn better and results in a smoother ice cream.
- Churn in the Ice Cream Maker: Pour the chilled mixture into your ice cream maker and churn according to the manufacturer’s instructions. Typically, this takes about 20-30 minutes. You’ll know it’s ready when it reaches a soft-serve consistency.
- Transfer to Storage: Using a spatula, transfer the churned ice cream into an airtight container. Spread it evenly and smooth the top.
- Freeze Until Firm: Cover the container and place it in the freezer for at least 4 hours or until it’s firm. For the best texture, let it freeze overnight.
- Serve and Enjoy: Once frozen, scoop out your delicious homemade chocolate ice cream and serve it in bowls or cones. Don’t forget to add your favorite toppings!
Here are some practical tips to enhance your ice cream-making experience:
- Use high-quality ingredients for the best flavor. Organic creams and premium cocoa powder can significantly elevate your ice cream.
- Make sure your ice cream maker is fully frozen before use. If it’s not cold enough, your ice cream may not churn properly.
- For a creamier texture, consider adding a tablespoon of corn syrup to the mixture; this helps prevent ice crystals from forming.
- If you don’t have an ice cream maker, you can still make this recipe by placing the mixture in a shallow dish and stirring it every 30 minutes until it’s frozen.
Tips and Variations
While the classic Chocolate Ice Cream is delicious on its own, there are many ways to customize this recipe to suit your taste or dietary needs. Here are some suggestions:
- Vegan Chocolate Ice Cream: Substitute the heavy cream and whole milk with coconut cream and almond milk. Use a plant-based sweetener to keep it vegan-friendly.
- Lower Sugar Option: Instead of granulated sugar, use a natural sweetener like honey, agave syrup, or a sugar substitute like stevia. Just adjust the quantity to taste.
- Flavor Variations: Experiment with adding ingredients such as espresso powder for a mocha flavor, or a teaspoon of peppermint extract for a refreshing mint chocolate ice cream.
- Add-Ins: Incorporate nuts, cookie pieces, or fruit to create a custom mix-in experience. Try adding crushed Oreos or chopped strawberries for added texture and flavor.
Common mistakes to avoid:
- Not chilling the mixture long enough before churning can lead to a less creamy texture.
- Over-churning the ice cream can result in a grainy texture. Keep an eye on it and stop once it reaches soft-serve consistency.
- Not allowing the ice cream to set in the freezer long enough can lead to a soupy consistency when scooping.
Nutritional Values and Benefits
Homemade Chocolate Ice Cream can be a delightful treat, and understanding its nutritional values can help you enjoy it mindfully. Here’s a breakdown of the estimated nutritional information per serving (1/2 cup):
- Calories: Approximately 250-300 calories
- Protein: 3-4 grams
- Fat: 18-20 grams
- Carbohydrates: 25-30 grams
While it’s essential to enjoy treats in moderation, the ingredients in this chocolate ice cream also offer some benefits:
- Cocoa Powder: Rich in antioxidants, cocoa can help improve heart health and boost mood.
- Heavy Cream: Contains healthy fats that can provide a satisfying feeling of fullness.
- Whole Milk: A good source of calcium and vitamin D, both important for bone health.
In moderation, this chocolate ice cream can be part of a balanced diet. Its rich flavor and creamy texture make it a satisfying dessert that can be enjoyed on special occasions or as an everyday treat.
Frequently Asked Questions
Can I make Chocolate Ice Cream without an ice cream maker?
Yes! You can make Chocolate Ice Cream without an ice cream maker by placing the mixture in a shallow dish and stirring it every 30 minutes until it freezes.
How do I store homemade Chocolate Ice Cream?
Store your homemade Chocolate Ice Cream in an airtight container in the freezer to keep it fresh. It can last for up to 2-3 weeks.
What can I use instead of heavy cream?
You can substitute heavy cream with coconut cream or cashew cream for a dairy-free option that still results in creamy ice cream.
Can I add other flavors to my Chocolate Ice Cream?
Absolutely! You can add flavors like vanilla, mint, or espresso to create unique variations of your Chocolate Ice Cream.
Conclusion
In conclusion, making your own Chocolate Ice Cream is not only rewarding but also a delicious way to indulge in a classic treat. With simple ingredients and easy-to-follow steps, you can create a dessert that delights both the young and the young at heart. Remember to experiment with flavors and variations to make this recipe your own. We invite you to try this Chocolate Ice Cream recipe, share your experiences, and leave a comment below! For more delicious recipes, check out our Deviled Eggs Pasta Salad or Hot Honey Pasta Salad for treats you will love! Don’t forget to share this recipe on your favorite social media platforms!
For more mouthwatering recipes, visit our Pinterest page!
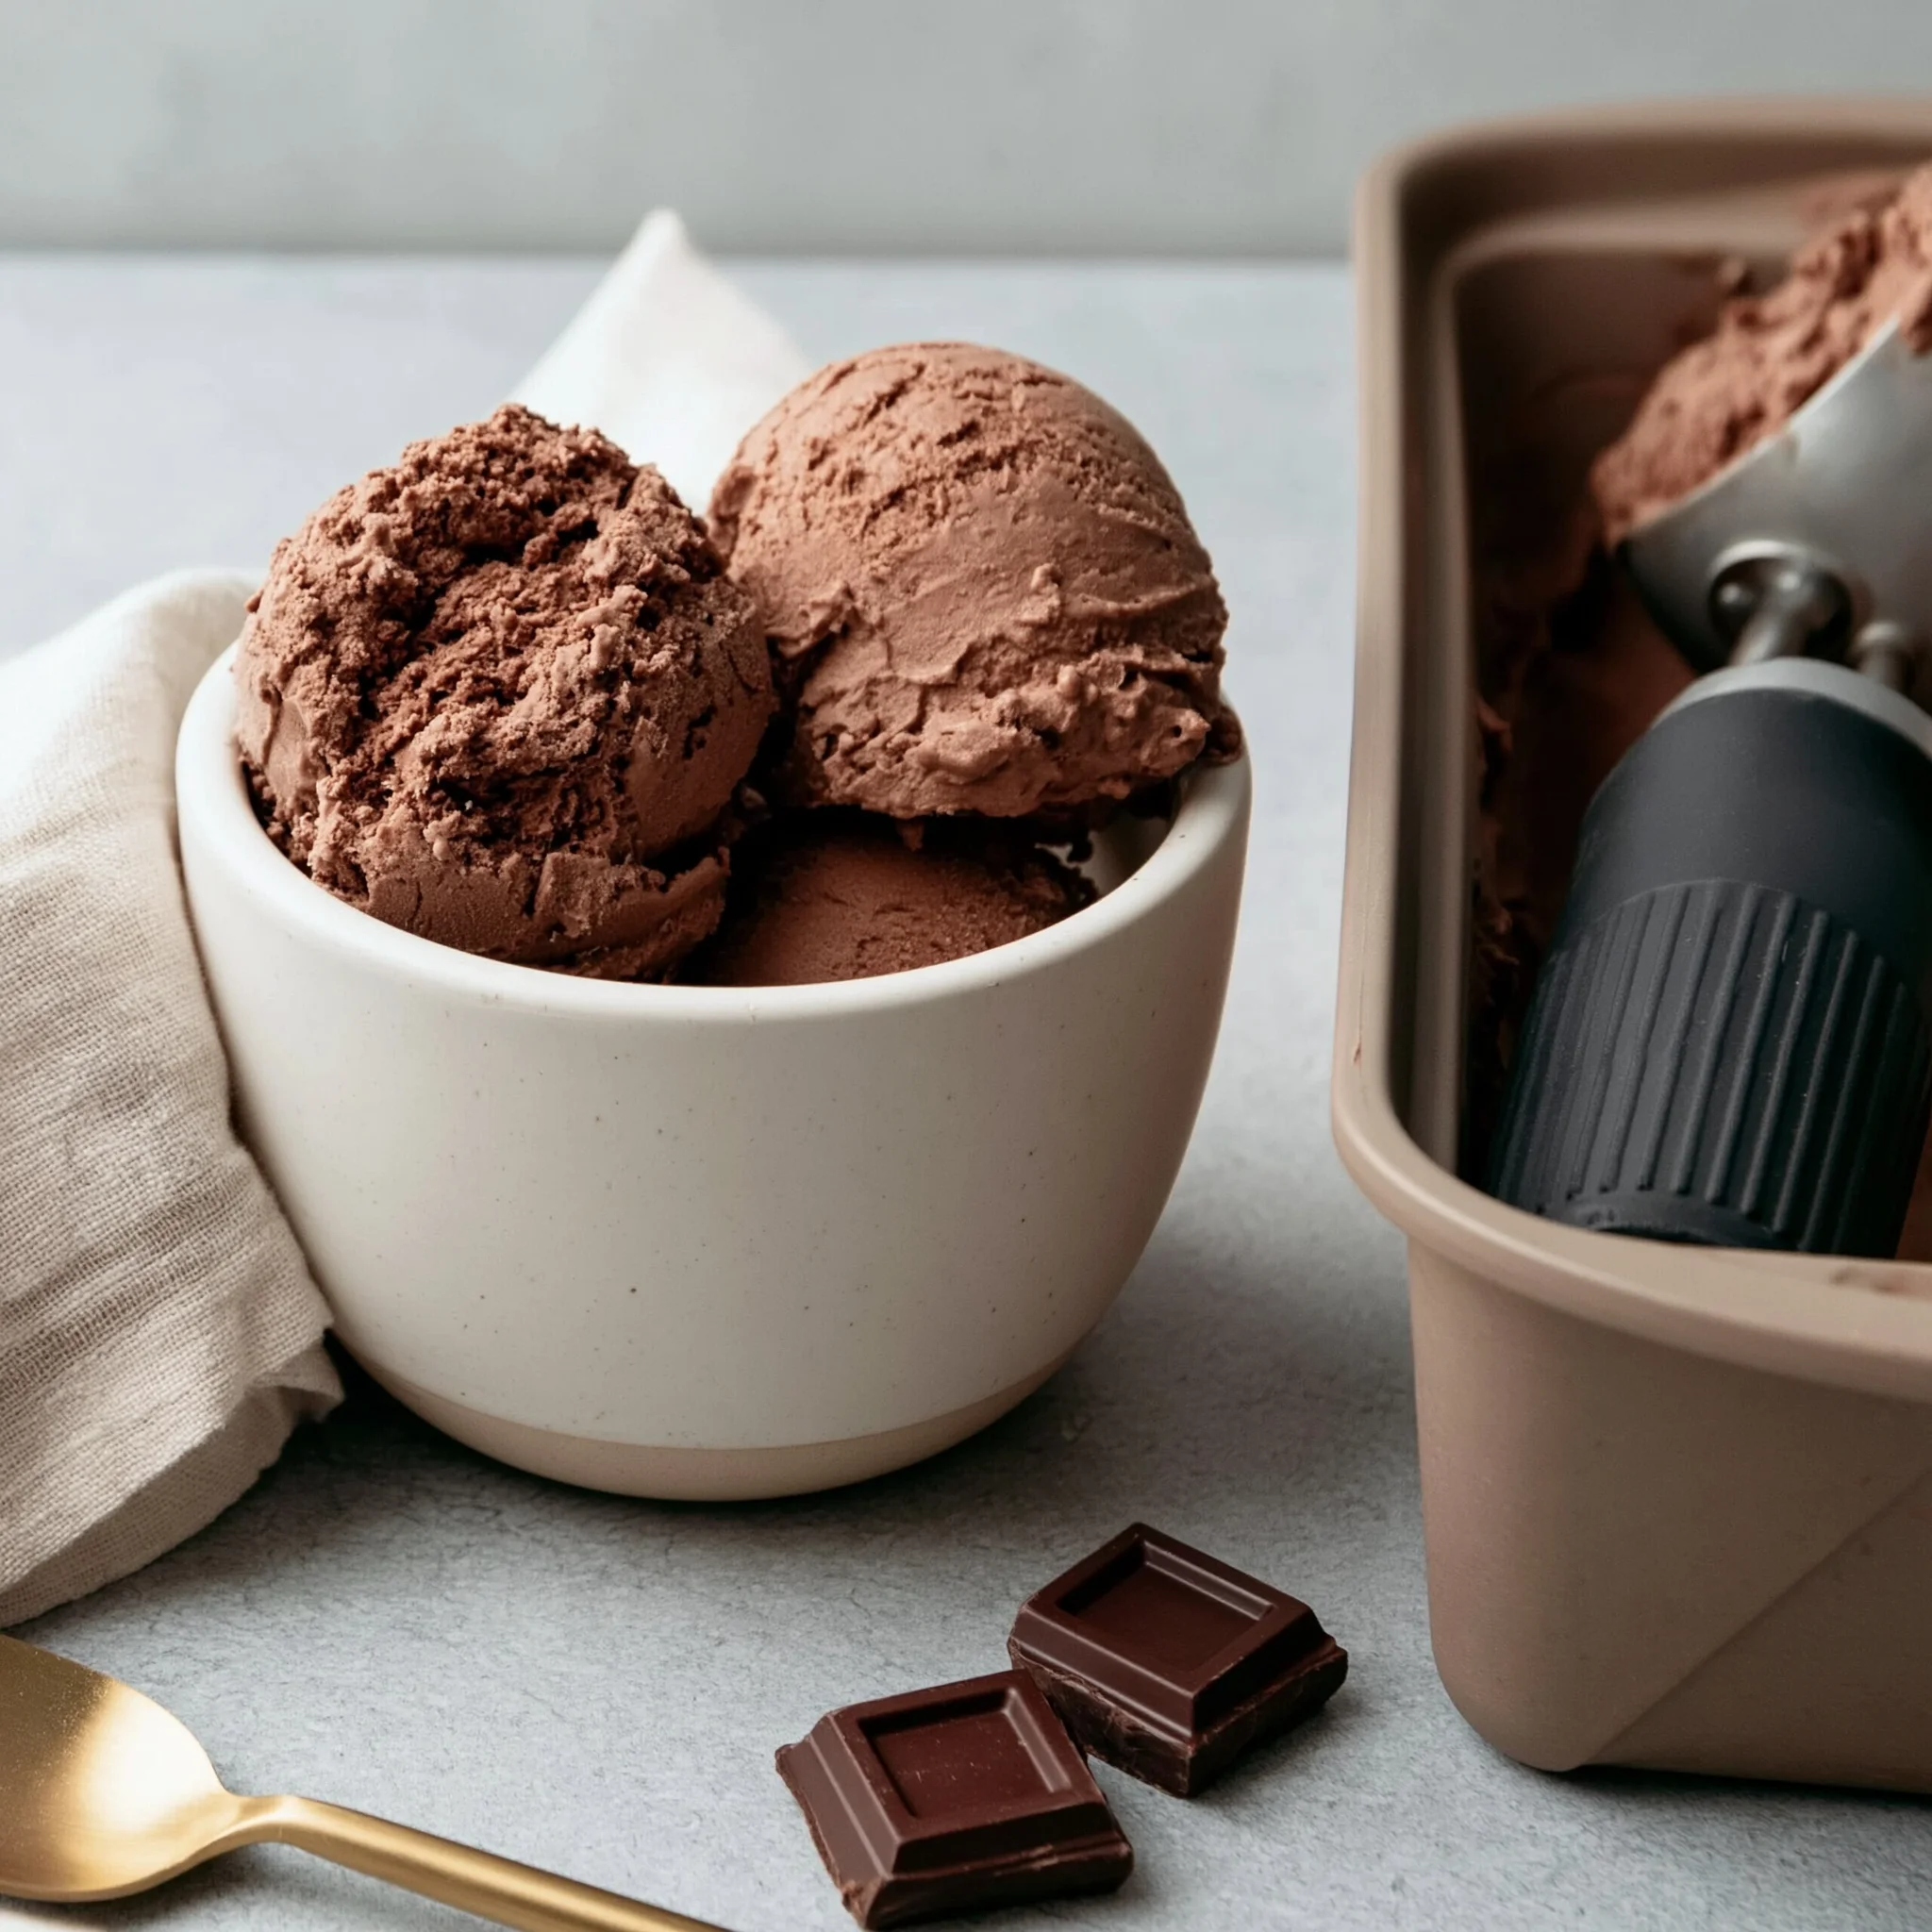
Chocolate Ice Cream
Ingredients
Equipment
Method
- Step 1: In a medium bowl, whisk together the heavy cream, whole milk, granulated sugar, cocoa powder, and vanilla extract until the mixture is smooth.
- Step 2: If you’re using semi-sweet chocolate chips, stir them in now.
- Step 3: Cover the bowl and place it in the refrigerator for about 1-2 hours.
- Step 4: Pour the chilled mixture into your ice cream maker and churn according to the manufacturer’s instructions.
- Step 5: Using a spatula, transfer the churned ice cream into an airtight container.
- Step 6: Cover the container and place it in the freezer for at least 4 hours or until it’s firm.
- Step 7: Once frozen, scoop out your delicious homemade chocolate ice cream and serve it in bowls or cones.