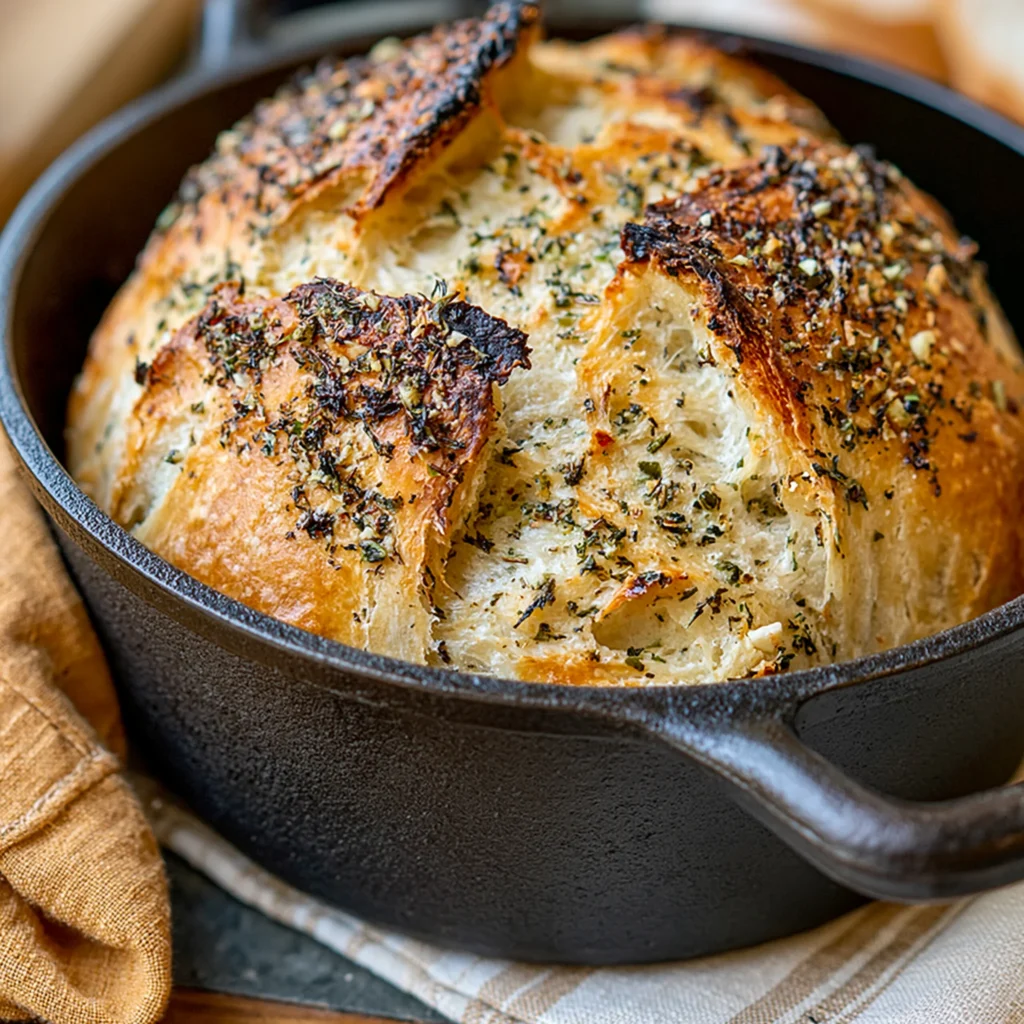
Welcome to the world of homemade bread, where the aroma of freshly baked goods fills your kitchen and the taste of warm, crusty bread transports you to a cozy bakery. Today, I’m excited to share my No Knead Garlic Herb Dutch Oven Bread Recipe with Crispy Crust, a simple yet delightful recipe that requires no kneading and results in a stunning loaf bursting with flavor. This bread is not just easy to make; it’s also incredibly rewarding, making it a perfect choice for both novice bakers and seasoned pros alike.
Imagine pulling a golden-brown loaf out of your oven, the crispy crust crackling as you slice into it, revealing a soft, airy interior infused with the rich flavors of garlic and herbs. Whether you’re slathering it with butter, pairing it with soups, or enjoying it with a cheese platter, this bread is sure to impress. Plus, the best part? You can make it with just a few simple ingredients and minimal effort!
Join me as we dive into this delicious recipe, explore its many benefits, and discover why you’ll fall in love with making your own bread at home. Let’s get started!
Why You’ll Love This Recipe
There are countless reasons to adore this No Knead Garlic Herb Dutch Oven Bread Recipe with Crispy Crust. First and foremost, the simplicity of the process is a game changer. You don’t need to spend hours kneading dough or worrying about complex techniques. Instead, you mix a few ingredients, let the dough rest overnight, and voila! You have the foundation for a fantastic loaf of bread.
Secondly, the flavor profile of this bread is simply unmatched. The combination of fresh garlic and herbs like rosemary and thyme creates a savory delight that elevates any meal. Whether you’re serving it with pasta, alongside a hearty soup, or enjoying it on its own, each bite is packed with flavor.
Another appealing aspect is the versatility. You can easily adapt this recipe to suit your taste preferences. Want to add some cheese? Go for it! Prefer different herbs? Swap them in! The possibilities are endless, making this bread a fantastic base for experimentation.
Finally, the satisfaction of baking your own bread is incredibly rewarding. There’s something magical about creating a delicious loaf from scratch, and sharing it with friends and family makes it even better. You’ll find that this bread not only tastes amazing but also brings people together.
Why You Should Try This Recipe
With so many bread recipes out there, you might be wondering why this particular No Knead Garlic Herb Dutch Oven Bread Recipe with Crispy Crust stands out. For one, the no-knead method is revolutionary for home bakers. It allows for a long fermentation process that develops flavor without the labor of traditional kneading. This slow rise enhances the taste and texture, giving you a loaf that rivals those from artisan bakeries.
Moreover, using a Dutch oven creates an ideal environment for baking bread. The heavy pot traps steam, resulting in a crispy crust and a beautifully baked interior. This technique is often used by professional bakers, but it’s incredibly easy to replicate at home. If you’ve ever been intimidated by bread-making, this recipe is your perfect introduction.
The ingredients are straightforward and easy to find, making this recipe accessible to everyone. All you need are pantry staples like flour, salt, yeast, and warm water, along with fresh garlic and herbs for that extra kick. It’s a fantastic way to utilize ingredients you probably already have on hand.
Finally, the time commitment is minimal. While the dough does require a long rest, the active preparation time is just a few minutes. This means you can easily fit bread-making into your busy schedule, allowing you to enjoy homemade goodness without the fuss.
Ingredients and Utensils Needed
Ingredients
- 3 cups all-purpose flour
- 1 ½ teaspoons salt
- ½ teaspoon instant yeast
- 1 ½ cups warm water (about 110°F)
- 4 cloves garlic, minced
- 2 tablespoons fresh rosemary, chopped (or 1 tablespoon dried)
- 2 tablespoons fresh thyme, chopped (or 1 tablespoon dried)
These ingredients are simple yet powerful. The all-purpose flour provides the structure, while the salt enhances flavor and strengthens the dough. The instant yeast is a baker’s best friend, ensuring a reliable rise. Warm water activates the yeast, and the garlic and herbs infuse the bread with deliciousness.
Utensils
Having the right tools can make your baking experience smoother and more enjoyable. Here’s what you’ll need:
- Large mixing bowl
- Wooden spoon or spatula for mixing
- Plastic wrap or kitchen towel for covering the bowl
- Measuring cups and spoons
- Clean surface for shaping the dough
- Dutch oven with a lid (cast iron preferred)
- Parchment paper (optional for easier removal)
- Wire rack for cooling
These utensils are common and easy to find in any kitchen, making this recipe approachable for everyone. The Dutch oven is especially important for achieving that coveted crispy crust, so invest in a good-quality one if you can.
Detailed Recipe Steps
Now that you have your ingredients and tools ready, let’s walk through the steps to create this amazing No Knead Garlic Herb Dutch Oven Bread Recipe with Crispy Crust.
Step 1: Combine Dry Ingredients
In a large mixing bowl, combine 3 cups of all-purpose flour, 1 ½ teaspoons of salt, and ½ teaspoon of instant yeast. Use a wooden spoon or spatula to mix these dry ingredients well. This step ensures that the yeast and salt are evenly distributed throughout the flour, which is crucial for consistent rising and flavor.
Step 2: Add Wet Ingredients
Next, add 1 ½ cups of warm water, 4 cloves of minced garlic, 2 tablespoons of fresh rosemary, and 2 tablespoons of fresh thyme to the dry ingredients. Stir until a shaggy dough forms. Don’t worry about being too precise; it’s okay if the dough looks a bit messy. The moisture from the water will help bring everything together as it rests.
Step 3: Let it Rest
Cover the bowl with plastic wrap or a clean kitchen towel and let it rest at room temperature for 12 to 18 hours. This long fermentation period is what develops the flavor and texture of the bread. You can start this step the night before you plan to bake, making it a perfect addition to your breakfast or brunch.
Step 4: Preheat the Oven
When you’re ready to bake, preheat your oven to 450°F (230°C). Place a Dutch oven (with lid) inside to heat for 30 minutes. Preheating the pot ensures a hot environment for the bread to rise and develop that signature crispy crust.
Step 5: Shape the Dough
Lightly flour a clean surface and gently turn the dough out onto it. Use floured hands to shape the dough into a ball. This step doesn’t need to be perfect; just gather the dough into a cohesive shape. Let it rest for about 30 minutes while the Dutch oven continues to heat.
Step 6: Transfer to Dutch Oven
Carefully remove the hot Dutch oven from the oven. If you’re using parchment paper, you can place the dough on it for easier transfer. Gently place the dough into the pot and cover it with the lid. The steam trapped inside will help create that beautiful crust.
Step 7: Bake the Bread
Bake the bread for 30 minutes with the lid on. This allows the bread to steam and rise properly. After 30 minutes, remove the lid and bake for an additional 15-20 minutes, or until the bread is golden brown and crispy. Keep an eye on it during this last phase, as oven temperatures can vary.
Step 8: Cool and Slice
Once the bread is done, carefully remove it from the Dutch oven and let it cool on a wire rack. This cooling period is essential to allow the steam to escape, preventing the crust from becoming soggy. After about 30 minutes, slice the bread and enjoy the heavenly flavor and texture.
Tips and Variations
While this No Knead Garlic Herb Dutch Oven Bread Recipe with Crispy Crust is fantastic as is, here are some tips and variations to consider:
- Cheese Addition: For a cheesy twist, add 1 cup of shredded cheese (like cheddar or mozzarella) to the dough along with the garlic and herbs. It will melt beautifully and add extra flavor.
- Herb Variations: Feel free to experiment with different herbs based on your preference. Oregano, basil, or even a touch of red pepper flakes can add unique flavors.
- Vegan Option: This recipe is naturally vegan, as it doesn’t contain any dairy or eggs. Enjoy it guilt-free!
- Gluten-Free Version: To make a gluten-free loaf, substitute the all-purpose flour with a gluten-free flour blend. Be sure to add a binding agent like xanthan gum if your blend doesn’t contain it.
- Avoid Common Mistakes: Ensure your water is warm but not hot, as excessive heat can kill the yeast. Also, be patient during the resting period; the longer the dough sits, the more flavorful the bread will be.
Nutritional Values and Benefits
Understanding the nutritional value of your homemade bread can help you appreciate it even more. Here’s a breakdown of the estimated nutritional values per slice (based on 12 slices per loaf):
- Calories: 150
- Protein: 5g
- Fat: 0.5g
- Carbohydrates: 31g
- Fiber: 1g
This bread is low in fat and a good source of carbohydrates, making it a perfect energy source. The inclusion of garlic not only adds flavor but also provides numerous health benefits, including anti-inflammatory properties and immune support. The herbs like rosemary and thyme are rich in antioxidants, further enhancing the nutritional profile of your bread.
Frequently Asked Questions
What is no-knead bread?
No-knead bread is a method of bread-making that requires minimal mixing and no traditional kneading. The dough is allowed to rise for an extended period, which develops flavor and texture without the need for intensive labor.
Can I add other flavors to this bread?
Absolutely! This recipe is versatile, and you can add ingredients like cheese, olives, sun-dried tomatoes, or different herbs to customize the flavor to your liking.
How do I store leftover bread?
To store leftover bread, wrap it in plastic wrap or place it in a paper bag at room temperature. For longer storage, you can freeze the bread, wrapping it tightly in foil or plastic wrap to prevent freezer burn.
Why is my bread dense?
Dense bread can result from not allowing the dough to rise long enough or using too much flour. Make sure to measure your ingredients accurately and give the dough ample time to ferment.
Can I make this recipe gluten-free?
Yes! You can substitute all-purpose flour with a gluten-free flour blend. Ensure that your blend has a binding agent like xanthan gum for the best results.
Conclusion
In conclusion, this No Knead Garlic Herb Dutch Oven Bread Recipe with Crispy Crust is a must-try for anyone looking to elevate their bread-making game. With minimal effort and a few simple ingredients, you can create a delicious loaf that will impress your family and friends. Don’t forget to experiment with different flavors and herbs to make it uniquely yours!
If you enjoyed this recipe, please share your thoughts in the comments below. For more delicious recipes, check out my Creamy Ham and Potato Soup Recipe or Fresh Grinder Tortellini Salad Recipe for treats you will love! Happy baking!
To discover more delightful recipes, visit my Pinterest page at Louisa’s Recipes Blog.
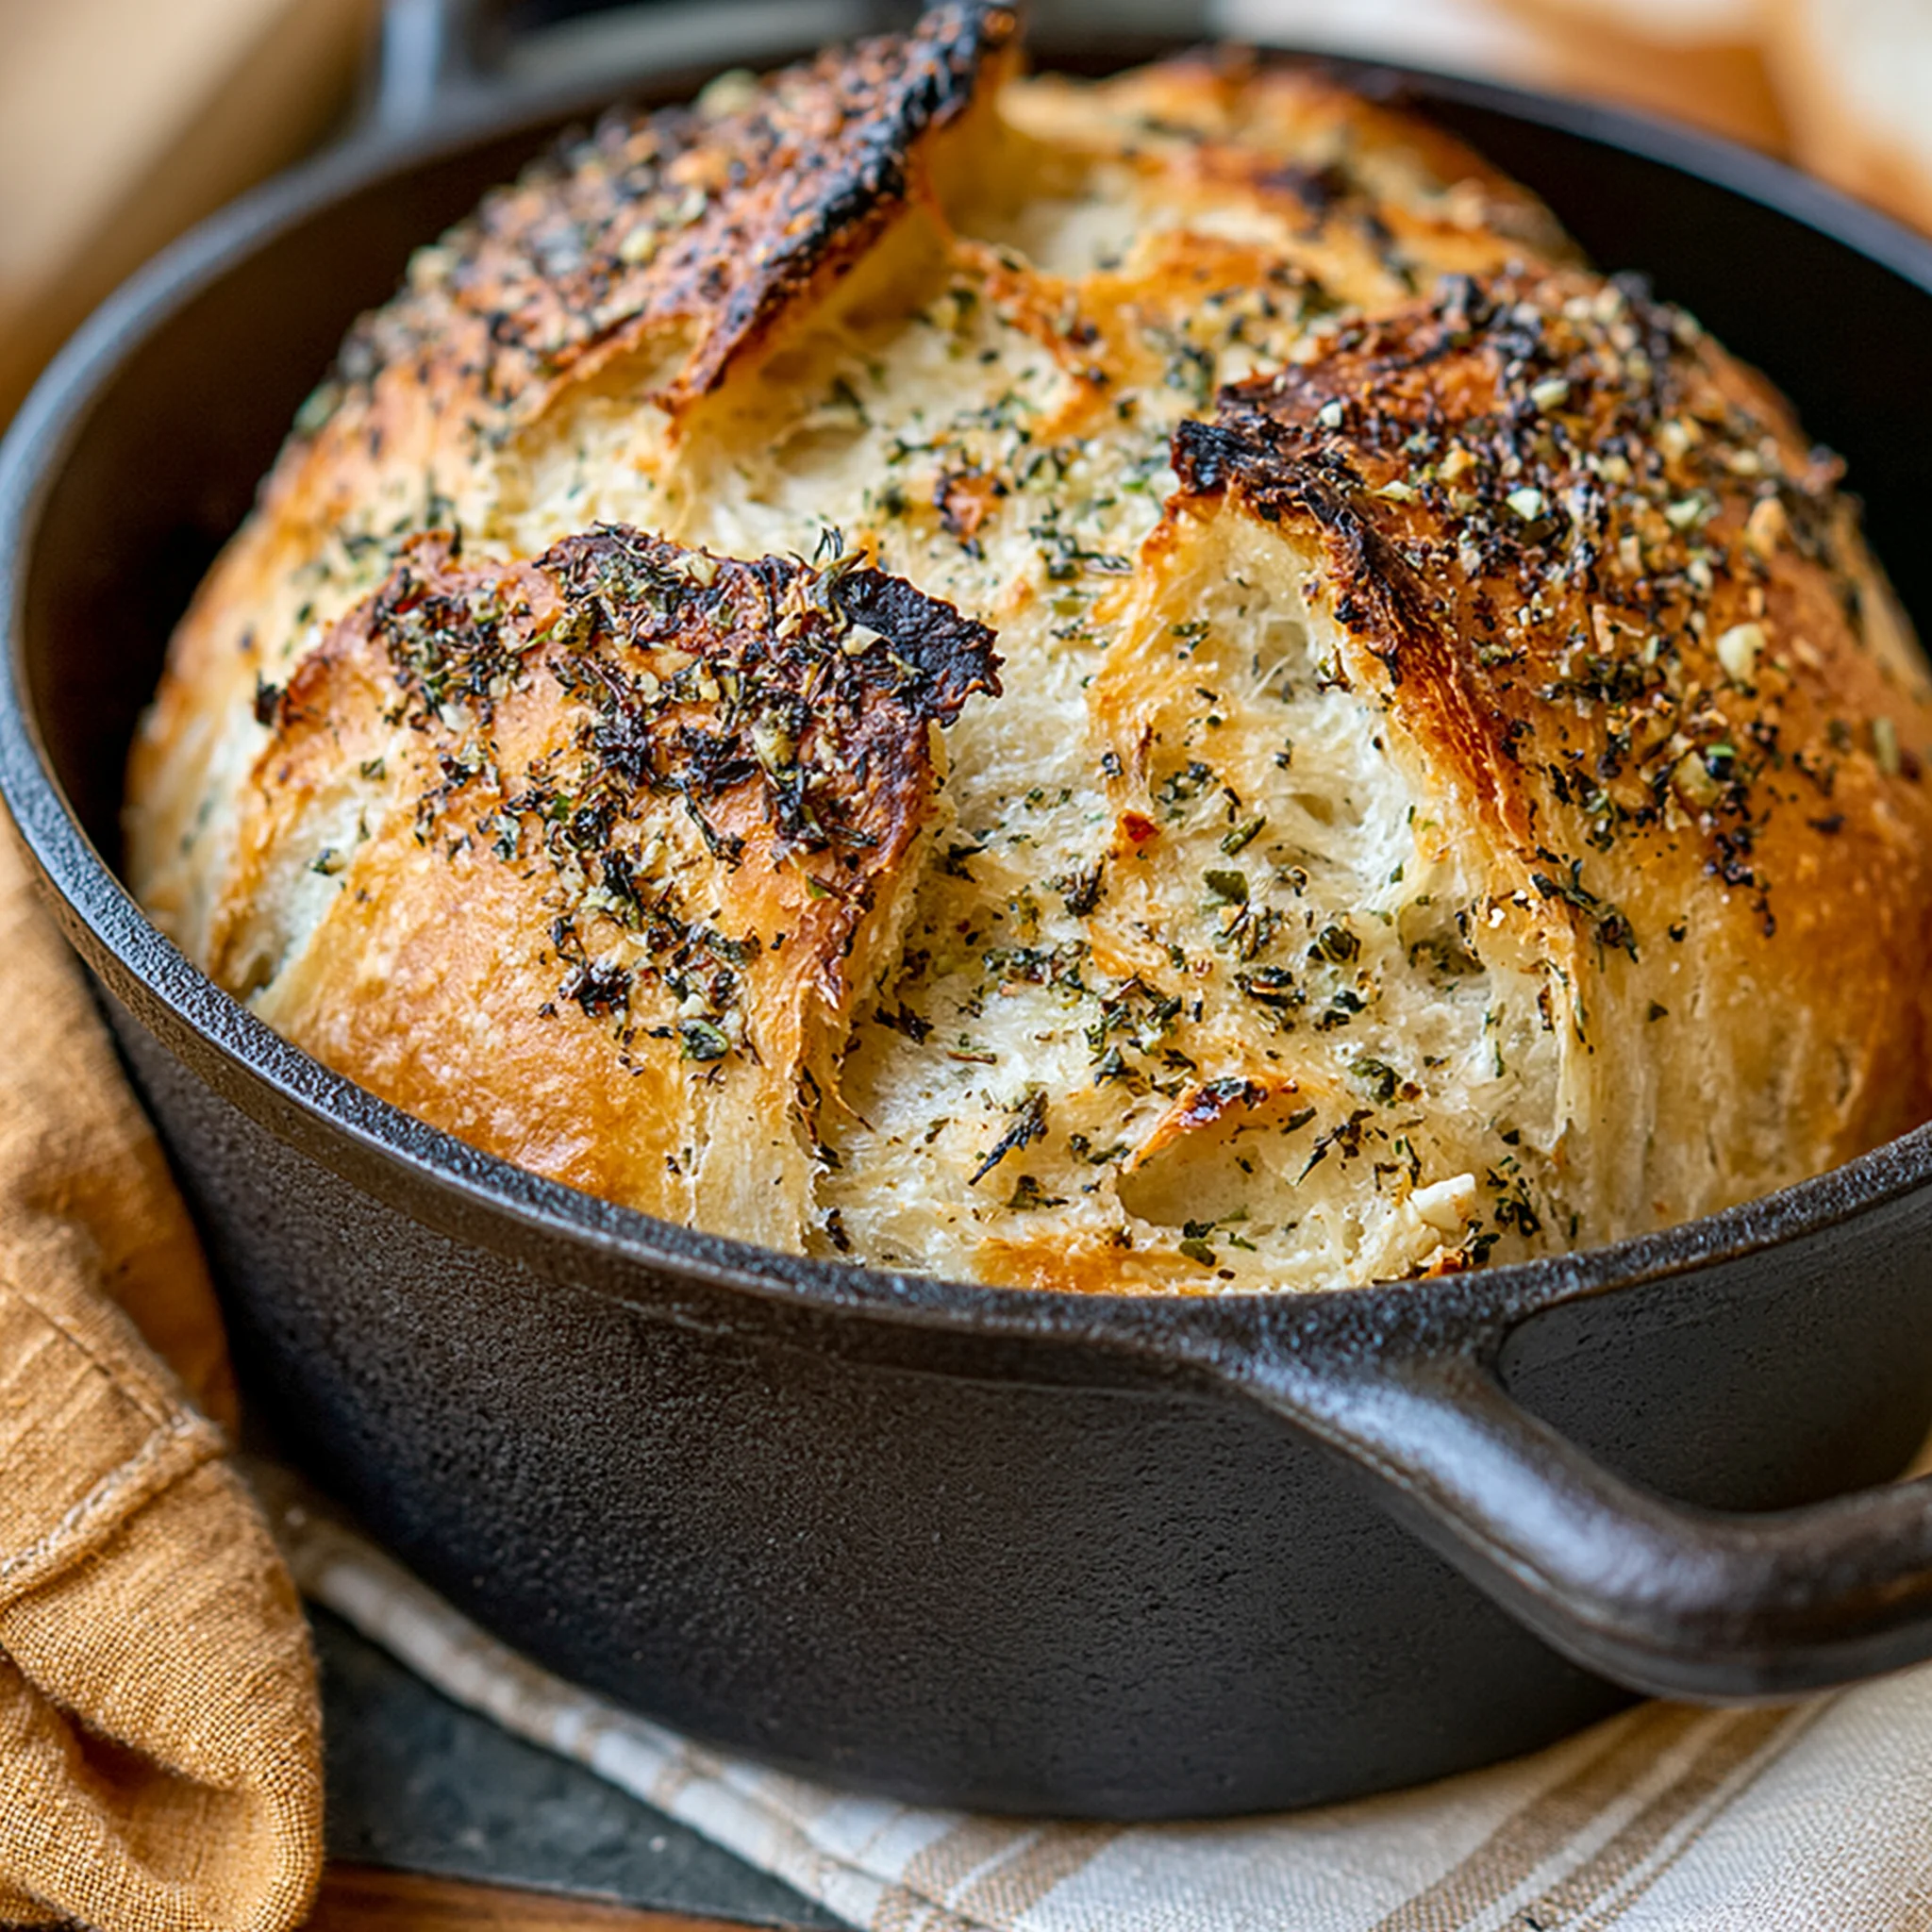
No Knead Garlic Herb Dutch Oven Bread Recipe with Crispy Crust
Ingredients
Equipment
Method
- Step 1: In a large mixing bowl, combine 3 cups of all-purpose flour, 1 ½ teaspoons of salt, and ½ teaspoon of instant yeast. Mix well.
- Step 2: Add 1 ½ cups of warm water, 4 cloves of minced garlic, 2 tablespoons of fresh rosemary, and 2 tablespoons of fresh thyme to the dry ingredients. Stir until a shaggy dough forms.
- Step 3: Cover the bowl with plastic wrap or a clean kitchen towel and let it rest at room temperature for 12 to 18 hours.
- Step 4: Preheat your oven to 450°F (230°C) and place a Dutch oven (with lid) inside to heat for 30 minutes.
- Step 5: Lightly flour a clean surface and gently turn the dough out onto it. Shape the dough into a ball and let it rest for about 30 minutes.
- Step 6: Carefully remove the hot Dutch oven from the oven and place the dough inside. Cover with lid.
- Step 7: Bake the bread for 30 minutes with the lid on. Then remove the lid and bake for an additional 15-20 minutes, until golden brown.
- Step 8: Once done, remove from the Dutch oven and let it cool on a wire rack for about 30 minutes before slicing.