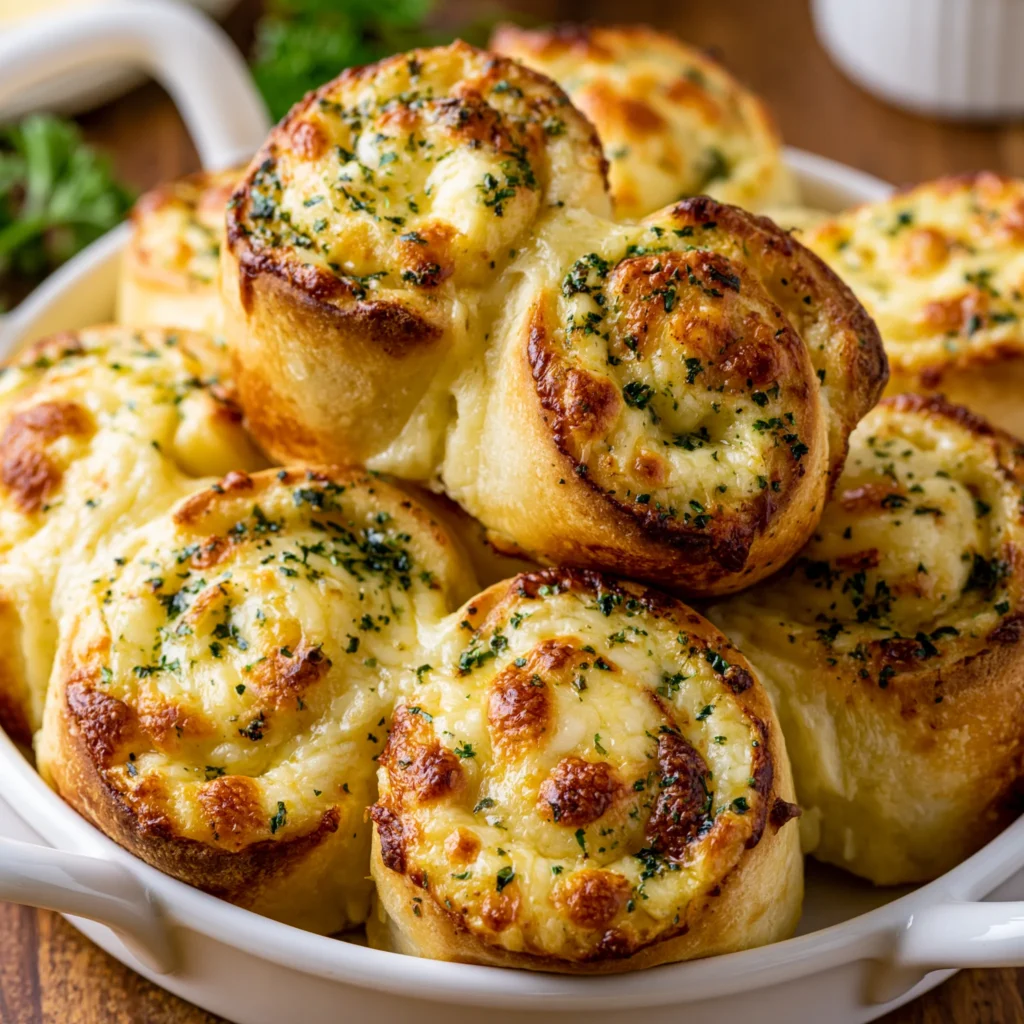
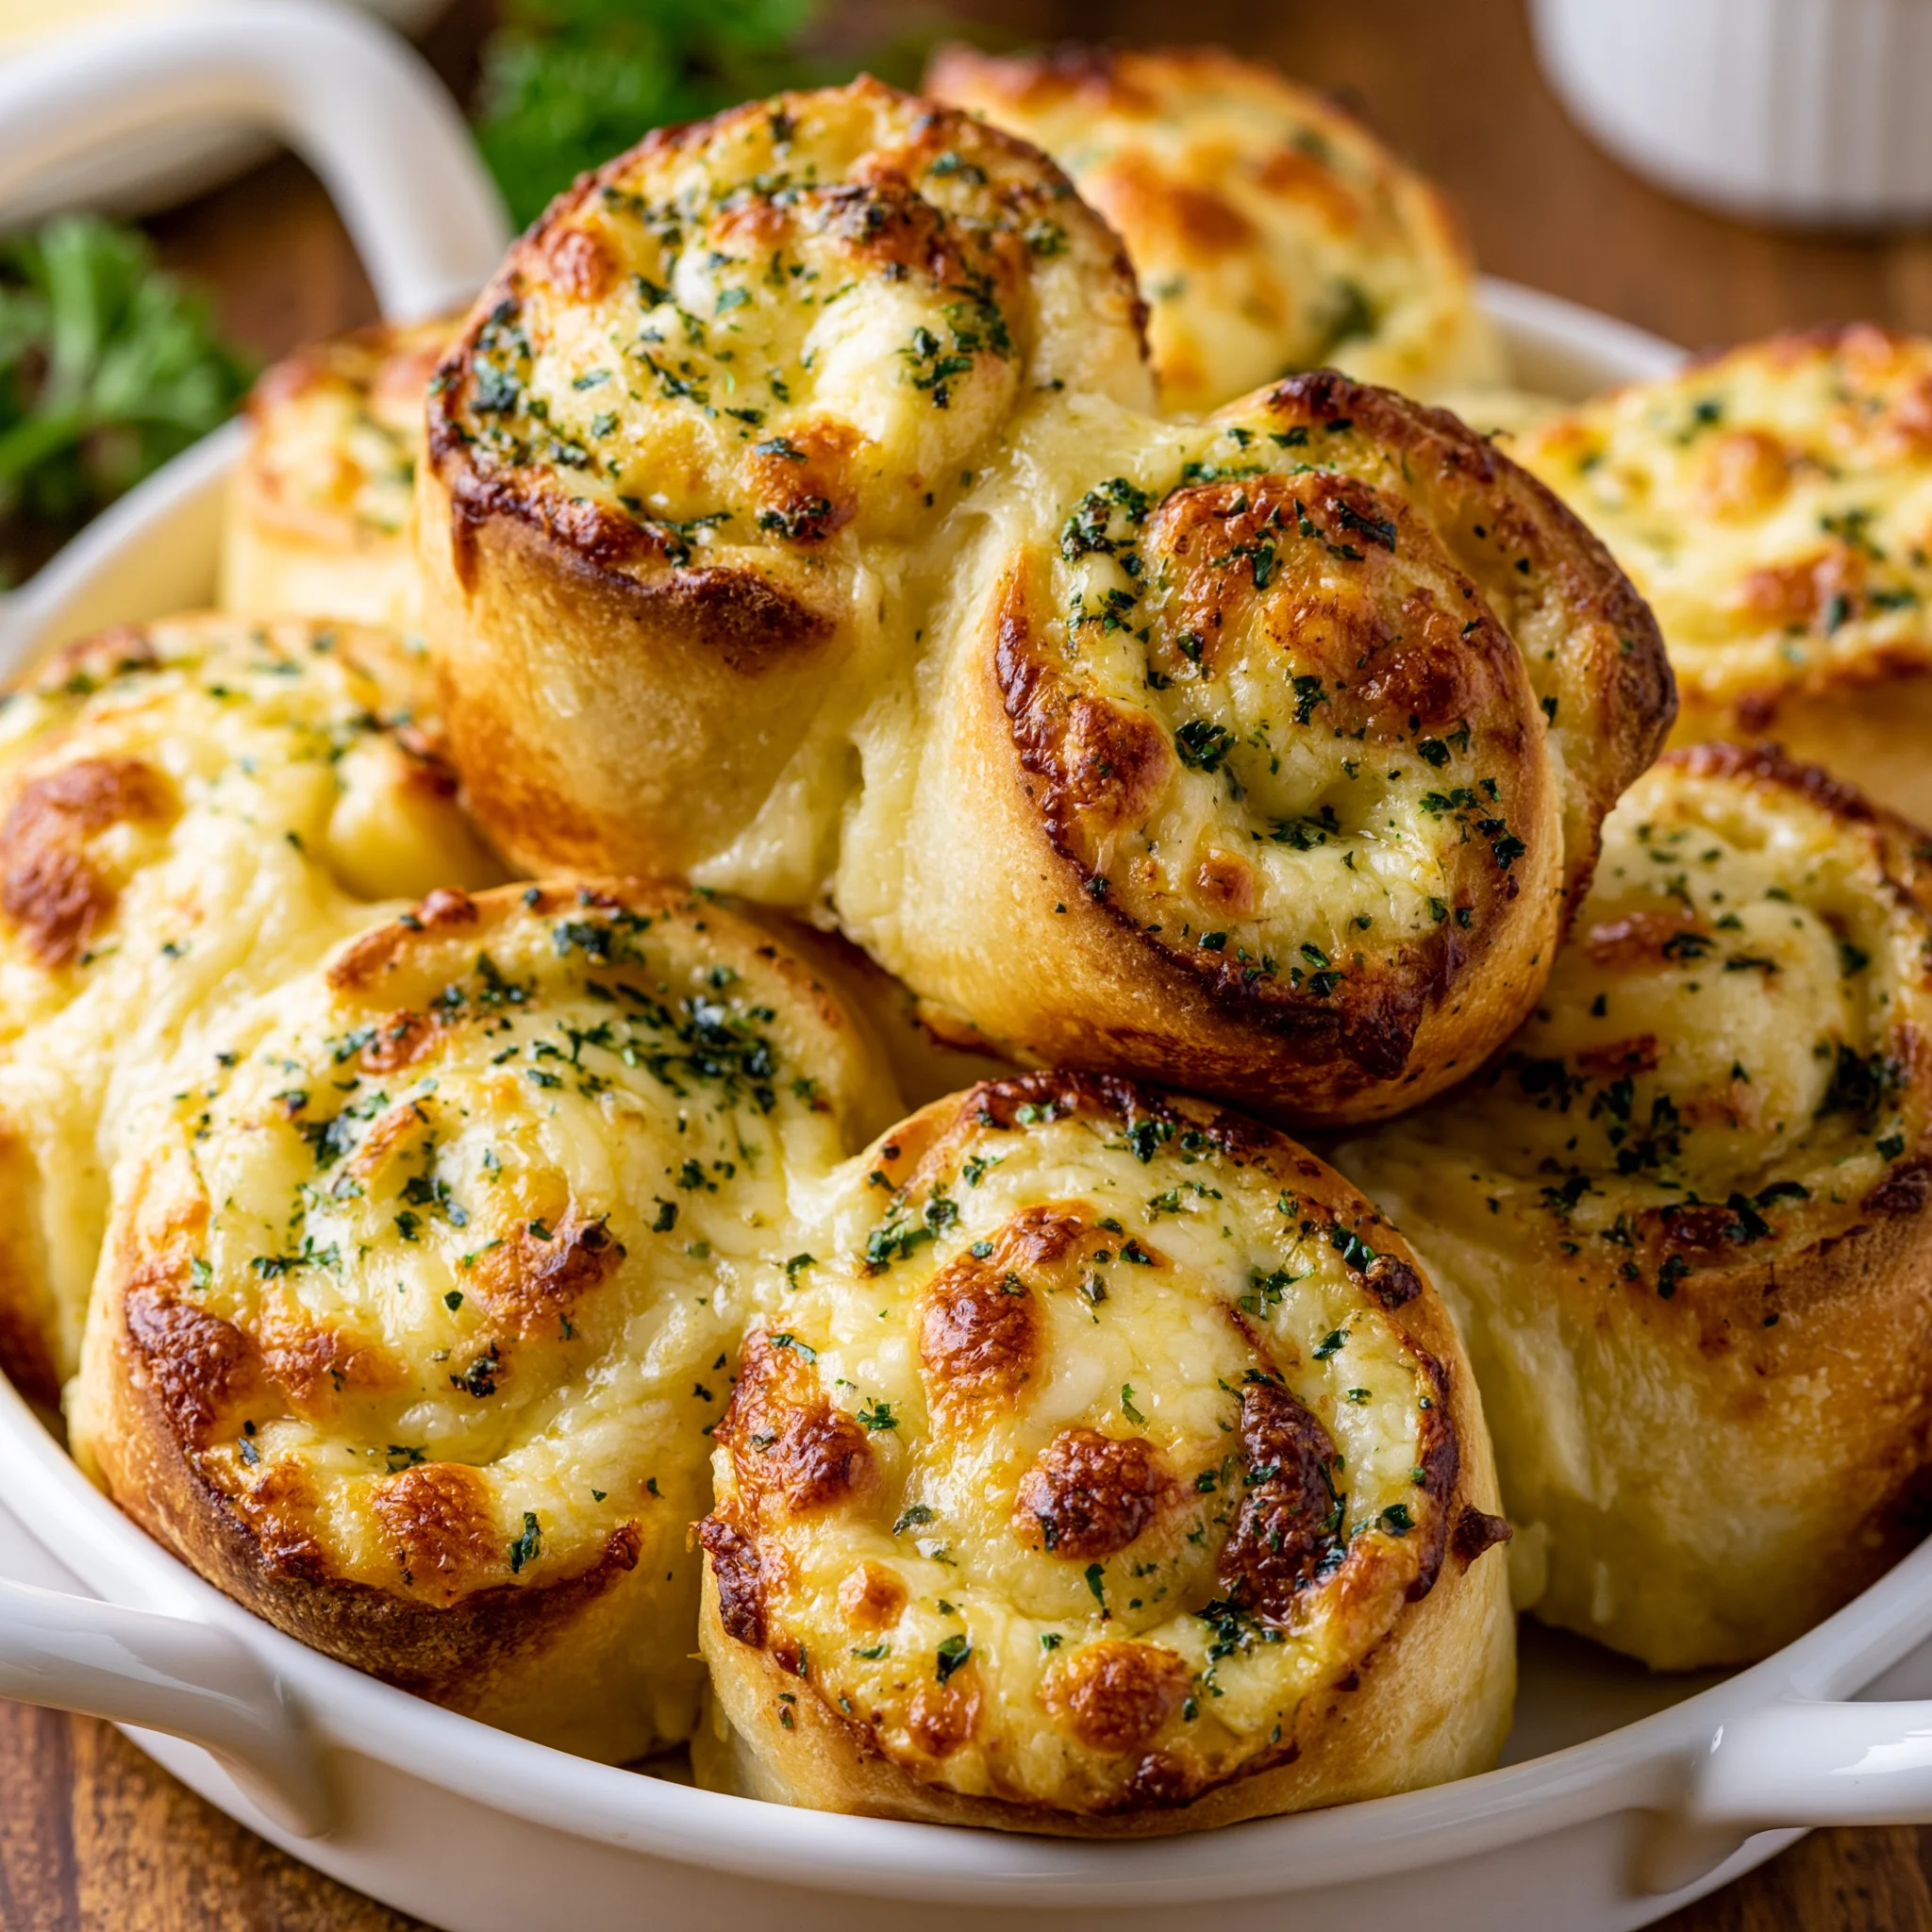
Welcome to the ultimate comfort food experience with our Cheesy Garlic Butter Rollups! Imagine biting into warm, flaky crescents filled with gooey mozzarella and rich Parmesan, all enhanced by the aromatic flavors of garlic and fresh herbs. Whether you’re hosting a family gathering, enjoying a cozy movie night, or just want a delicious snack, these rollups are sure to impress. With just a few simple ingredients and minimal prep time, you can create an appetizer that will have everyone coming back for seconds (and thirds!). So, let’s dive into this mouthwatering recipe that will elevate your culinary game!
Why You’ll Love This Recipe
There are countless reasons to love this Cheesy Garlic Butter Rollups recipe. First and foremost, it’s incredibly easy to make. With just a can of refrigerated crescent roll dough and a handful of ingredients, you can whip up these cheesy delights in no time! The combination of mozzarella and Parmesan cheese creates a rich, creamy filling that melts beautifully as it bakes, offering a satisfying texture that pairs perfectly with the flaky exterior.
Another reason to adore this recipe is its versatility. You can serve these rollups as an appetizer, snack, or even as a side dish during dinner. They’re perfect for parties, game days, or a simple weeknight treat. Plus, you can easily customize the filling to suit your preferences. Want to add some spinach for a pop of color and nutrition? Or maybe some cooked bacon for a savory twist? The possibilities are endless!
Finally, the aroma that fills your kitchen while these rollups are baking is simply irresistible. The combination of garlic and melted butter wafts through the air, making it hard to wait for them to come out of the oven. Trust me, your taste buds will thank you, and your friends and family will be begging for the recipe!
Why You Should Try This Recipe
If you’re looking for a recipe that is not only delicious but also quick and easy, look no further than these Cheesy Garlic Butter Rollups. With a prep time of just 10 minutes and a baking time of 12-15 minutes, you can have these delectable treats ready in under half an hour. This makes them a perfect choice for those busy weeknights when you want something comforting without spending hours in the kitchen.
Moreover, these rollups are incredibly satisfying. The combination of cheesy goodness and buttery garlic flavor is sure to please even the pickiest eaters. Kids love them; adults can’t resist them. They are a great way to introduce a bit of gourmet flair into everyday meals without overwhelming your schedule or budget.
One of the best aspects of this recipe is its crowd-pleasing nature. Whether you’re hosting a game night, a movie marathon, or a casual gathering, these rollups will be the star of the show. They are easy to share, and everyone can grab one (or two!) as they mingle. Plus, they pair beautifully with a variety of dips and sauces, from marinara to ranch dressing, allowing you to cater to different tastes.
Finally, this recipe is a great opportunity to get your family involved in the kitchen. Kids can help with rolling up the dough, and everyone can join in on brushing the garlic butter on top. Cooking together creates wonderful memories, and these rollups are an ideal project for all ages!
Ingredients and Utensils Needed
Ingredients
- 1 can of refrigerated crescent roll dough
- 1 cup shredded mozzarella cheese
- 1/2 cup grated Parmesan cheese
- 4 tablespoons unsalted butter, melted
- 3 cloves garlic, minced
- 1 teaspoon dried parsley
- 1/2 teaspoon salt
- 1/4 teaspoon black pepper
Recommended Tools or Utensils
- Baking sheet
- Parchment paper (for easy cleanup)
- Small mixing bowl
- Pastry brush (for applying the garlic butter)
- Measuring cups and spoons
- Knife (for mincing garlic)
- Oven mitts (for safely removing hot items)
Having the right ingredients and tools is essential for the success of your Cheesy Garlic Butter Rollups. Make sure to gather everything before you start cooking, so the process goes smoothly!
Detailed Recipe Steps
- Preheat your oven: Set your oven to 375°F (190°C) to ensure it’s hot enough to create a perfectly golden crust on your rollups.
- Prepare the garlic butter mixture: In a small bowl, combine the melted butter, minced garlic, dried parsley, salt, and black pepper. Mix well and set aside. This buttery blend will infuse your rollups with a delicious flavor.
- Prepare the crescent roll dough: Open the can of refrigerated crescent roll dough and unroll it carefully on a clean surface. Gently separate the dough into individual triangles. Be careful not to tear the dough; it should be easy to handle.
- Add the cheese: Sprinkle the shredded mozzarella and grated Parmesan cheese evenly over the wide end of each triangle. Ensure you don’t overfill them, as this can make rolling difficult.
- Roll them up: Starting from the wide end, roll each triangle tightly to the point. Place them seam-side down on a baking sheet lined with parchment paper to prevent sticking and for easy cleanup.
- Brush with garlic butter: Using a pastry brush, generously apply the garlic butter mixture over each rollup. This will not only flavor the rollups but also help them turn a beautiful golden brown as they bake.
- Bake: Place the baking sheet in the preheated oven and bake for 12-15 minutes, or until the rollups are golden brown and the cheese is bubbling. Keep an eye on them to prevent burning.
- Cool and serve: Once baked, remove the rollups from the oven and let them cool slightly on the baking sheet. They are best served warm, so don’t wait too long before diving in!
Cooking Tips:
- For an extra cheesy experience, consider adding a sprinkle of extra cheese on top of the rollups before baking.
- If you want to spice things up, add red pepper flakes to the garlic butter mixture for a bit of heat.
- To make clean-up easier, line your baking sheet with parchment paper.
Tips and Variations
While the classic Cheesy Garlic Butter Rollups are a hit on their own, you can easily customize this recipe to suit different dietary preferences or to use up ingredients you have on hand.
Vegan Variation: For a vegan version, substitute the crescent roll dough with a vegan-friendly alternative and use plant-based cheese. You can also swap the butter for a vegan butter or coconut oil.
Gluten-Free Option: If you’re avoiding gluten, look for gluten-free crescent roll dough at your local grocery store. Just be sure to check the packaging to ensure it meets your dietary needs.
Extra Ingredients: Feel free to add other ingredients into the rollups! Spinach, cooked bacon, or diced bell peppers can add flavor and texture. You can also experiment with different types of cheese, such as cheddar or feta, for a new twist.
Avoid Common Mistakes: Make sure to roll the dough tightly but not too tightly, as this can affect how they bake. If the dough is too loose, the filling may leak out while baking. Also, keep an eye on the baking time, as ovens can vary in temperature.
Nutritional Values and Benefits
When it comes to enjoying your Cheesy Garlic Butter Rollups, you might be curious about their nutritional content. Here’s a general breakdown per rollup (based on the recipe serving approximately 8 rollups):
- Calories: Approximately 150 calories
- Protein: 4g
- Fat: 10g
- Carbohydrates: 12g
The cheese provides a good source of protein and calcium, while the garlic offers various health benefits, such as boosting the immune system and reducing inflammation. Using unsalted butter allows you to control the sodium content, making this recipe a bit healthier without sacrificing flavor.
As with any dish, moderation is key. Pair your rollups with a fresh salad or veggies for a balanced meal that satisfies your cravings.
Frequently Asked Questions
Can I make Cheesy Garlic Butter Rollups ahead of time?
Yes, you can make the rollups ahead of time and store them in the refrigerator before baking. Just be sure to brush the garlic butter on right before baking for the best results.
What can I dip Cheesy Garlic Butter Rollups in?
These rollups pair wonderfully with marinara sauce, ranch dressing, or even a spicy aioli. Feel free to get creative with your favorite dips!
How do I store leftover rollups?
Store any leftovers in an airtight container in the refrigerator for up to 3 days. Reheat in the oven or microwave before serving for the best taste.
Can I freeze Cheesy Garlic Butter Rollups?
Yes, these rollups freeze well. After baking, let them cool completely, then place them in an airtight container or freezer bag. They can be frozen for up to 2 months.
What can I use if I don’t have crescent roll dough?
If you don’t have crescent roll dough, you can use puff pastry or biscuit dough as an alternative. Just adjust the baking time as needed.
Conclusion
In conclusion, these Cheesy Garlic Butter Rollups are a fantastic addition to your recipe repertoire. They’re easy to make, versatile, and packed with flavor, making them perfect for any occasion. Whether you’re enjoying them as a snack, appetizer, or side dish, they are sure to be a hit! Don’t forget to share your experience in the comments below, and if you enjoyed this recipe, check out our Creamy Ham and Potato Chowder or Ultimate Overnight French Toast Bake for more delicious treats you will love! For more delightful recipes, visit our Pinterest page at Louisa Recipes Blog.

Cheesy Garlic Butter Rollups
Ingredients
Equipment
Method
- Step 1: Preheat your oven to 375°F (190°C).
- Step 2: In a small bowl, combine melted butter, minced garlic, dried parsley, salt, and black pepper. Mix well and set aside.
- Step 3: Open the can of refrigerated crescent roll dough and unroll it carefully. Gently separate the dough into individual triangles.
- Step 4: Sprinkle the shredded mozzarella and grated Parmesan cheese evenly over the wide end of each triangle.
- Step 5: Starting from the wide end, roll each triangle tightly to the point. Place them seam-side down on a baking sheet lined with parchment paper.
- Step 6: Using a pastry brush, apply the garlic butter mixture over each rollup.
- Step 7: Bake for 12-15 minutes, or until golden brown and the cheese is bubbling.
- Step 8: Remove from the oven and let cool slightly before serving warm.