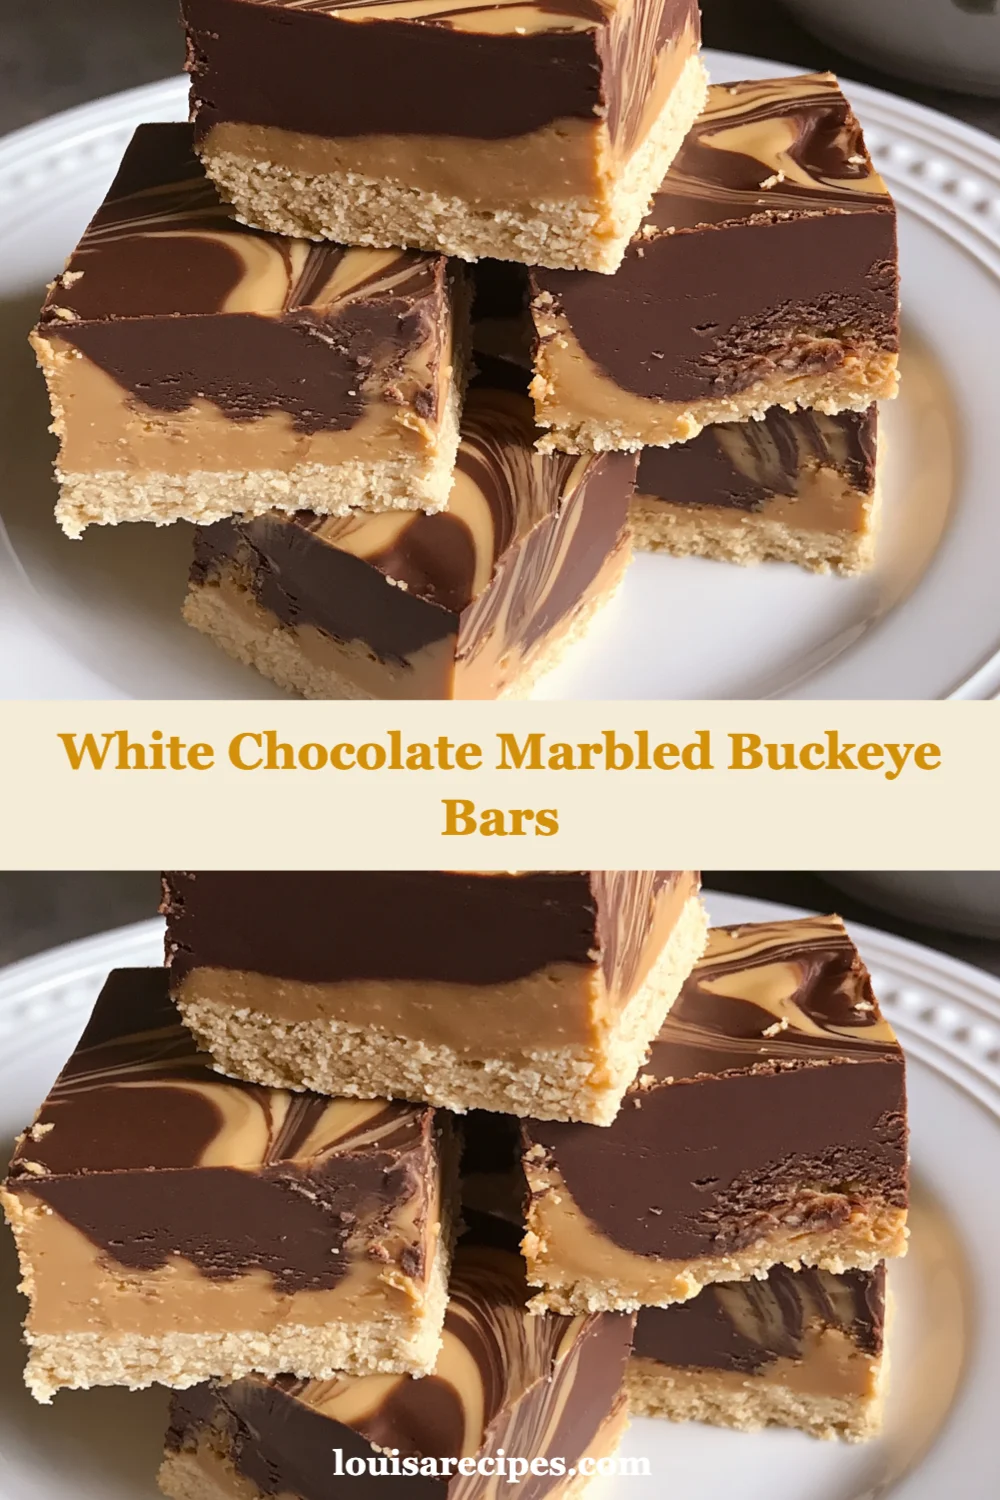
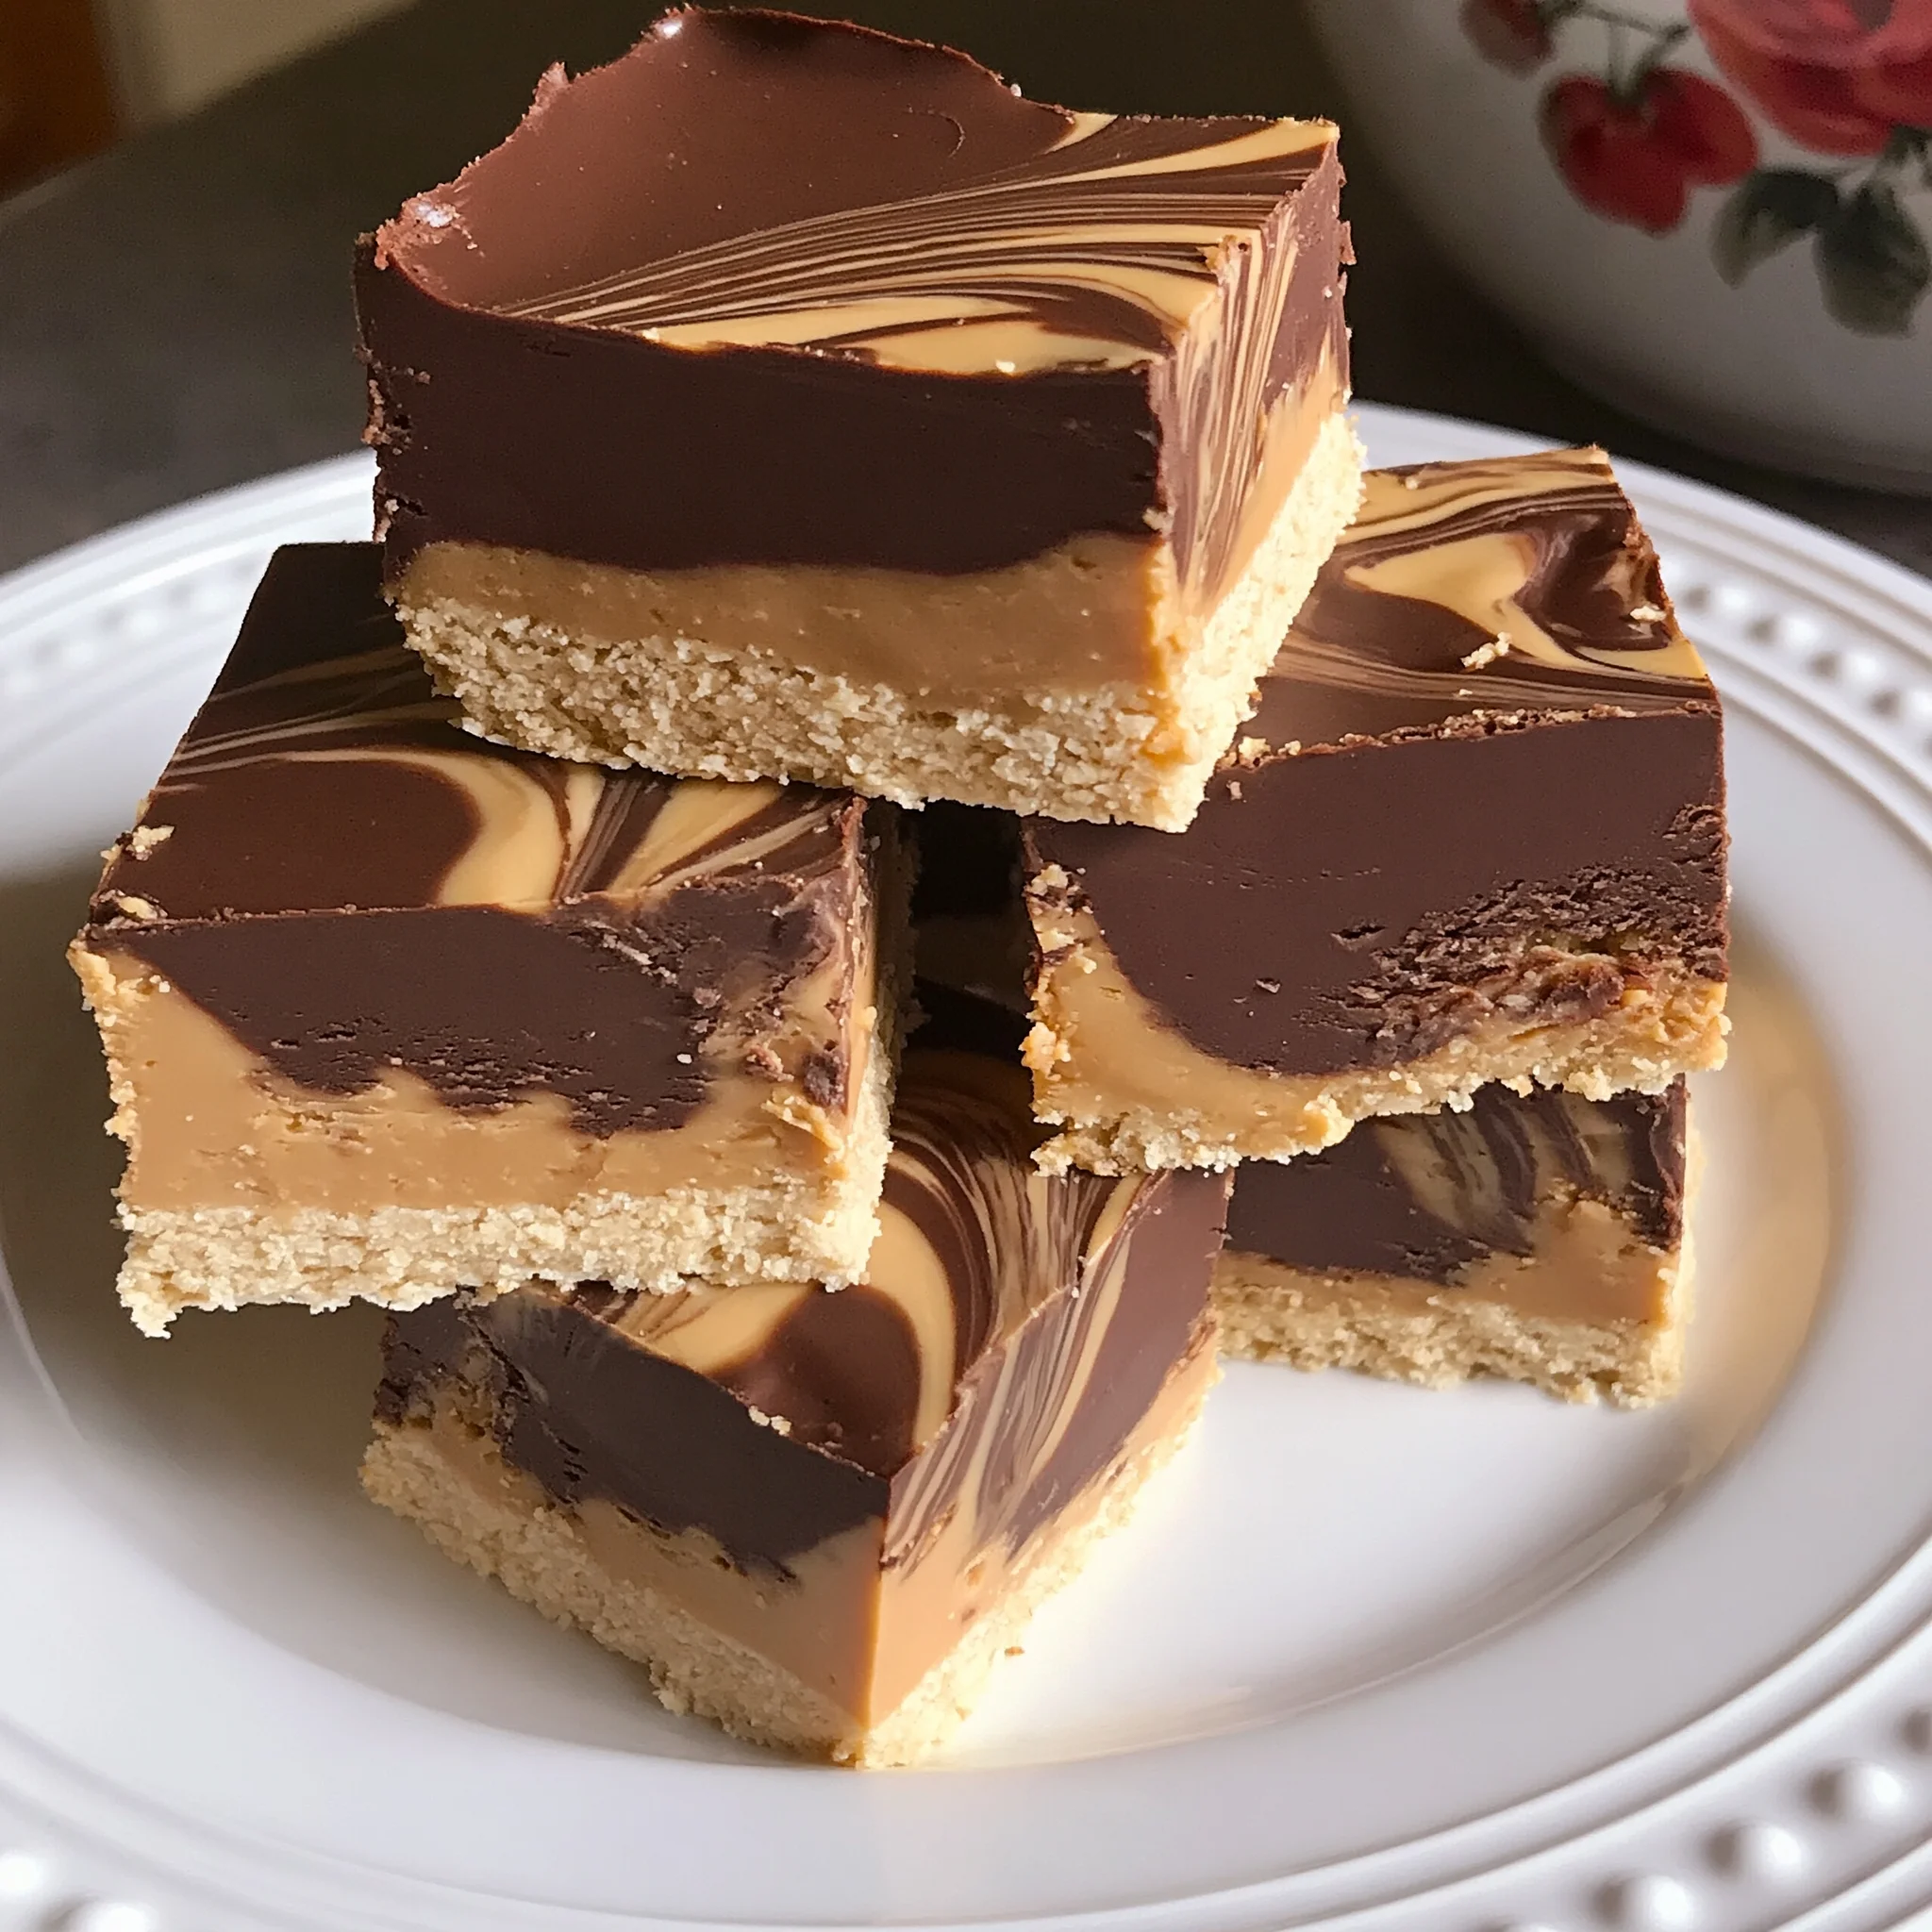
Welcome to the world of indulgence with these delectable White Chocolate Marbled Buckeye Bars. If you’re a fan of creamy peanut butter and rich chocolate, then you’ve landed in the right place! These bars combine the classic flavors of buckeyes—those irresistible peanut butter and chocolate treats—into a beautifully marbled dessert that’s perfect for any occasion. Whether you’re hosting a party, looking for a sweet treat to share with friends, or simply want to satisfy your cravings, this recipe is sure to impress.
What makes these bars truly special is their delightful texture and flavor. The smooth and creamy peanut butter base is perfectly complemented by the rich, semi-sweet chocolate and the sweet, velvety white chocolate. The marbling effect not only adds an eye-catching presentation but also creates a delicious contrast in taste. With every bite, you’ll experience a symphony of flavors that will leave you wanting more.
In this article, we’ll guide you through the process of making White Chocolate Marbled Buckeye Bars step by step. From the ingredients you need to the tips and tricks for perfecting your bars, we’ve got you covered. So grab your apron, and let’s get started on this delightful dessert adventure!
Why You’ll Love This Recipe
There are countless reasons to fall in love with these White Chocolate Marbled Buckeye Bars. First and foremost, they are incredibly easy to make. With just a handful of ingredients and minimal preparation time, you can whip up a batch of these bars in no time. Unlike traditional baked goods that require extensive measuring and mixing, this no-bake recipe simplifies the process while still delivering a stunning end result.
Another reason to love this recipe is its versatility. You can customize the flavors to suit your preferences. For instance, if you prefer a more intense chocolate flavor, you can substitute the semisweet chocolate chips with dark chocolate. On the other hand, if you want to keep it light and sweet, you can add a sprinkle of sea salt on top to enhance the flavor profile. The possibilities are endless!
Moreover, these bars are perfect for sharing. Whether it’s a birthday party, holiday gathering, or just a casual get-together, everyone will appreciate the tasty goodness of your homemade White Chocolate Marbled Buckeye Bars. They also make for a thoughtful gift for friends and family who enjoy sweet treats. Wrap them up in a cute package, and you’ve got a delightful present that’s sure to be loved.
Finally, these bars are not only delicious but also visually stunning. The marbled effect created by swirling the chocolate together adds an artistic touch that elevates your dessert game. Even if you’re not a professional baker, your friends and family will be impressed by your culinary skills when they see the beautiful presentation. With these bars, you will definitely impress your guests and leave them asking for the recipe!
Why You Should Try This Recipe
If you’re still on the fence about trying these White Chocolate Marbled Buckeye Bars, consider the following reasons. First off, the flavor combination of peanut butter and chocolate is a classic that never goes out of style. The creamy texture of peanut butter pairs perfectly with the rich chocolate, creating a mouthwatering experience. This recipe captures that iconic flavor in a convenient bar form, making it easy to enjoy on the go or as a dessert after a meal.
Additionally, these bars are a fantastic option for those who love no-bake desserts. With no oven required, you can save energy and time while still enjoying a homemade treat. This is particularly appealing during the hot summer months when turning on the oven can heat up your kitchen. You can easily prepare these bars without the worry of overheating your home.
Another compelling reason to try this recipe is its adaptability. If you have dietary restrictions or preferences, you can easily modify the ingredients. For example, you can use natural peanut butter for a healthier option or substitute the graham cracker crumbs with gluten-free alternatives. This flexibility ensures that everyone can enjoy these delicious bars, regardless of their dietary needs.
In addition, the White Chocolate Marbled Buckeye Bars are a great way to introduce kids to baking. The simple steps and fun swirling technique make it an engaging activity for children. They can help mix the ingredients and create the marbled design, allowing them to feel involved in the cooking process while enjoying a tasty reward at the end.
Finally, indulging in these bars can be a delightful way to treat yourself after a long day. The comforting flavors of peanut butter and chocolate can uplift your mood and satisfy your sweet tooth. With just a few bites, you can escape into a world of culinary bliss that makes the effort of preparing them worthwhile.
Ingredients and Utensils Needed
Ingredients
- 1 cup creamy peanut butter
- 1/2 cup unsalted butter, softened
- 1 cup powdered sugar
- 1 cup graham cracker crumbs
- 1 teaspoon vanilla extract
- 1 cup semisweet chocolate chips
- 1 cup white chocolate chips
- 2 tablespoons vegetable oil
Recommended Utensils
- Large mixing bowl
- Electric mixer or whisk
- 9×9-inch baking pan
- Spatula
- Microwave-safe bowls
- Toothpick or skewer for swirling
- Refrigerator for chilling
Having the right ingredients and utensils is essential for the success of your White Chocolate Marbled Buckeye Bars. Each component plays a crucial role in achieving the perfect flavor and texture. For instance, using creamy peanut butter ensures that your bars are rich and smooth, while the graham cracker crumbs provide a delightful crunch that balances the creaminess.
Moreover, the quality of your chocolate can significantly impact the overall taste of the bars. Opt for high-quality semisweet and white chocolate chips for the best flavor. When melted, these chocolates will create a luxurious layer that perfectly complements the peanut butter base.
Using a 9×9-inch baking pan allows for even distribution and proper setting of the bars. Make sure to grease the pan well to avoid sticking, ensuring that your bars come out easily once set. A spatula will also be helpful for pressing the peanut butter mixture into the pan evenly, creating a smooth and uniform base.
Detailed Recipe Steps
Now that you have all your ingredients and utensils ready, let’s dive into the detailed steps for making White Chocolate Marbled Buckeye Bars.
- Combine Peanut Butter and Butter: In a large mixing bowl, add 1 cup of creamy peanut butter and 1/2 cup of softened unsalted butter. Using an electric mixer or a whisk, beat the mixture until it becomes smooth and creamy. This step is crucial as it creates the base for your bars, so ensure there are no lumps.
- Add Dry Ingredients: Gradually add 1 cup of powdered sugar, 1 cup of graham cracker crumbs, and 1 teaspoon of vanilla extract to the peanut butter mixture. Mix until fully combined and the mixture is smooth. The powdered sugar adds sweetness, while the graham cracker crumbs provide texture. Make sure to scrape the sides of the bowl to incorporate all ingredients.
- Press the Mixture into the Pan: Once your peanut butter mixture is well combined, take a greased 9×9-inch baking pan and press the mixture evenly into the bottom. Use the back of a spatula to ensure a flat and compact layer. This will serve as the foundation for your bars, so make sure it’s even.
- Prepare the Semisweet Chocolate: In a microwave-safe bowl, combine 1 cup of semisweet chocolate chips and 1 tablespoon of vegetable oil. Microwave in 30-second intervals, stirring between each, until the chocolate is completely melted and smooth. This step is essential for achieving a glossy finish on your bars.
- Prepare the White Chocolate: In another microwave-safe bowl, combine 1 cup of white chocolate chips and the remaining tablespoon of vegetable oil. Repeat the microwaving process until the white chocolate is melted and smooth. The oil helps to thin the chocolate, making it easier to drizzle and swirl.
- Marble the Chocolates: Drop spoonfuls of the melted semisweet chocolate and white chocolate over the peanut butter layer. Use a toothpick or skewer to swirl the two chocolates together, creating a marbled effect. Be creative with your swirling; the more varied, the better the visual appeal!
- Chill to Set: Once you’ve achieved the desired marbled design, refrigerate the pan for at least 2 hours, or until the bars are fully set. This step is crucial as it allows the chocolate to harden and the flavors to meld together.
- Cut and Serve: After the bars are set, remove them from the refrigerator and cut them into squares. Use a sharp knife for clean edges. Serve them fresh, and enjoy the delightful combination of flavors!
Throughout this process, remember to keep your workspace organized and clean. This not only makes cooking more enjoyable but also reduces stress. If you find yourself with leftover chocolate, don’t hesitate to drizzle it over fresh fruits or other desserts for an additional treat!
Tips and Variations
To ensure your White Chocolate Marbled Buckeye Bars turn out perfect every time, consider these helpful tips and variations:
- Vegan Version: Substitute the creamy peanut butter with a vegan alternative and use dairy-free chocolate chips. This allows you to enjoy the same delicious flavor without any animal products.
- Gluten-Free Option: Ensure that you use gluten-free graham cracker crumbs. Many brands offer gluten-free alternatives that work perfectly in this recipe.
- Flavor Variations: Experiment with different flavored extracts. For example, adding almond extract can provide a unique twist to the traditional peanut butter flavor.
- Storage Tips: Store your bars in an airtight container in the refrigerator. They can last up to a week, making them a perfect make-ahead treat for gatherings.
- Avoiding Common Mistakes: Make sure your butter is softened but not melted. Overheating the butter can alter the texture of your bars. Additionally, when melting the chocolate, be cautious not to overheat it as it can seize up.
These tips not only enhance the flavor of your bars but also make the preparation process smoother, ensuring that your White Chocolate Marbled Buckeye Bars are a hit every time!
Nutritional Values and Benefits
Understanding the nutritional values and benefits of the ingredients in your White Chocolate Marbled Buckeye Bars is essential for a balanced approach to indulgence. Here’s a breakdown of the key ingredients:
- Creamy Peanut Butter: Rich in protein and healthy fats, peanut butter provides a satisfying source of energy. It also contains essential vitamins and minerals, including Vitamin E and magnesium.
- Unsalted Butter: While butter adds richness and flavor, it’s important to use it in moderation. Opting for unsalted butter allows you to control the sodium content in your recipe.
- Powdered Sugar: While it offers sweetness, it’s important to balance your intake of added sugars for overall health. Consider using less sugar if desired.
- Graham Cracker Crumbs: These provide a crunchy texture and are often made from whole grains, which can contribute to your daily fiber intake.
- Chocolate Chips: Both semisweet and white chocolate contain antioxidants, which can provide health benefits when consumed in moderation.
On average, a single square of these White Chocolate Marbled Buckeye Bars contains approximately:
- Calories: 210
- Protein: 3g
- Fat: 12g
- Carbohydrates: 24g
While these bars are certainly a treat, understanding the nutrients can help you enjoy them as part of a balanced diet. Moderation is key to enjoying sweets without compromising your health goals.
Frequently Asked Questions
Can I use natural peanut butter for this recipe?
Yes, you can use natural peanut butter. Just ensure it’s well-stirred to avoid separation, as natural peanut butter tends to be more oily.
How do I store leftover Buckeye Bars?
Store your White Chocolate Marbled Buckeye Bars in an airtight container in the refrigerator. They will stay fresh for up to one week.
Can I freeze these bars?
Yes, you can freeze these bars. Wrap them tightly in plastic wrap and place them in an airtight container. They can be frozen for up to three months.
What can I use as a substitute for graham cracker crumbs?
You can use crushed cookies, such as digestive biscuits or gluten-free alternatives, if you need a different option.
Can I add nuts to the recipe?
Absolutely! Chopped nuts like walnuts or peanuts can add a delightful crunch and extra flavor to your White Chocolate Marbled Buckeye Bars.
Conclusion
In conclusion, these White Chocolate Marbled Buckeye Bars are a delightful treat that combines the best flavors of peanut butter and chocolate into a stunning dessert. With easy preparation and endless customization options, you can make these bars to suit any occasion or dietary preference. Remember to take your time with the swirling process for that perfect marbled effect and enjoy the satisfaction of creating something truly delicious.
We hope you give this recipe a try and share your results with us! Don’t forget to leave a comment below and let us know how your White Chocolate Marbled Buckeye Bars turned out. For more delicious recipes, check out our Buffalo Cauliflower Cheesy Orzo Bake or Caramelized Onion and Gruyere Orzo Bake for treats you will love!
For more inspiration, don’t forget to visit our Pinterest page at Louis’ Recipes Blog. Happy baking!
White Chocolate Marbled Buckeye Bars
Ingredients
Equipment
Method
- Step 1: In a large mixing bowl, add 1 cup of creamy peanut butter and 1/2 cup of softened unsalted butter. Using an electric mixer or a whisk, beat the mixture until it becomes smooth and creamy.
- Step 2: Gradually add 1 cup of powdered sugar, 1 cup of graham cracker crumbs, and 1 teaspoon of vanilla extract to the peanut butter mixture. Mix until fully combined and the mixture is smooth.
- Step 3: Press the mixture evenly into the bottom of a greased 9x9-inch baking pan.
- Step 4: In a microwave-safe bowl, combine 1 cup of semisweet chocolate chips and 1 tablespoon of vegetable oil. Microwave in 30-second intervals, stirring between each, until the chocolate is completely melted and smooth.
- Step 5: In another microwave-safe bowl, combine 1 cup of white chocolate chips and the remaining tablespoon of vegetable oil. Repeat the microwaving process until the white chocolate is melted and smooth.
- Step 6: Drop spoonfuls of the melted semisweet chocolate and white chocolate over the peanut butter layer. Use a toothpick or skewer to swirl the two chocolates together, creating a marbled effect.
- Step 7: Refrigerate the pan for at least 2 hours, or until the bars are fully set.
- Step 8: After the bars are set, remove them from the refrigerator and cut them into squares.