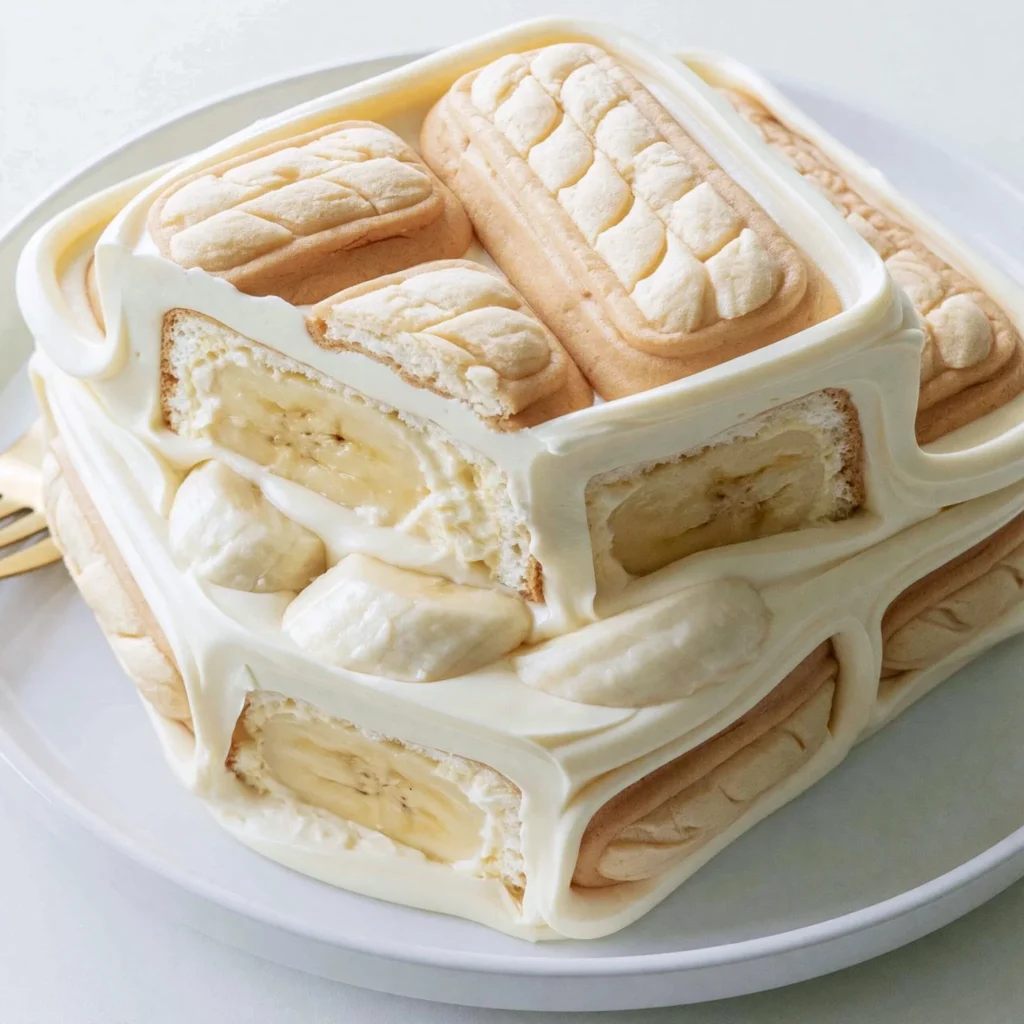
Welcome to a delightful culinary journey with Not Yo Mama’s Banana Pudding. This recipe brings a twist to the classic dessert that many of us know and love, elevating it with rich flavors and a creamy texture that will leave your taste buds dancing with joy. Perfect for gatherings, family dinners, or a cozy night in, this banana pudding is sure to impress. In this article, we’ll explore not just the recipe, but also the reasons why you’ll love making this dish, the essential ingredients and tools you’ll need, and some helpful tips to make your dessert stand out.
Why You’ll Love This Recipe
There are countless reasons to love Not Yo Mama’s Banana Pudding. First and foremost, it’s incredibly easy to prepare, making it a perfect choice for both novice and experienced bakers alike. In less than 30 minutes of active preparation time, you can create a dessert that will wow your family and friends. The layers of creamy pudding, fresh bananas, and crunchy vanilla wafers combine to create a texture that is both satisfying and indulgent.
This recipe also allows for a great deal of flexibility. Want to make it gluten-free? No problem! You can easily swap out the vanilla wafers for a gluten-free alternative. Looking to cut down on sugar? You can reduce the amount of sweetened condensed milk or opt for a sugar-free pudding mix. The possibilities are endless, making it a versatile dessert that can cater to various dietary needs without sacrificing flavor.
Moreover, Not Yo Mama’s Banana Pudding offers a nostalgic taste that many of us grew up with, but with a modern twist. It’s a dish that brings back fond memories of family gatherings and summer barbecues, providing comfort and joy with every bite. And let’s face it, who can resist the combination of creamy pudding, ripe bananas, and crunchy wafers? It’s a classic that never goes out of style!
Why You Should Try This Recipe
If you’re still on the fence about trying Not Yo Mama’s Banana Pudding, consider the time-honored tradition of banana pudding itself. This iconic American dessert has been a staple in homes for generations, and it continues to be a favorite for its simple yet delightful flavors. By making this recipe, you’re not just preparing a dessert; you’re creating a new family tradition that can be passed down through the years.
In addition to its nostalgic value, this recipe is also perfect for any occasion. Whether you’re hosting a summer picnic, a holiday party, or just want to treat yourself to something sweet, banana pudding fits the bill. It’s a crowd-pleaser that appeals to all ages, making it an excellent choice for potlucks or family gatherings. Plus, the no-bake aspect means you can spend more time enjoying the company of your loved ones rather than slaving away in the kitchen.
Another reason to try Not Yo Mama’s Banana Pudding is the sheer convenience of its preparation. With just a few simple ingredients and minimal cleanup, it’s a hassle-free dessert that anyone can master. The layers of flavors meld beautifully as it chills in the refrigerator, allowing you to prepare it ahead of time and have it ready when you need it. Who doesn’t love a make-ahead dessert that tastes even better after a night in the fridge?
Ingredients and Utensils Needed
Ingredients
- 1 (14 oz) box of vanilla wafers
- 1 (5.1 oz) box of instant vanilla pudding mix
- 2 cups cold milk
- 1 (14 oz) can sweetened condensed milk
- 1 (8 oz) container of whipped topping
- 4 ripe bananas, sliced
- 1 teaspoon vanilla extract
Utensils
To ensure your success in making Not Yo Mama’s Banana Pudding, here are some recommended tools:- Large mixing bowl
- Whisk or electric mixer
- Spatula
- Large serving dish or trifle bowl
- Measuring cups and spoons
- Knife for slicing bananas
- Plastic wrap or lid for covering the dish
Detailed Recipe Steps
Now that you have all your ingredients and tools ready, let’s dive into the steps of making Not Yo Mama’s Banana Pudding.
- Prepare the Pudding: In a large mixing bowl, combine the instant vanilla pudding mix and cold milk. Using a whisk, mix until smooth. Let the mixture sit for about 5 minutes to allow it to thicken. This is a crucial step for achieving the right consistency in your pudding.
- Combine the Sweetened Condensed Milk and Vanilla: In another bowl, mix the sweetened condensed milk and vanilla extract. Stir until well combined. The sweetness of the condensed milk will add depth to your pudding.
- Fold in the Whipped Topping: Gently fold the whipped topping into the sweetened condensed milk mixture. Be careful not to deflate the whipped topping; this helps maintain the light and airy texture of the pudding.
- Mix the Pudding and Topping Mixtures: Now, combine the pudding mixture with the sweetened condensed milk and whipped topping mixture. Stir gently until everything is well incorporated. This will be the creamy base of your banana pudding.
- Layer the Ingredients: In a large serving dish, start layering your ingredients. Begin with a layer of vanilla wafers, followed by a layer of sliced bananas, and then a layer of the pudding mixture. Repeat these layers until all ingredients are used, making sure to finish with the pudding on top.
- Chill the Pudding: Cover the dish with plastic wrap or a lid and refrigerate for at least 4 hours, or overnight if possible. This chilling time is essential for the flavors to meld together and for the pudding to firm up nicely.
- Serve and Enjoy: Once chilled, your Not Yo Mama’s Banana Pudding is ready to serve. For an extra touch, garnish with additional banana slices or crushed vanilla wafers on top. Enjoy this creamy, dreamy dessert!
Tips and Variations
There are several ways to customize Not Yo Mama’s Banana Pudding to fit your taste preferences or dietary needs. Here are some tips and variations to consider:
- Vegan Version: To make a vegan banana pudding, use non-dairy milk (such as almond or coconut milk) and substitute the whipped topping with coconut cream or a vegan whipped topping. You can also find vegan versions of vanilla pudding mix.
- Gluten-Free Option: As mentioned earlier, you can easily make this dessert gluten-free by using gluten-free vanilla wafers. Make sure to check the labels of all ingredients to ensure they meet your dietary requirements.
- Flavor Variations: For a twist on the classic flavor, consider adding a layer of chocolate pudding or using chocolate wafers instead of vanilla. You could also incorporate peanut butter into the pudding mixture for a delicious peanut butter banana pudding.
- Common Mistakes to Avoid: To ensure your pudding turns out perfectly, avoid over-mixing the whipped topping. Gentle folding is key to maintaining its light texture. Additionally, using ripe but firm bananas will prevent them from becoming mushy in the pudding.
- Storage Tips: If you have leftovers, you can store them in the refrigerator for up to three days. However, the bananas may brown over time, so it’s best to add fresh banana slices just before serving.
Nutritional Values and Benefits
Understanding the nutritional information can help you make informed choices. Here’s a breakdown of the estimated nutritional values for one serving (1/10th of the recipe) of Not Yo Mama’s Banana Pudding:
- Calories: Approximately 300
- Protein: 3g
- Fat: 10g
- Carbohydrates: 49g
- Sugar: 25g
This dessert is a rich source of carbohydrates primarily from the bananas and vanilla wafers, providing an energy boost. The bananas also offer essential nutrients such as potassium, vitamin C, and dietary fiber, making it a somewhat healthier indulgence compared to other desserts. While it’s not a health food, enjoying Not Yo Mama’s Banana Pudding in moderation can be part of a balanced diet.
Frequently Asked Questions
Can I make Not Yo Mama’s Banana Pudding ahead of time?
Yes, you can prepare Not Yo Mama’s Banana Pudding a day in advance. In fact, allowing it to chill overnight helps the flavors meld together beautifully.
How long does Not Yo Mama’s Banana Pudding last in the fridge?
Not Yo Mama’s Banana Pudding can last in the refrigerator for up to three days. However, the bananas may brown over time, so it’s best to add fresh bananas just before serving.
Can I use different fruits in this pudding?
Absolutely! While bananas are traditional, you can experiment with other fruits like strawberries or blueberries for a fun twist on the classic banana pudding.
Is Not Yo Mama’s Banana Pudding gluten-free?
The traditional recipe is not gluten-free due to the vanilla wafers. However, you can easily make it gluten-free by using gluten-free vanilla wafers instead.
Can I freeze Not Yo Mama’s Banana Pudding?
While you can freeze the pudding, the texture may change once thawed. It’s best enjoyed fresh or refrigerated for the best results.
Conclusion
In summary, Not Yo Mama’s Banana Pudding is a delightful and versatile dessert that is sure to become a favorite in your home. With its simple ingredients and easy preparation, it’s a dessert that can be enjoyed by everyone. Whether you make it for a special occasion or just because, this banana pudding is a delicious treat that brings comfort and joy. Don’t forget to share your experience in the comments below, and for more delicious recipes, check out Ultimate Overnight French Toast Bake or Creamy Deviled Egg Pasta Salad for treats you will love!
And don’t forget to pin this recipe for later on Pinterest! Your friends and family will thank you for introducing them to this delightful dessert.
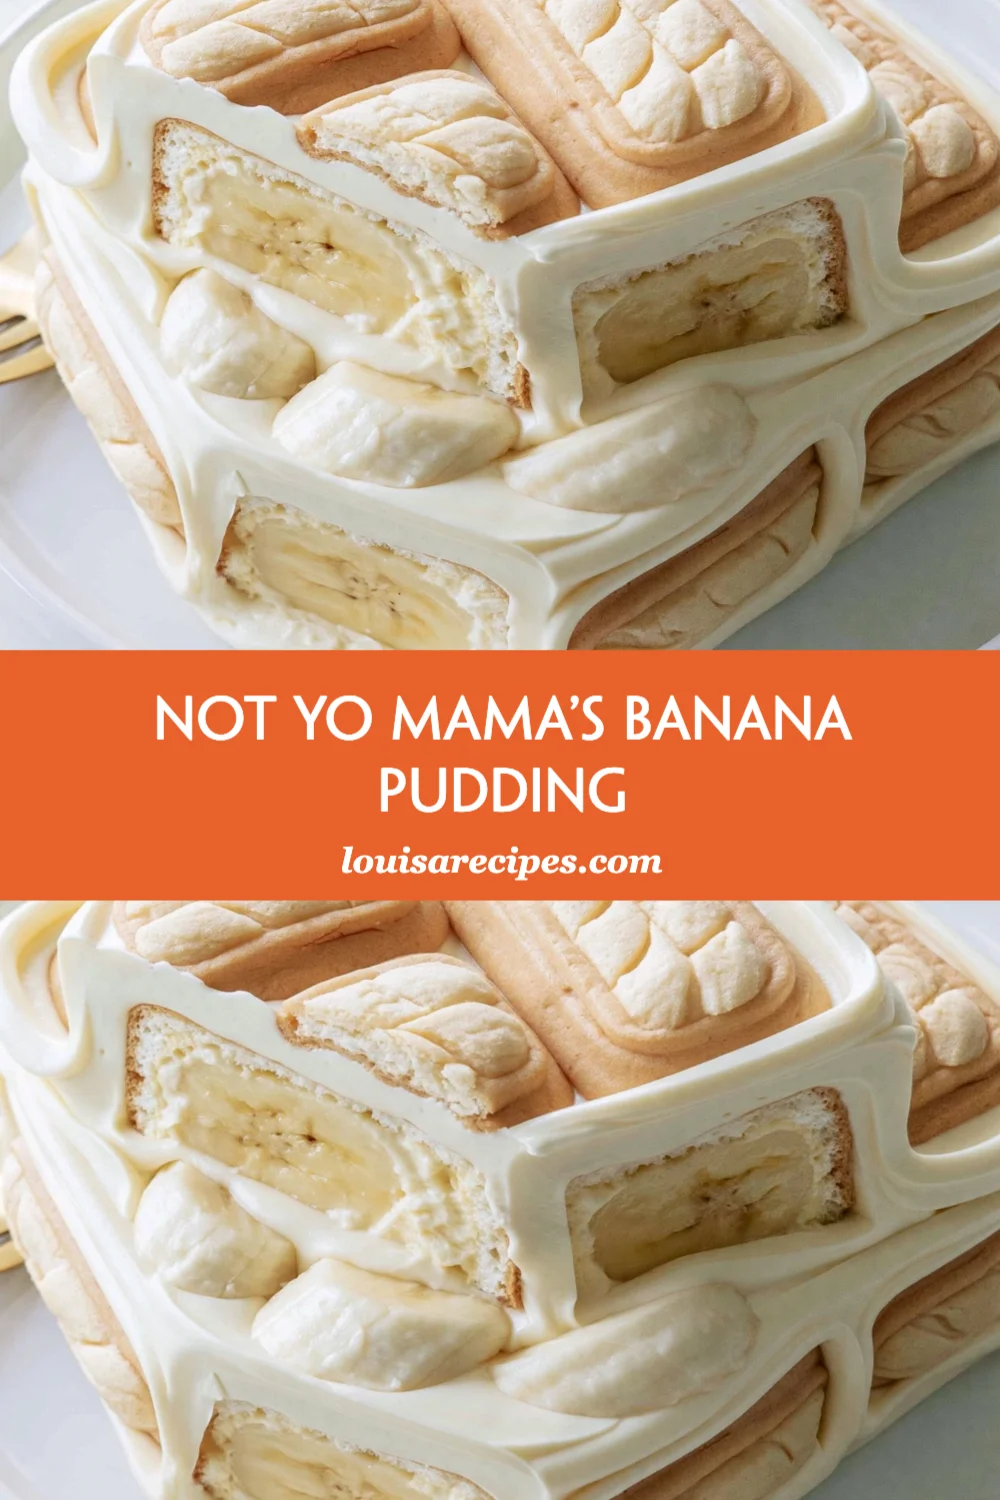
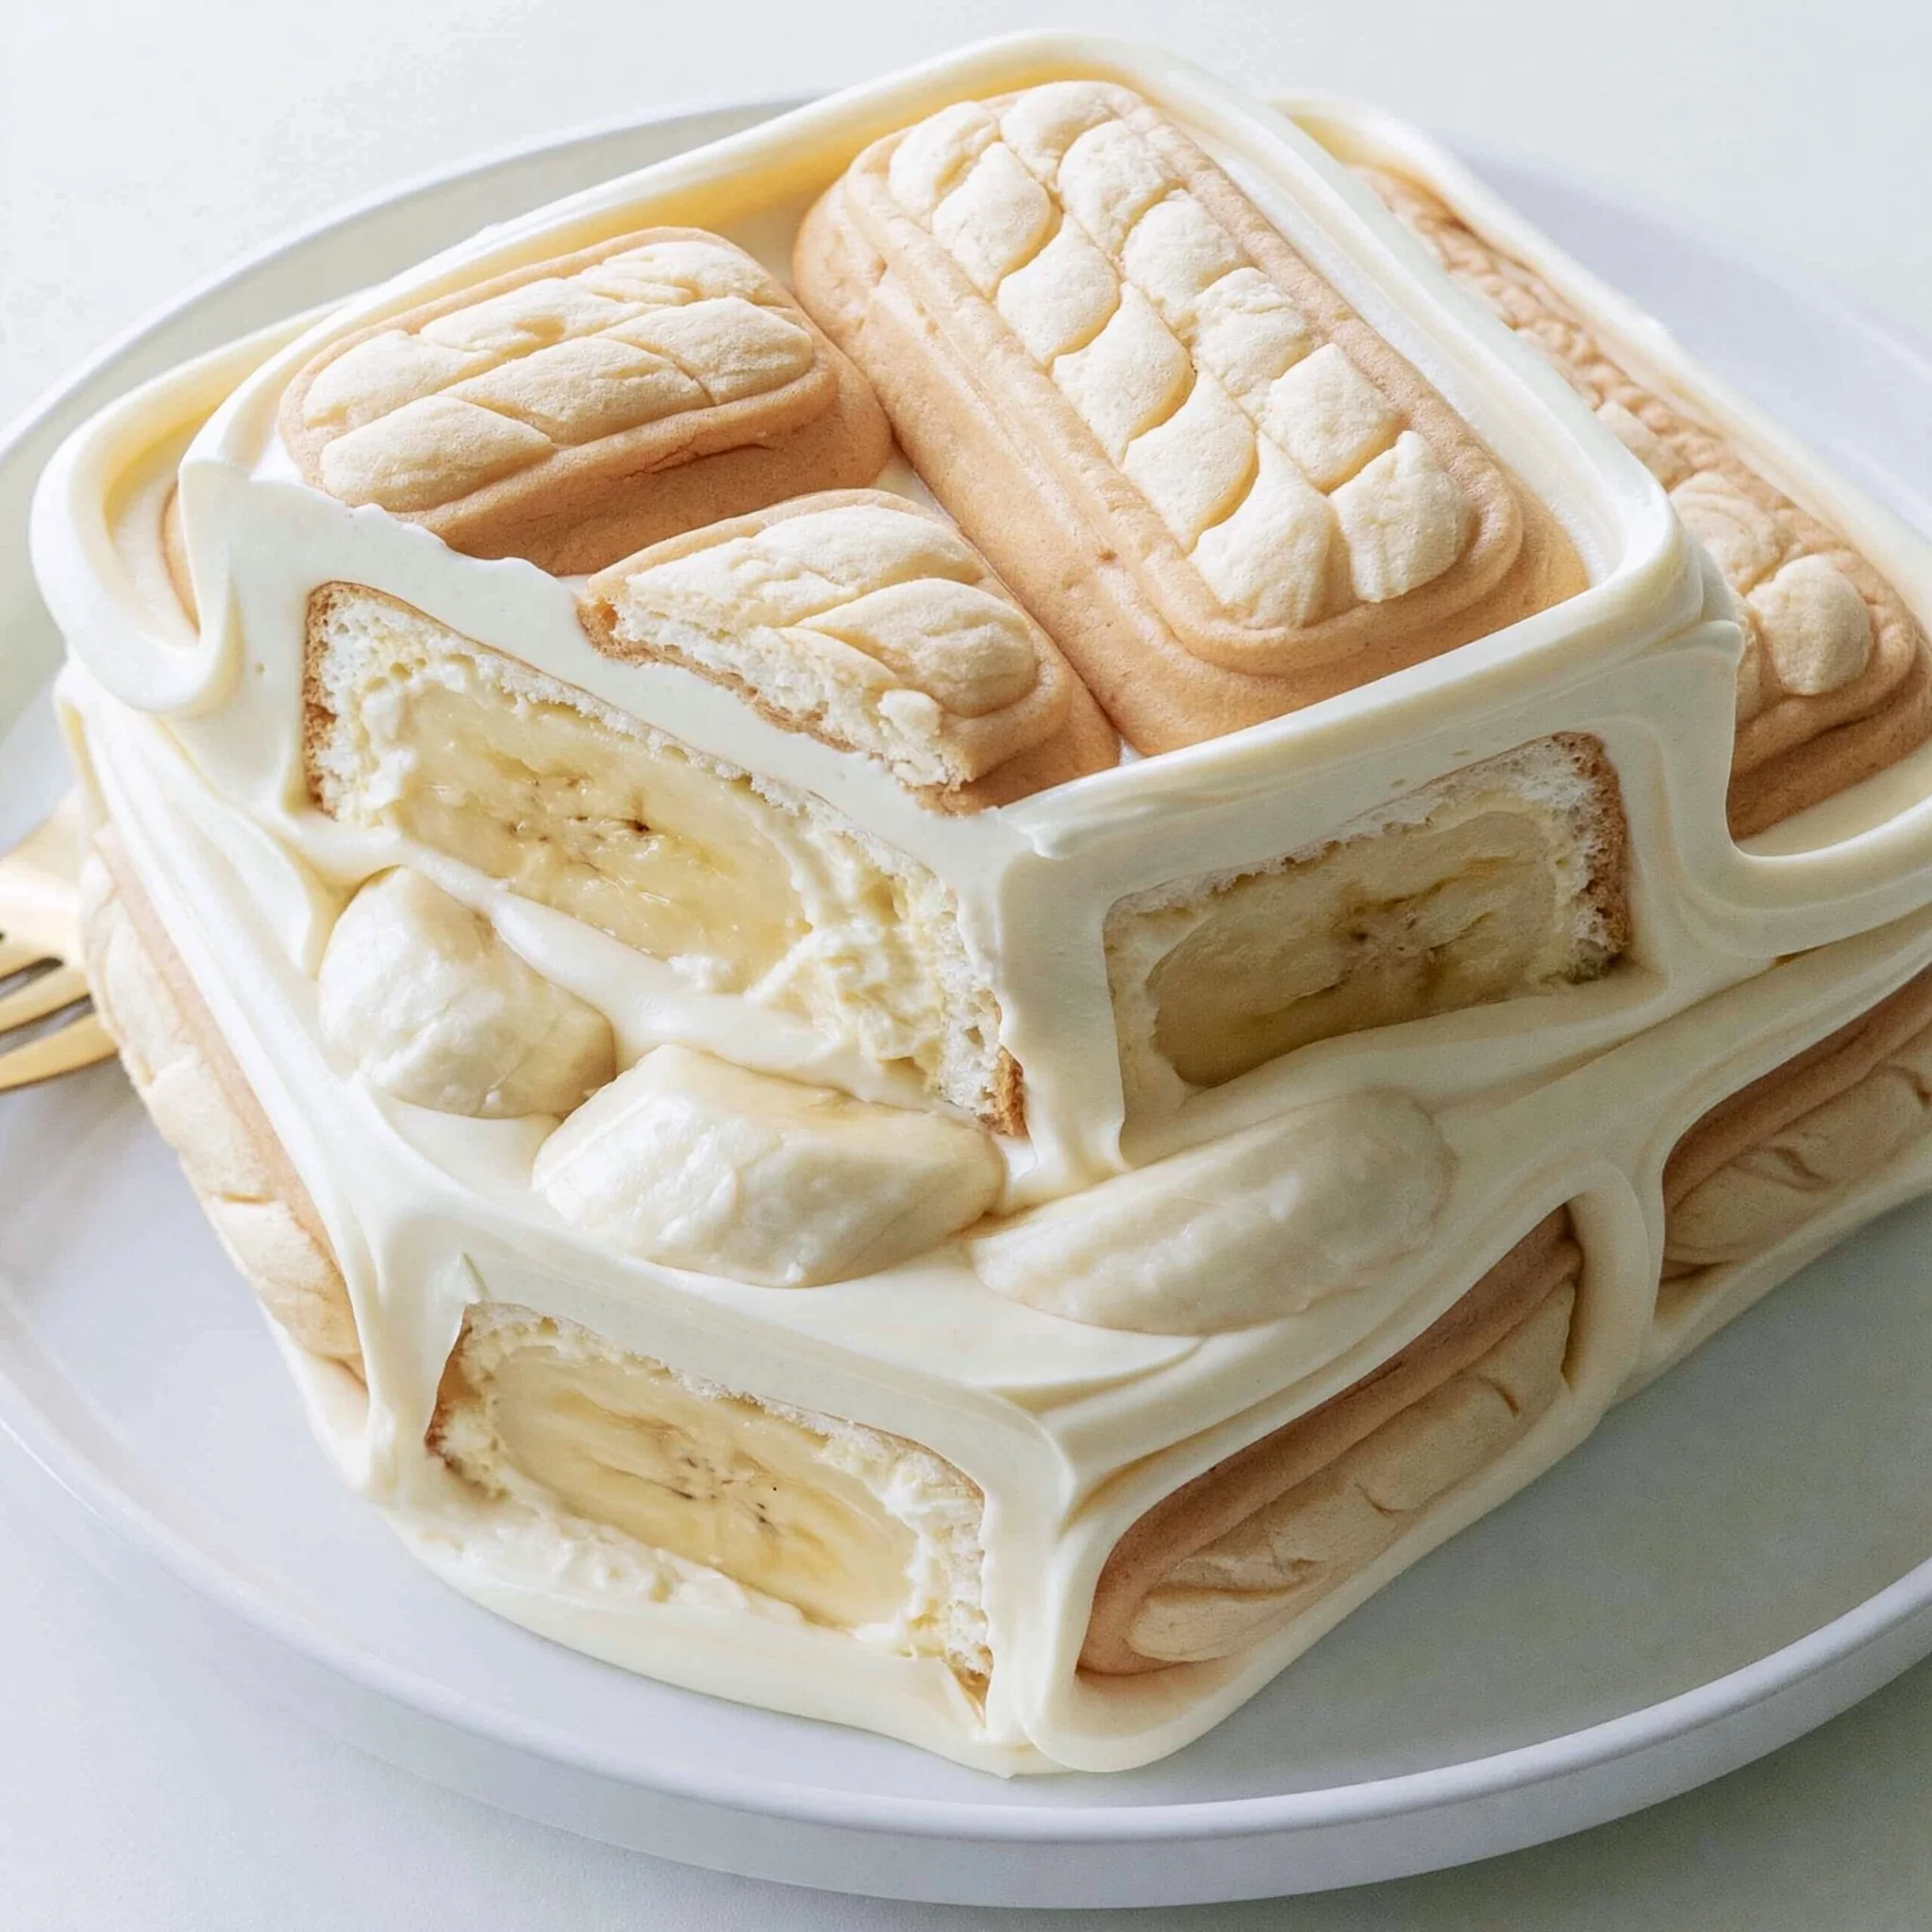
Not Yo Mama’s Banana Pudding
Ingredients
Equipment
Method
- Step 1: In a large mixing bowl, combine the instant vanilla pudding mix and cold milk. Using a whisk, mix until smooth. Let the mixture sit for about 5 minutes to allow it to thicken.
- Step 2: In another bowl, mix the sweetened condensed milk and vanilla extract. Stir until well combined.
- Step 3: Gently fold the whipped topping into the sweetened condensed milk mixture, being careful not to deflate the whipped topping.
- Step 4: Combine the pudding mixture with the sweetened condensed milk and whipped topping mixture. Stir gently until everything is well incorporated.
- Step 5: In a large serving dish, layer vanilla wafers, sliced bananas, and the pudding mixture. Repeat layers until all ingredients are used, finishing with pudding on top.
- Step 6: Cover the dish and refrigerate for at least 4 hours, or overnight if possible.
- Step 7: Once chilled, serve and enjoy, garnished with additional banana slices or crushed vanilla wafers.