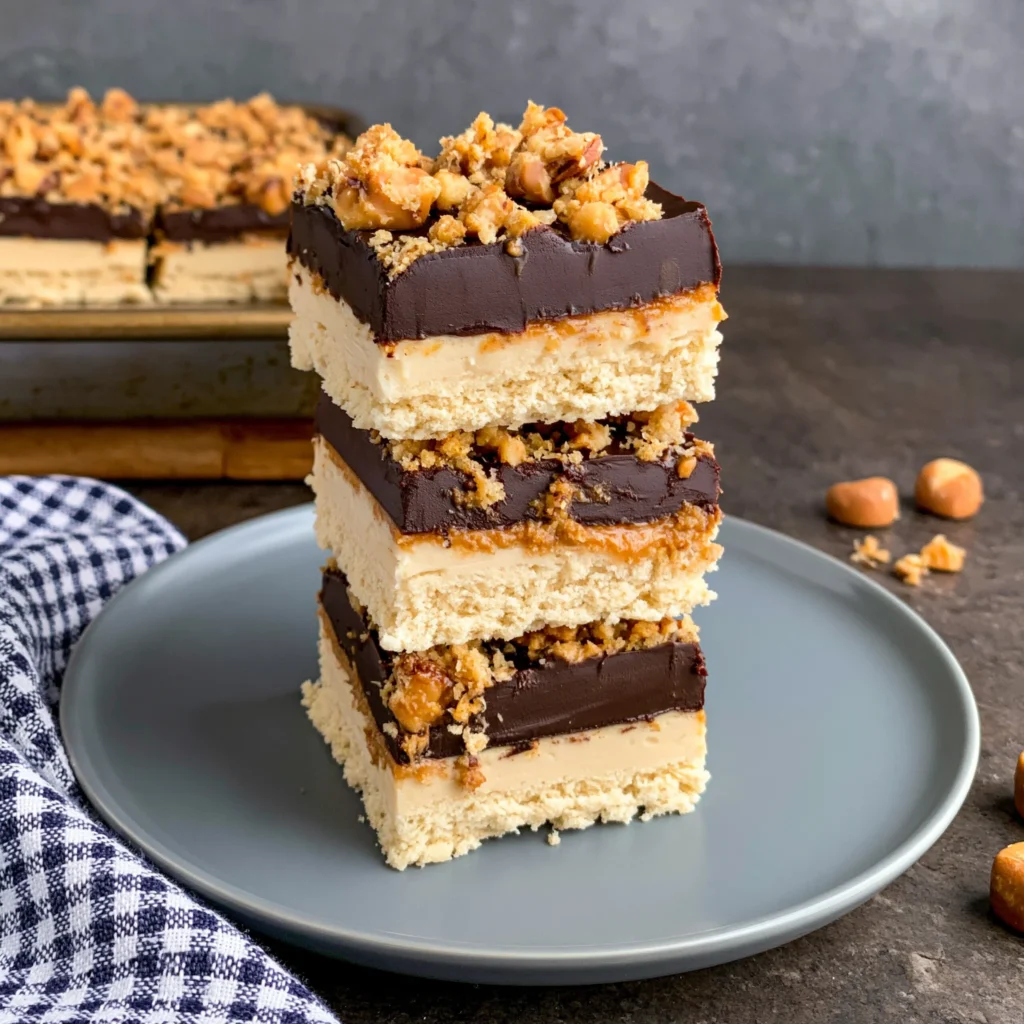
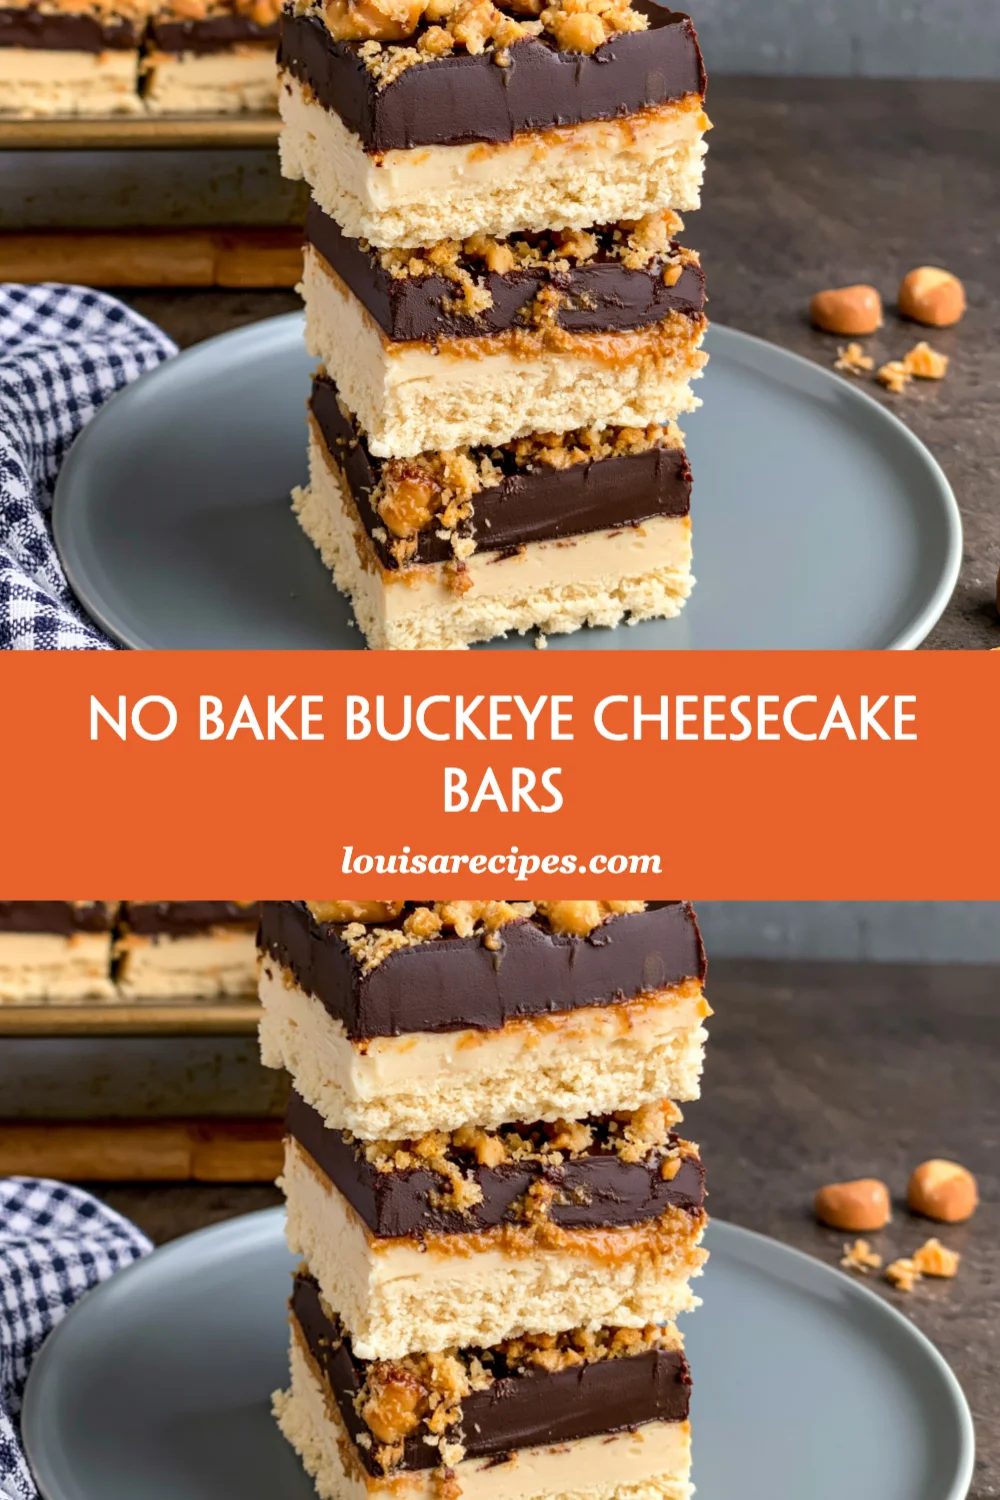
If you’re looking for a delicious and easy dessert that combines the rich flavors of chocolate and peanut butter, look no further than these No Bake Buckeye Cheesecake Bars. This delightful treat is ideal for any occasion, whether it’s a family gathering, a party, or simply a sweet indulgence at home. With a crunchy cocoa crust, a creamy peanut butter cheesecake filling, and a luscious chocolate topping, these bars are a perfect blend of textures and flavors. Plus, they require no baking, making them a hassle-free option for busy bakers. Let’s dive into this delectable recipe that will surely impress your family and friends!
Why You’ll Love This Recipe
There are countless reasons to fall in love with No Bake Buckeye Cheesecake Bars. First and foremost, they are incredibly simple to prepare. With just a few ingredients and minimal effort, you can create an impressive dessert that looks and tastes like it came from a gourmet bakery. The no-bake aspect means you won’t have to heat up your oven, making it a fantastic choice for hot summer days or when you want to keep your kitchen cool.
Another reason to adore this recipe is its versatility. You can easily customize the flavors to suit your preferences. If you’re a fan of dark chocolate, feel free to swap out the semi-sweet chocolate chips for dark chocolate. Want to add a little crunch? Toss in some chopped peanuts or drizzle caramel on top for a fun twist. The possibilities are endless!
Moreover, these bars are the ultimate crowd-pleaser. Whether served at a potluck or a picnic, they are sure to disappear quickly. The combination of creamy peanut butter and chocolate is a classic that never fails to impress. Each bite is a delightful explosion of flavor that will have everyone asking for the recipe. Plus, they can be made ahead of time, allowing you to enjoy the party without worrying about last-minute desserts!
Why You Should Try This Recipe
Trying out the No Bake Buckeye Cheesecake Bars recipe is an excellent way to explore your baking creativity without the need for extensive kitchen equipment or a baking background. The recipe is straightforward and doesn’t require any advanced techniques, making it perfect for beginners and seasoned bakers alike. You’ll only need a mixing bowl, a spatula, and a baking dish, so cleanup is a breeze!
Additionally, the ingredients are easily accessible. Most of them are pantry staples, and you can find the rest at any grocery store. The combination of cream cheese, peanut butter, and whipped topping creates an irresistibly creamy filling that is hard to resist. You can feel good about serving these bars, knowing they are made with simple, high-quality ingredients that everyone will enjoy.
Beyond the mouthwatering taste and easy preparation, there are also nutritional benefits to consider. Peanut butter is a great source of protein and healthy fats, making these bars a more satisfying treat than typical desserts. While it’s important to enjoy sweets in moderation, having a dessert that offers some nutritional value is always a plus.
Ingredients and Utensils Needed
Ingredients
- For the crust:
- 1 ½ cups graham cracker crumbs
- ½ cup unsweetened cocoa powder
- ½ cup powdered sugar
- ½ cup unsalted butter, melted
- For the cheesecake filling:
- 16 oz cream cheese, softened
- 1 cup creamy peanut butter
- 1 cup powdered sugar
- 1 tsp vanilla extract
- 1 cup whipped topping
- For the chocolate topping:
- 1 cup semi-sweet chocolate chips
- 2 tbsp unsalted butter
Recommended Tools
- Mixing bowls
- Spatula or mixing spoon
- 9×9-inch baking dish
- Microwave-safe bowl
- Measuring cups and spoons
- Plastic wrap or aluminum foil for covering
- Sharp knife for cutting bars
Having the right tools will make the process smoother and ensure your No Bake Buckeye Cheesecake Bars turn out perfectly. A sturdy spatula is essential for mixing, while a good knife will help you cut clean bars for an attractive presentation.
Detailed Recipe Steps
Now that you have all your ingredients and tools ready, let’s walk through the steps to create your No Bake Buckeye Cheesecake Bars:
- Prepare the crust: In a mixing bowl, combine the graham cracker crumbs, unsweetened cocoa powder, and powdered sugar. Pour in the melted butter and mix until everything is well combined. The mixture should resemble wet sand. This will provide a deliciously crunchy base for your bars.
- Form the crust: Press the mixture firmly into the bottom of your 9×9-inch baking dish. Use the back of a measuring cup or your fingers to ensure it’s compact and evenly spread. A well-pressed crust will hold the cheesecake filling better.
- Mix the cheesecake filling: In a separate bowl, beat the softened cream cheese and creamy peanut butter together until smooth. You can use an electric mixer or a whisk, but ensure there are no lumps for a silky texture.
- Add sweetness: Gradually add the powdered sugar and vanilla extract into the cream cheese mixture. Mix until fully incorporated, creating a smooth and creamy consistency. This step is crucial as it balances the flavors of the filling.
- Fold in whipped topping: Gently fold in the whipped topping until combined. This will lighten the texture of the cheesecake filling, making it airy and delicious. Be careful not to overmix, as you want to maintain that fluffiness.
- Spread the filling: Carefully spread the cheesecake filling evenly over the crust in the baking dish. Use a spatula to smooth the top. This layer is where the magic happens, so ensure it’s evenly distributed for consistent flavor in every bite.
- Prepare the chocolate topping: In a microwave-safe bowl, combine the semi-sweet chocolate chips and unsalted butter. Heat in 30-second intervals, stirring in between until melted and smooth. Take care not to overheat, as chocolate can burn quickly.
- Top the cheesecake: Pour the melted chocolate over the cheesecake layer and spread it evenly with a spatula. This rich chocolate layer is the finishing touch that brings everything together.
- Chill: Cover the baking dish with plastic wrap or aluminum foil and refrigerate for at least 4 hours or until set. This step is crucial for the bars to firm up and for the flavors to meld beautifully.
- Slice and serve: Once set, remove the dish from the refrigerator. Use a sharp knife to cut the cheesecake into bars. Serve chilled, and enjoy the delightful combination of chocolate and peanut butter!
As you prepare your No Bake Buckeye Cheesecake Bars, remember these practical tips:
- Ensure the cream cheese is at room temperature for easier mixing.
- Press the crust down firmly to avoid it crumbling when cut.
- For clean cuts, warm your knife under hot water before slicing.
Tips and Variations
If you’re looking to switch things up or accommodate dietary restrictions, here are some tips and variations for your No Bake Buckeye Cheesecake Bars:
- Vegan Version: Substitute the cream cheese with a vegan cream cheese alternative, use maple syrup in place of powdered sugar, and opt for a dairy-free whipped topping. Make sure to check that your chocolate chips are dairy-free as well.
- Gluten-Free Option: Use gluten-free graham cracker crumbs or crushed gluten-free cookies for the crust. This way, everyone can enjoy these delicious bars without worrying about gluten.
- Nut-Free Variation: Replace the peanut butter with sunbutter or another nut-free spread. This is great for those with nut allergies.
- Flavor Enhancements: Add a pinch of sea salt to the chocolate topping for a salted caramel flavor or incorporate crushed Oreos into the crust for an extra layer of flavor.
- Storage Tips: These bars can be stored in the refrigerator for up to a week. You can also freeze them for longer storage; just make sure to wrap them tightly in plastic wrap and foil.
Be mindful of common mistakes to avoid while making these bars. Overmixing the cheesecake filling can lead to a dense texture, while under-chilling the bars will result in a messy slice. Patience is key as the flavors develop beautifully in the fridge!
Nutritional Values and Benefits
Understanding the nutritional profile of your No Bake Buckeye Cheesecake Bars can help you make informed choices:
- Calories: Approximately 250 calories per bar (depending on serving size)
- Protein: 5g
- Fat: 18g (mostly from peanut butter)
- Carbohydrates: 25g
These bars provide a good balance of protein and healthy fats, thanks to the peanut butter. The cream cheese adds some calcium and protein, contributing to a more satisfying dessert. While it’s important to enjoy these bars in moderation, they can be a more nutritious option compared to traditional baked desserts.
Frequently Asked Questions
Can I use crunchy peanut butter instead of creamy?
Yes, you can use crunchy peanut butter for added texture. Just keep in mind that it will slightly change the consistency of the filling.
How long do these cheesecake bars need to chill?
The bars should chill for at least 4 hours, but overnight is best for optimal firmness and flavor.
Can I freeze No Bake Buckeye Cheesecake Bars?
Absolutely! You can freeze the bars for up to 3 months. Just wrap them tightly in plastic wrap and foil before freezing.
What can I substitute for graham cracker crumbs?
You can use crushed cookies like Oreos or vanilla wafers as a tasty alternative to graham cracker crumbs.
Is there a way to make these bars lower in sugar?
Yes, you can reduce the amount of powdered sugar in the filling or use a sugar substitute that measures like sugar.
Conclusion
In summary, these No Bake Buckeye Cheesecake Bars are a delicious and easy dessert that everyone will love. With their creamy peanut butter filling and rich chocolate topping, they are sure to be a hit at any gathering. Remember, you can customize these bars to fit your dietary needs or personal preferences, making them an incredibly versatile treat. For more delicious recipes, check out the Crack Pasta Salad or the Deviled Eggs Pasta Salad for treats you will love! Don’t forget to leave a comment below with your thoughts or share this recipe with friends and family!
For even more inspiration, visit my Pinterest board: Louis’ Recipes Blog.
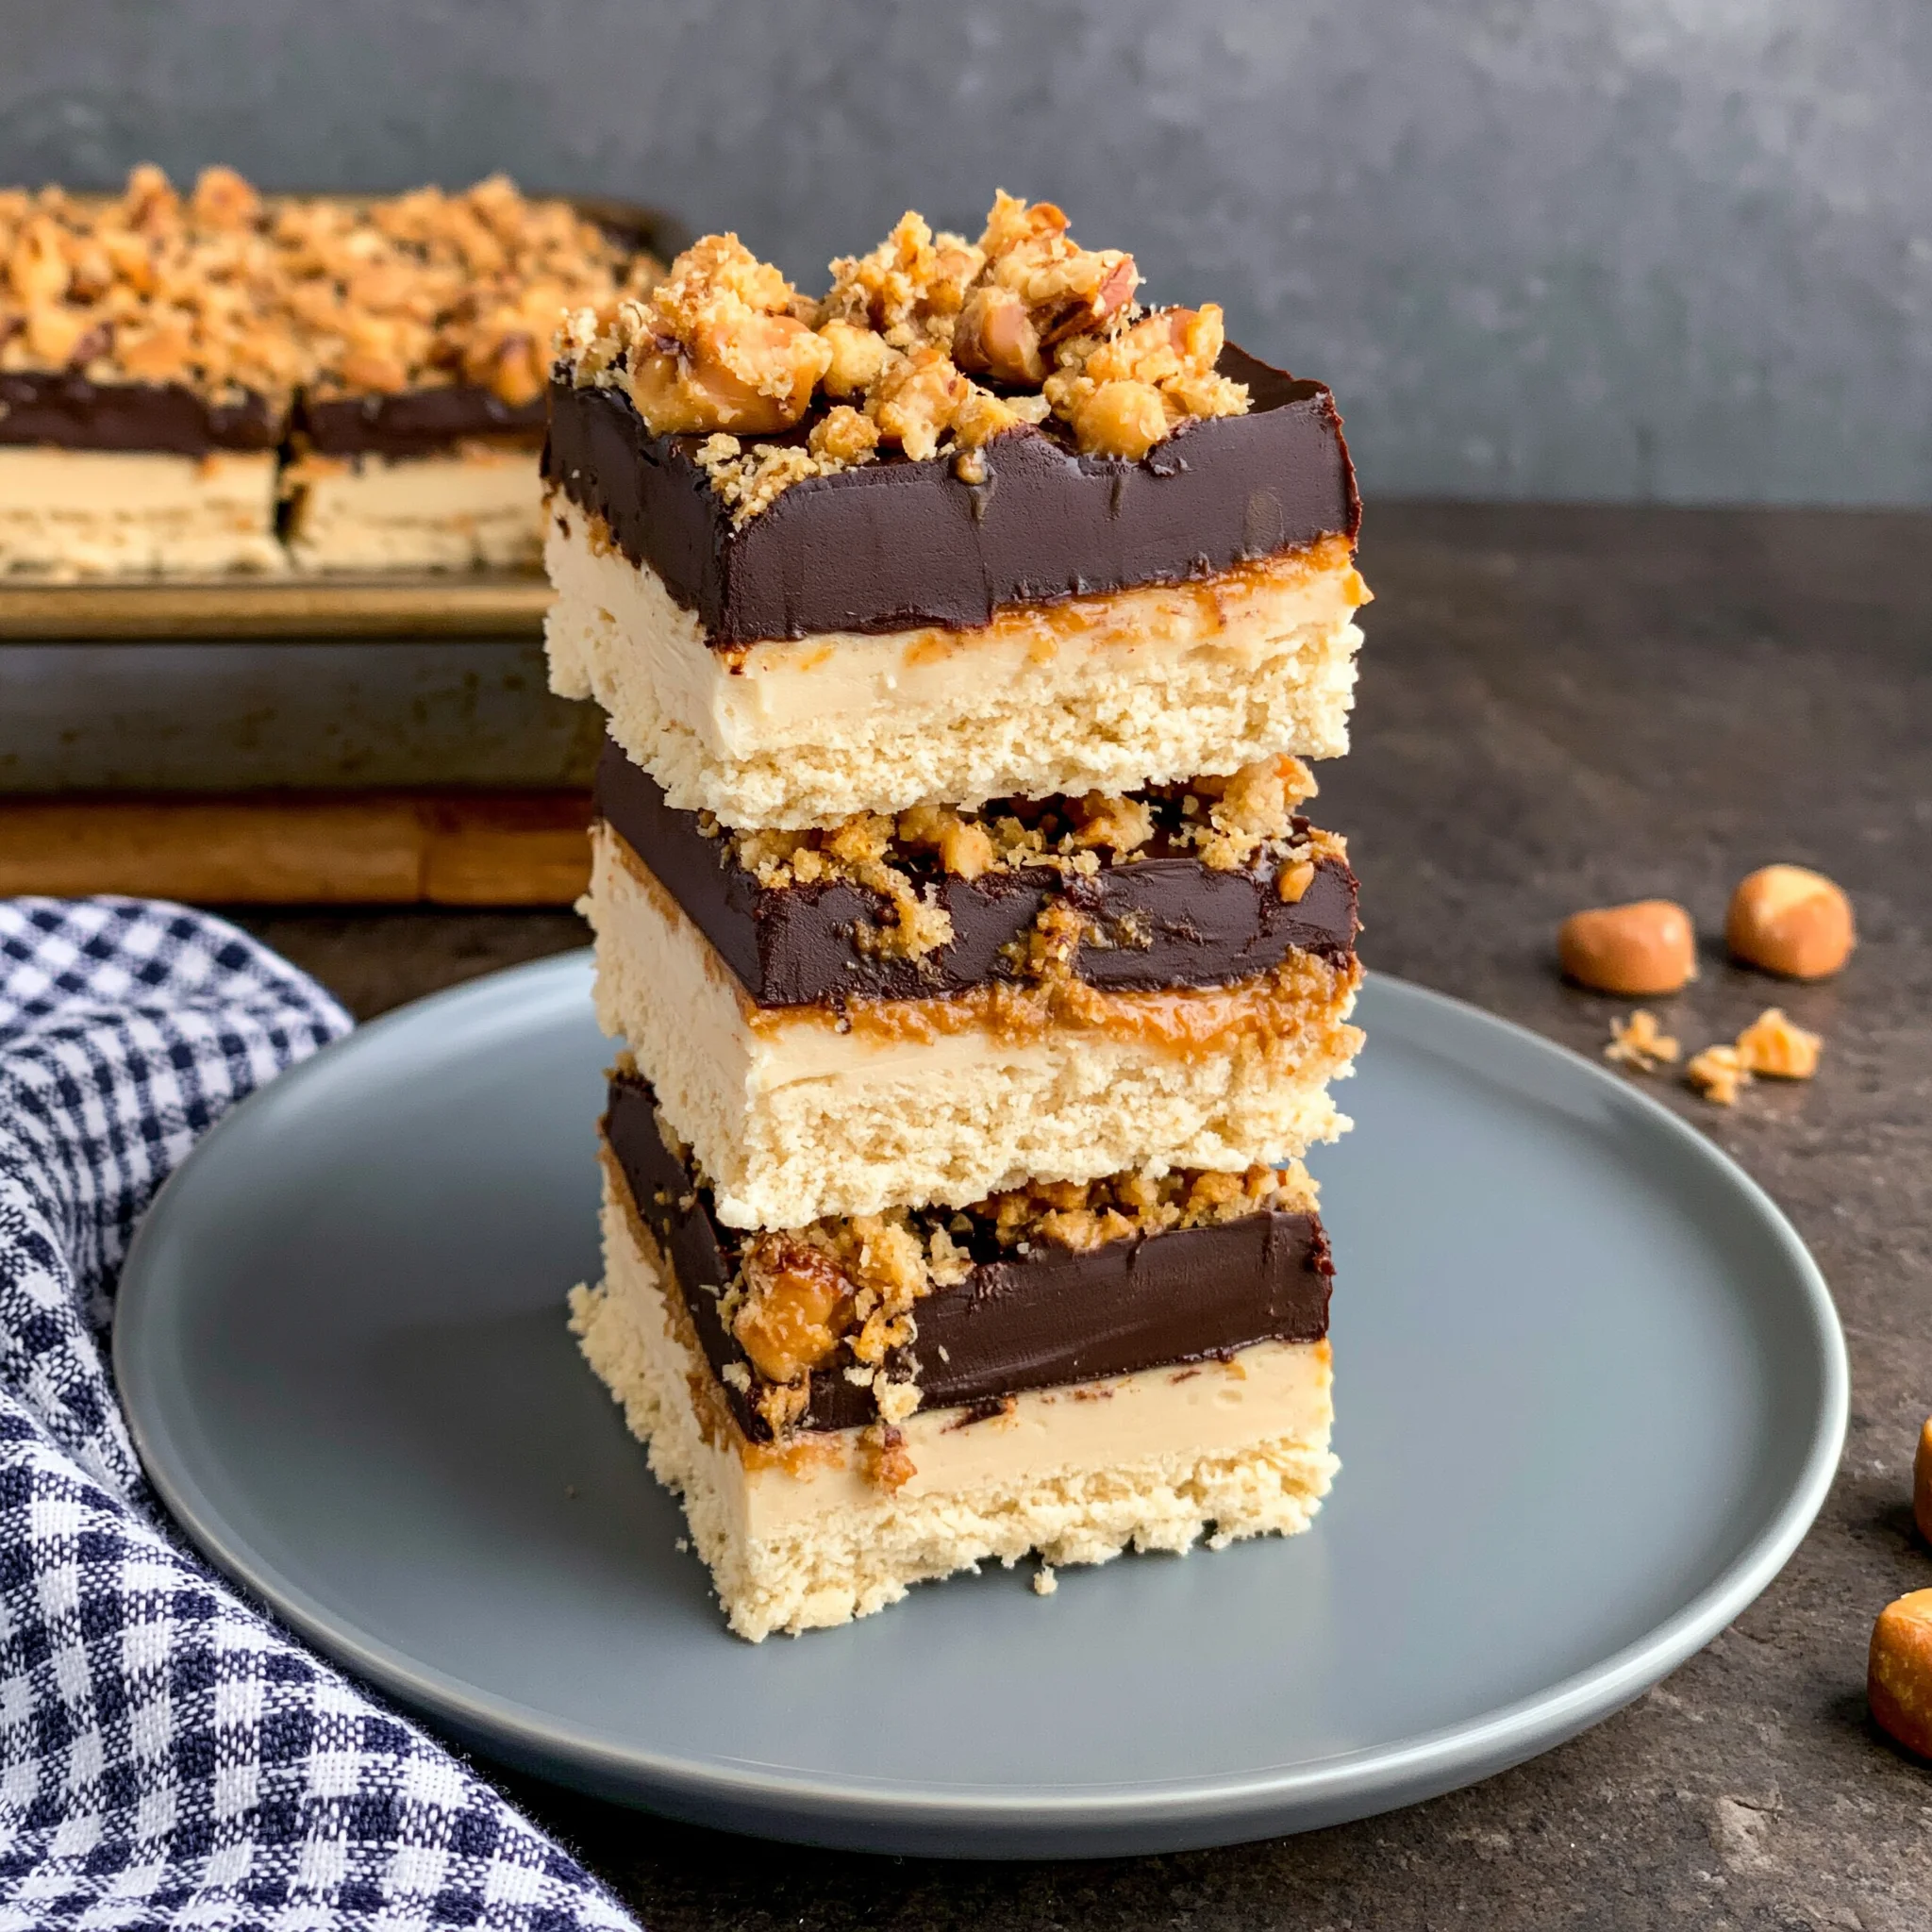
No Bake Buckeye Cheesecake Bars
Ingredients
Equipment
Method
- Step 1: Prepare the crust: In a mixing bowl, combine the graham cracker crumbs, unsweetened cocoa powder, and powdered sugar. Pour in the melted butter and mix until everything is well combined. The mixture should resemble wet sand.
- Step 2: Form the crust: Press the mixture firmly into the bottom of your 9x9-inch baking dish. Use the back of a measuring cup or your fingers to ensure it's compact and evenly spread.
- Step 3: Mix the cheesecake filling: In a separate bowl, beat the softened cream cheese and creamy peanut butter together until smooth.
- Step 4: Add sweetness: Gradually add the powdered sugar and vanilla extract into the cream cheese mixture. Mix until fully incorporated.
- Step 5: Fold in whipped topping: Gently fold in the whipped topping until combined.
- Step 6: Spread the filling: Carefully spread the cheesecake filling evenly over the crust in the baking dish.
- Step 7: Prepare the chocolate topping: In a microwave-safe bowl, combine the semi-sweet chocolate chips and unsalted butter. Heat in 30-second intervals, stirring in between until melted and smooth.
- Step 8: Top the cheesecake: Pour the melted chocolate over the cheesecake layer and spread it evenly with a spatula.
- Step 9: Chill: Cover the baking dish with plastic wrap or aluminum foil and refrigerate for at least 4 hours or until set.
- Step 10: Slice and serve: Once set, remove the dish from the refrigerator. Use a sharp knife to cut the cheesecake into bars. Serve chilled, and enjoy!